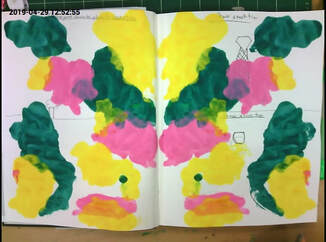
The video below shows how to create step 1 for our movement page using watercolors and a straw for interesting effects!
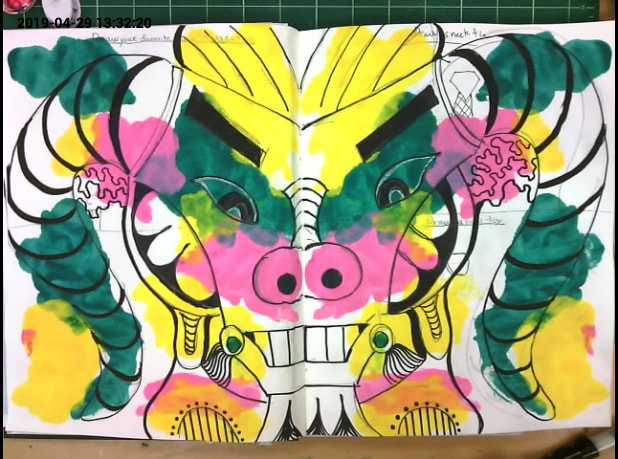
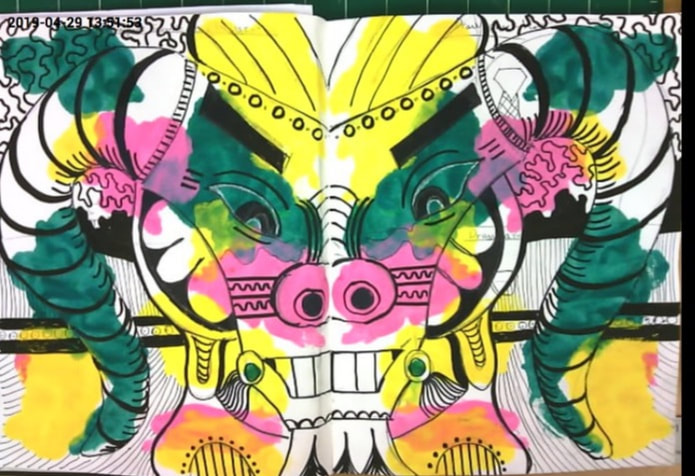
The next steps for completing the Movement altered book page is on the video below!
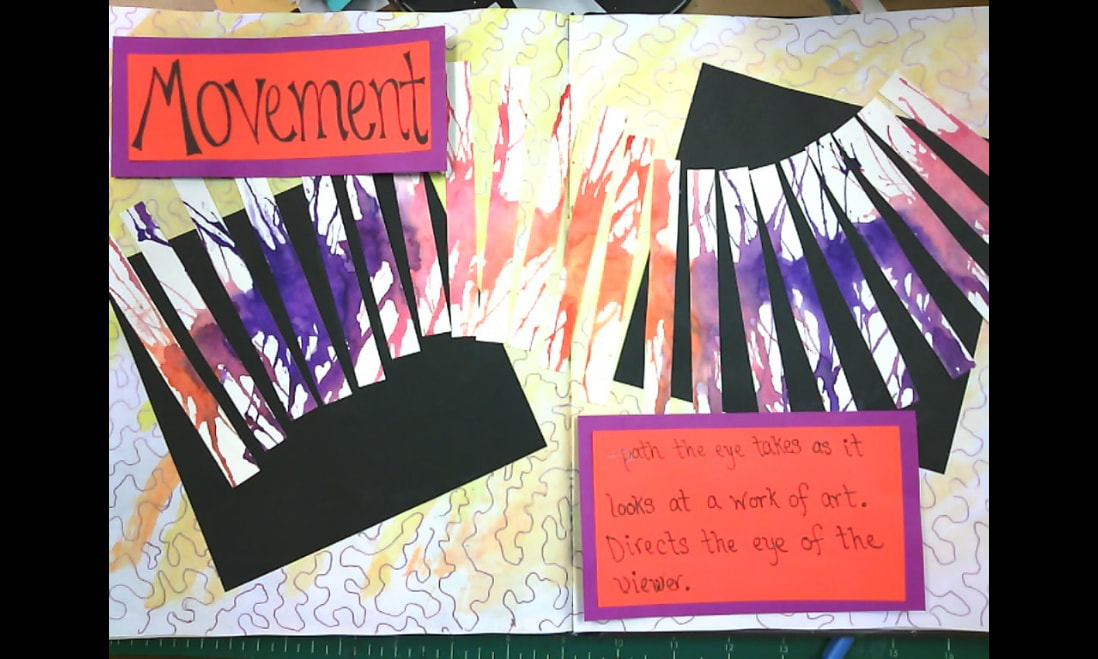
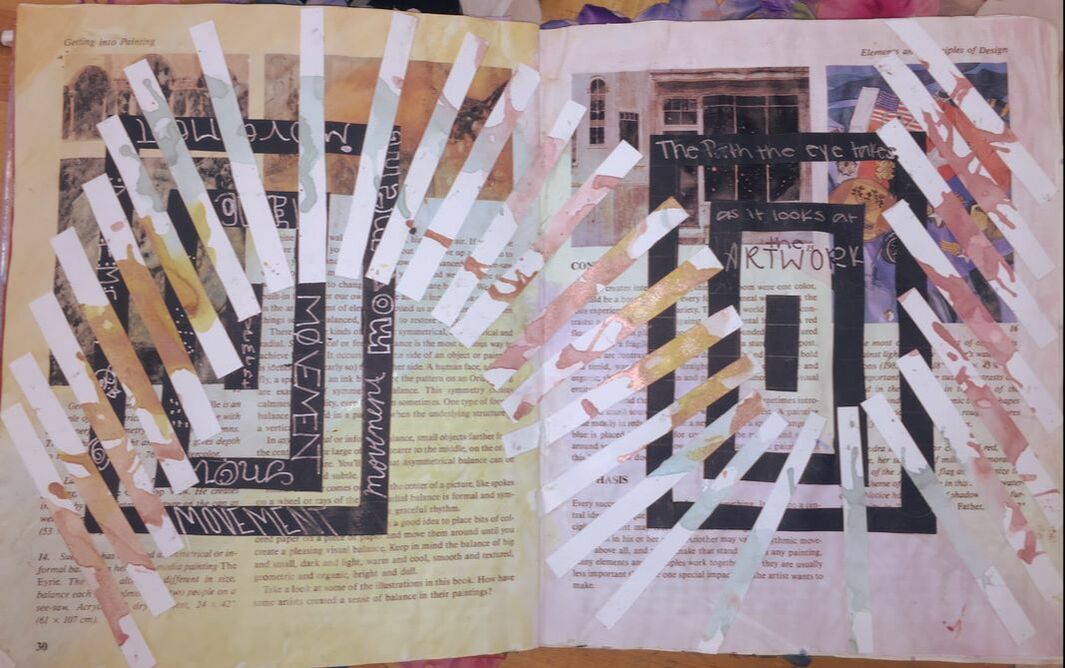
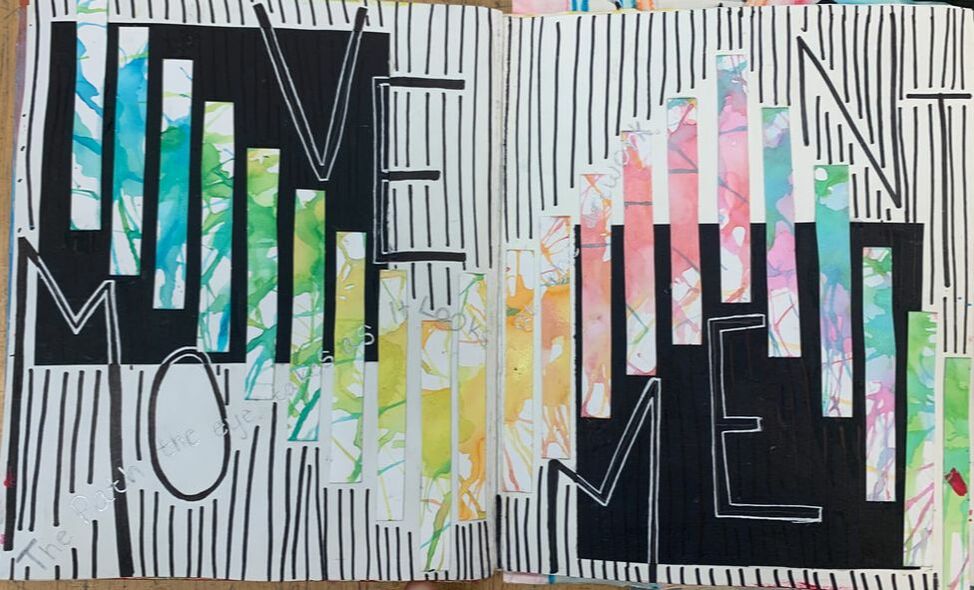
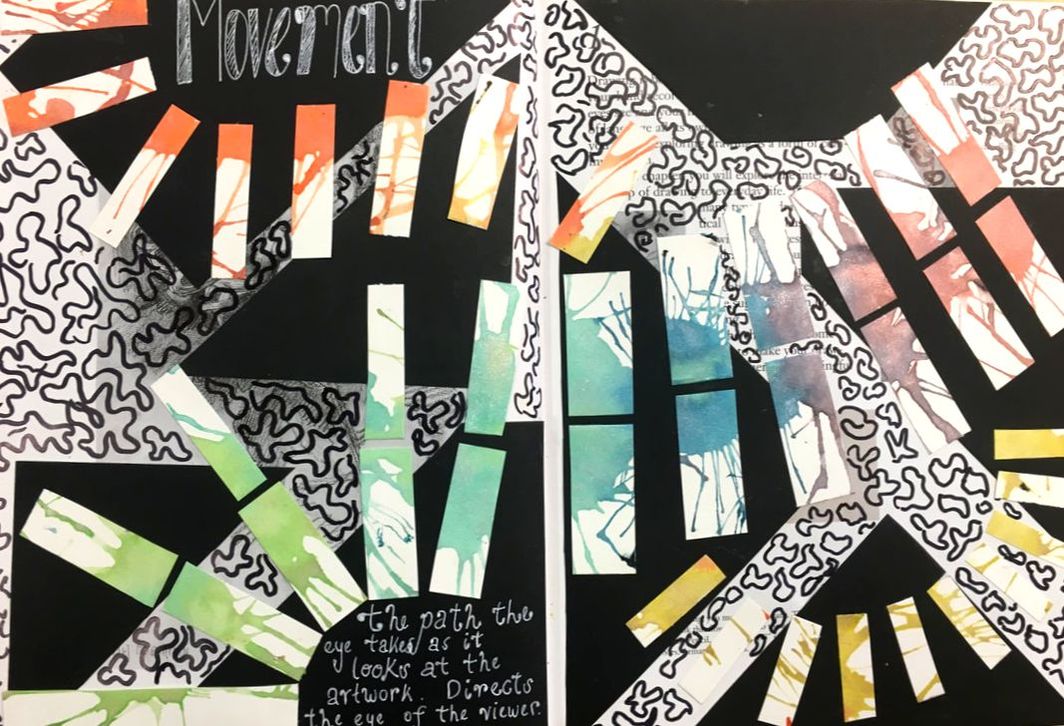
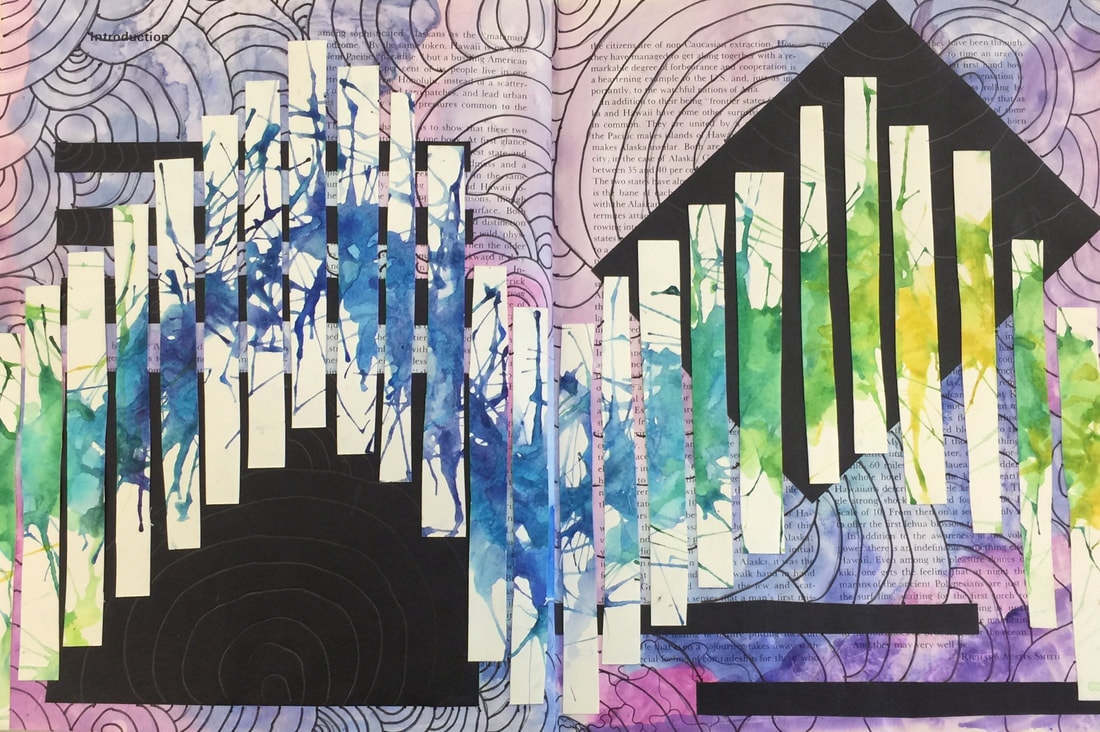
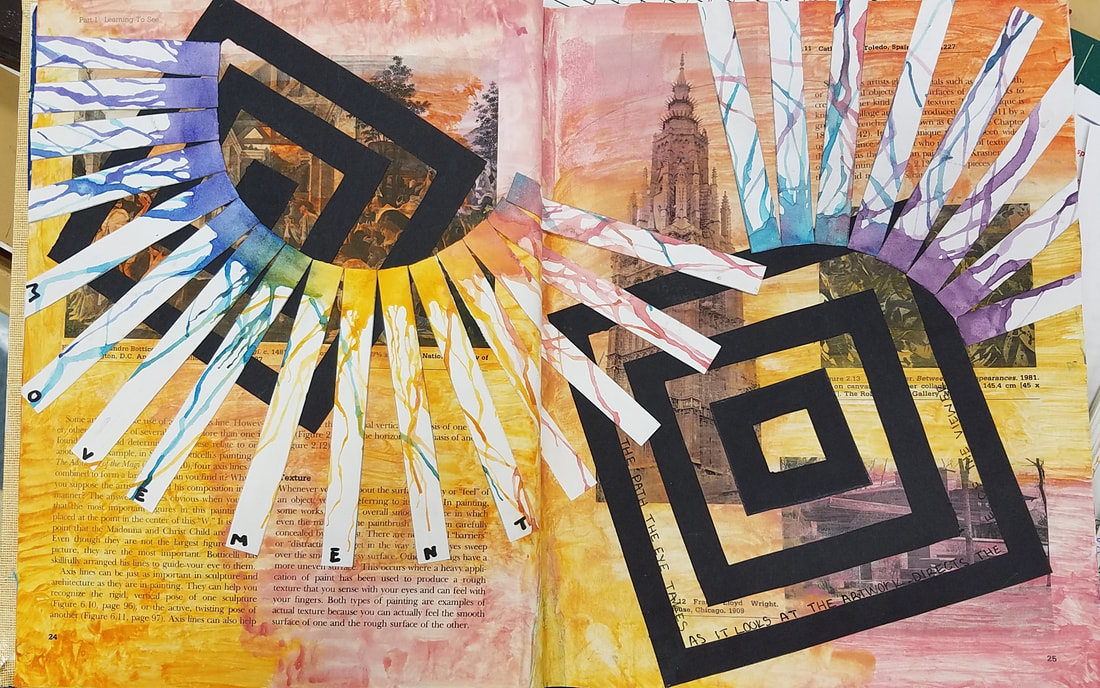
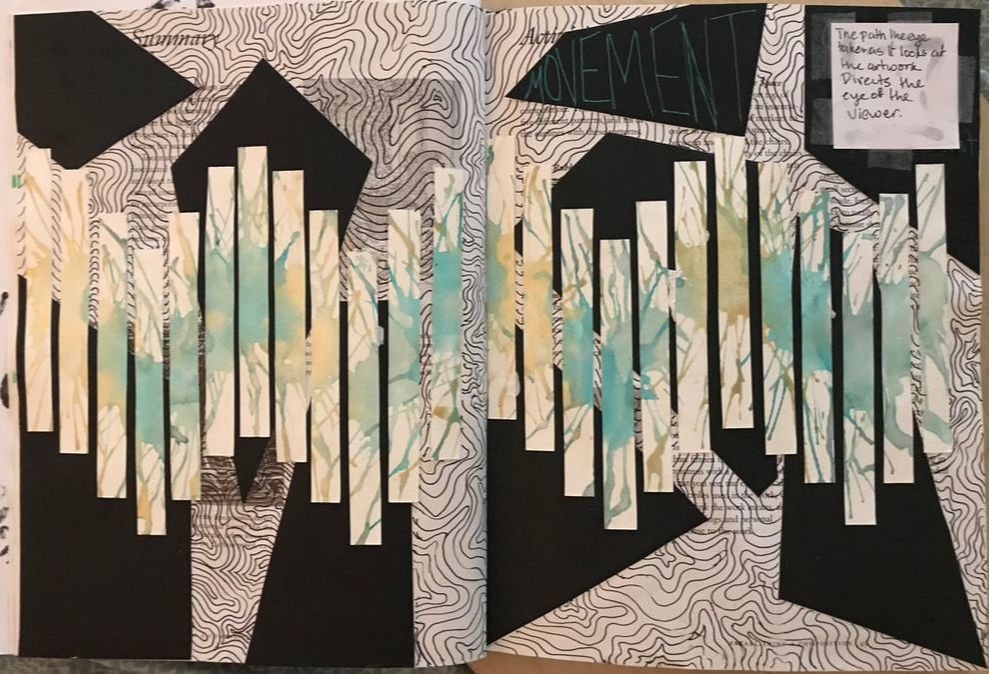
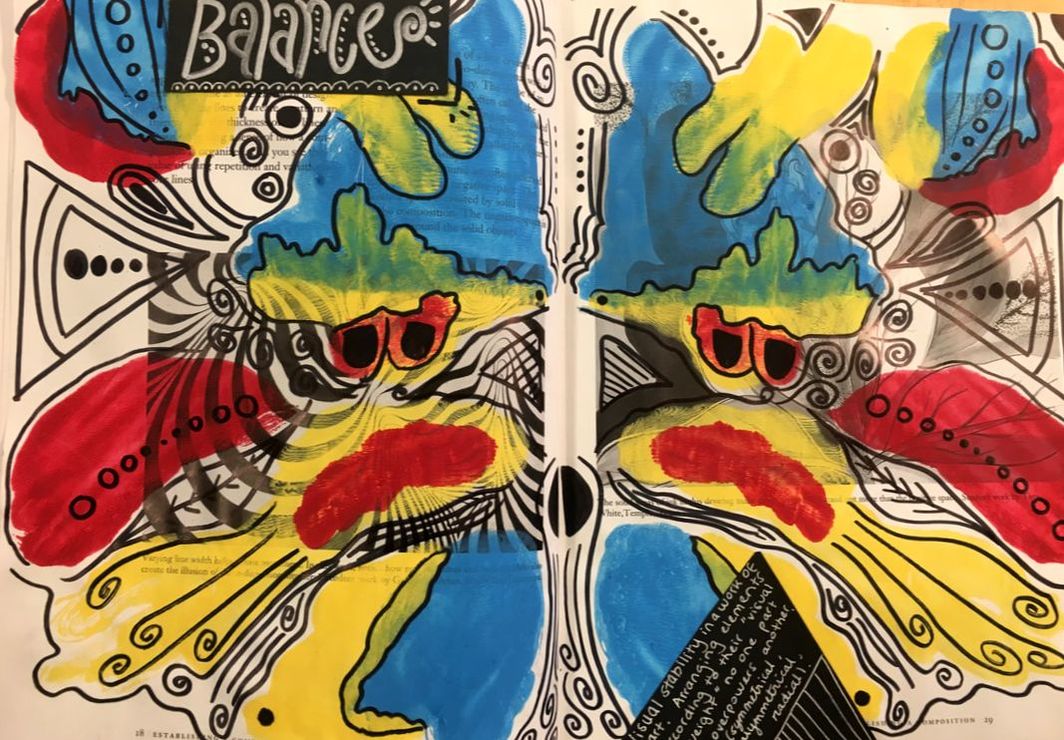
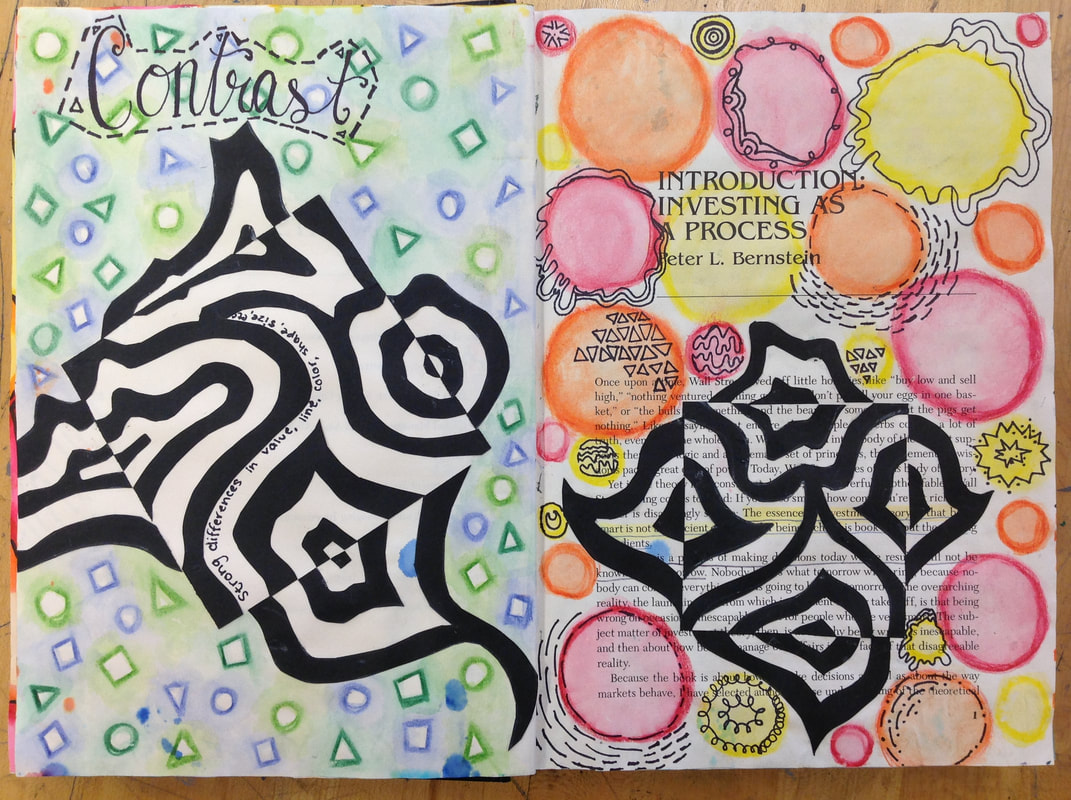
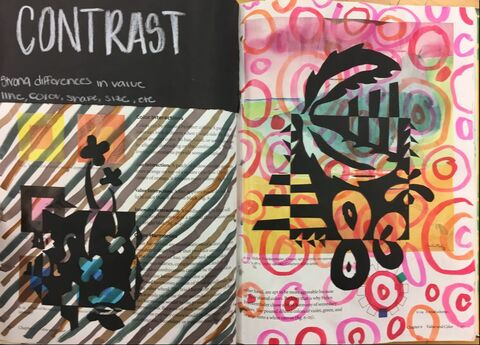
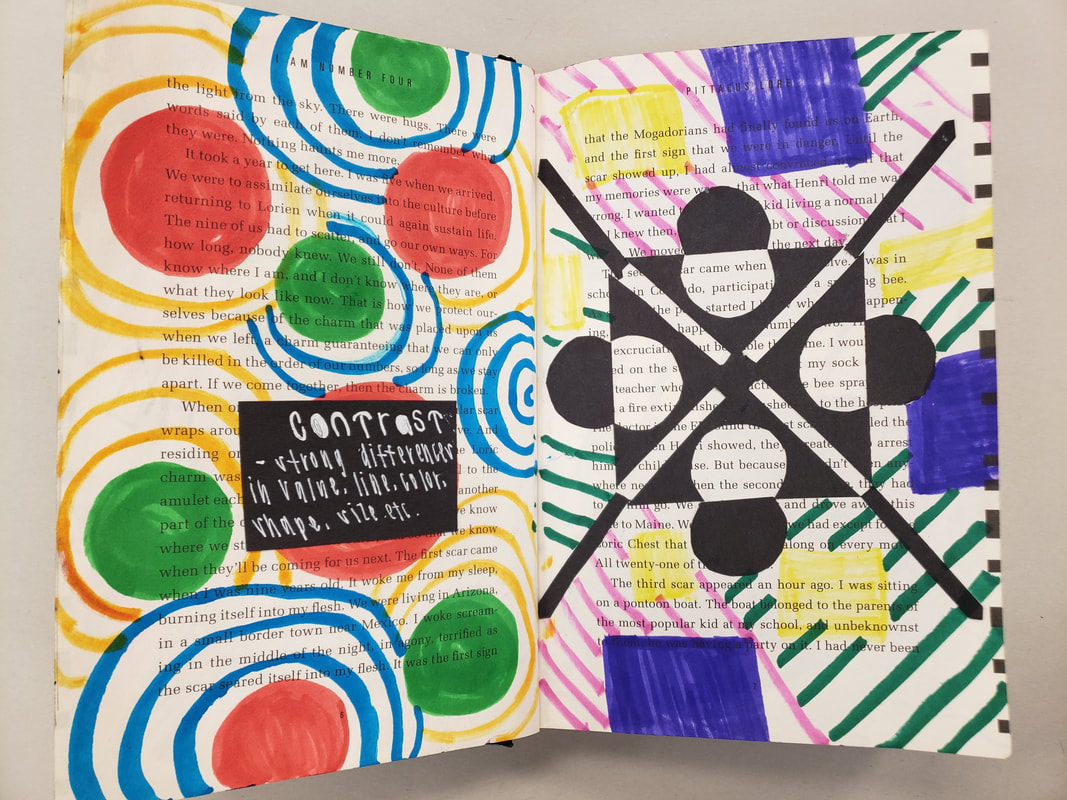
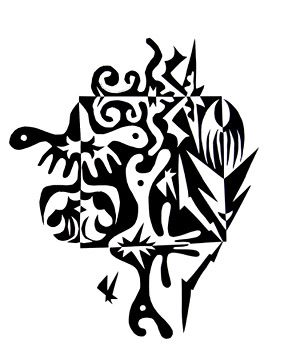
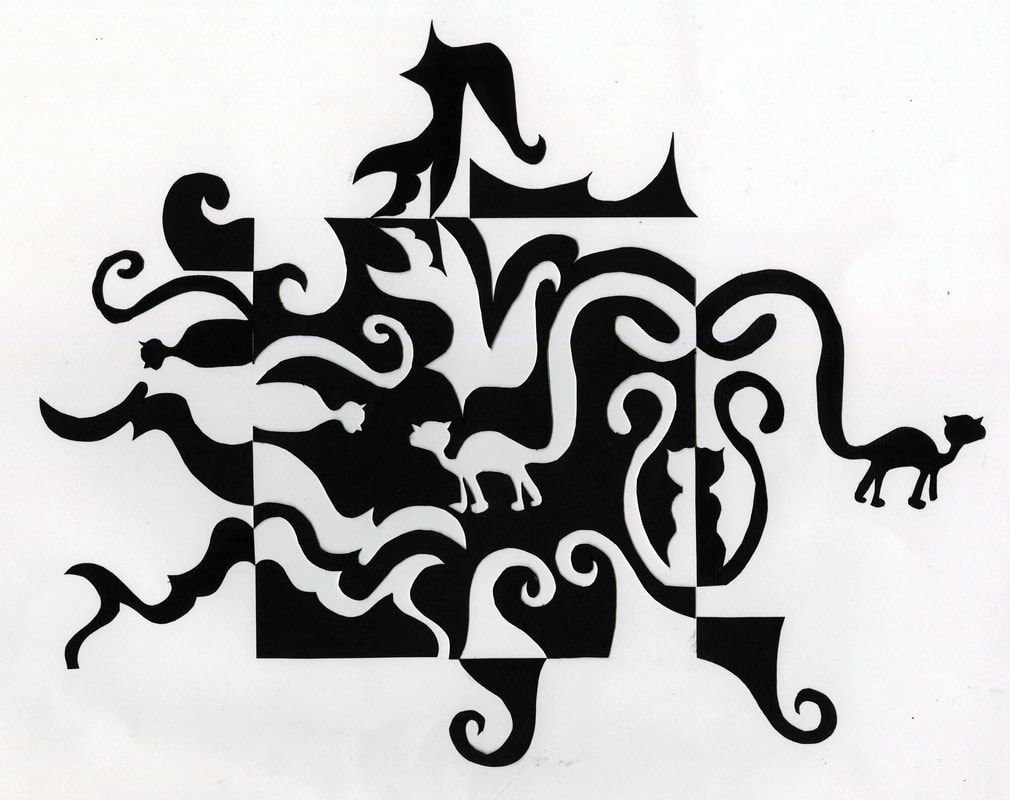
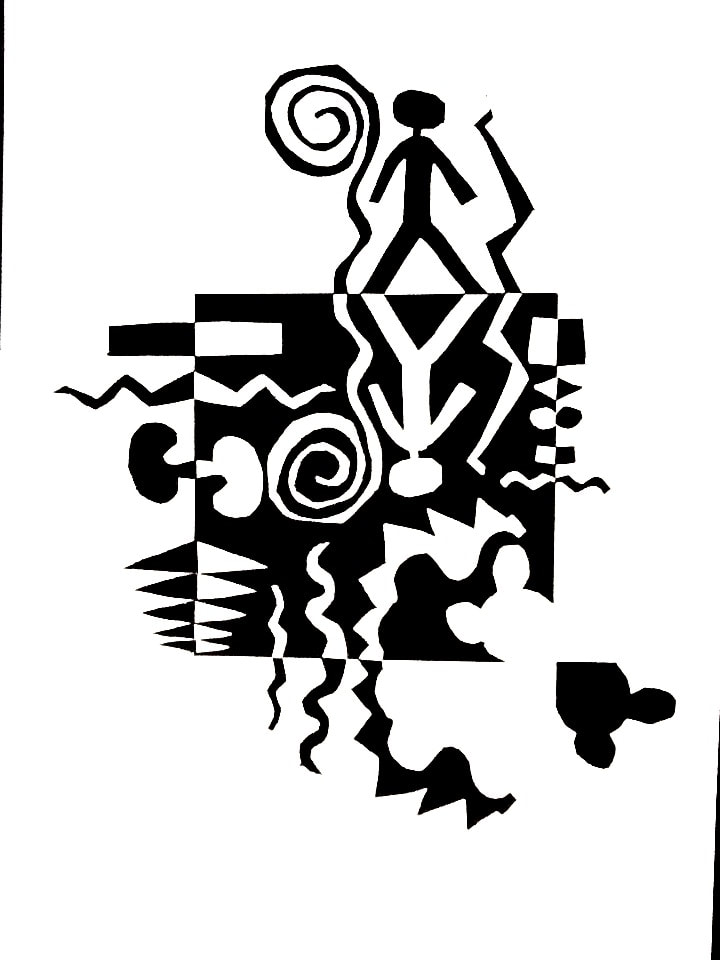
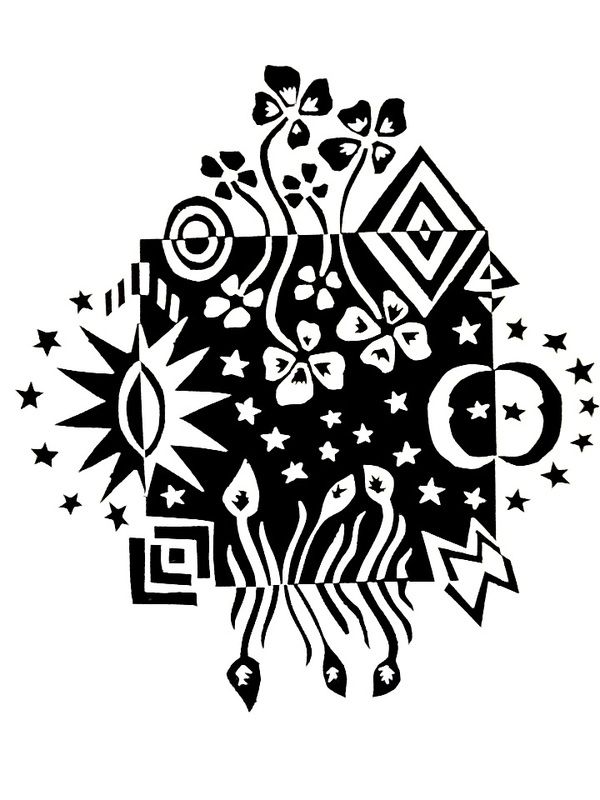
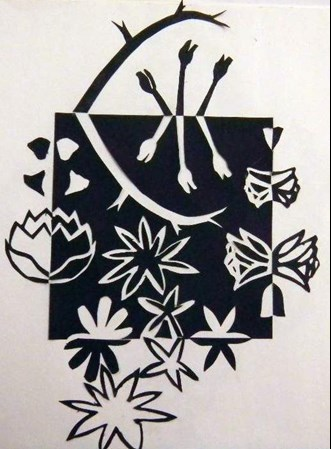
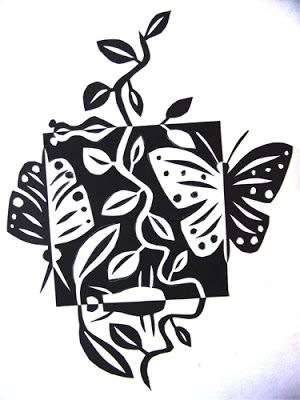
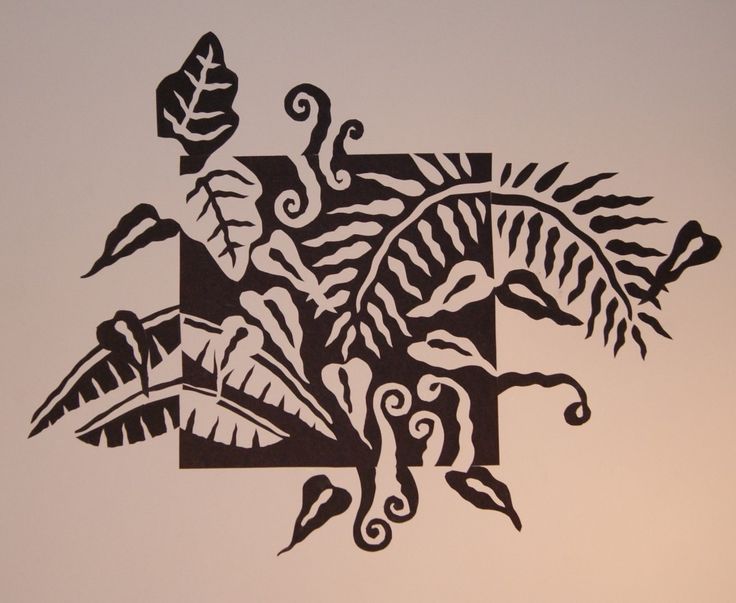
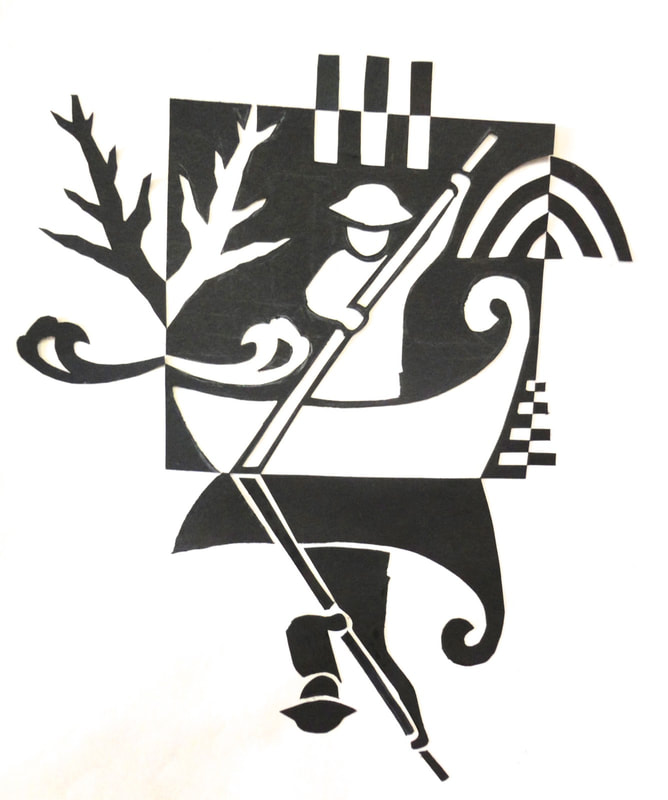
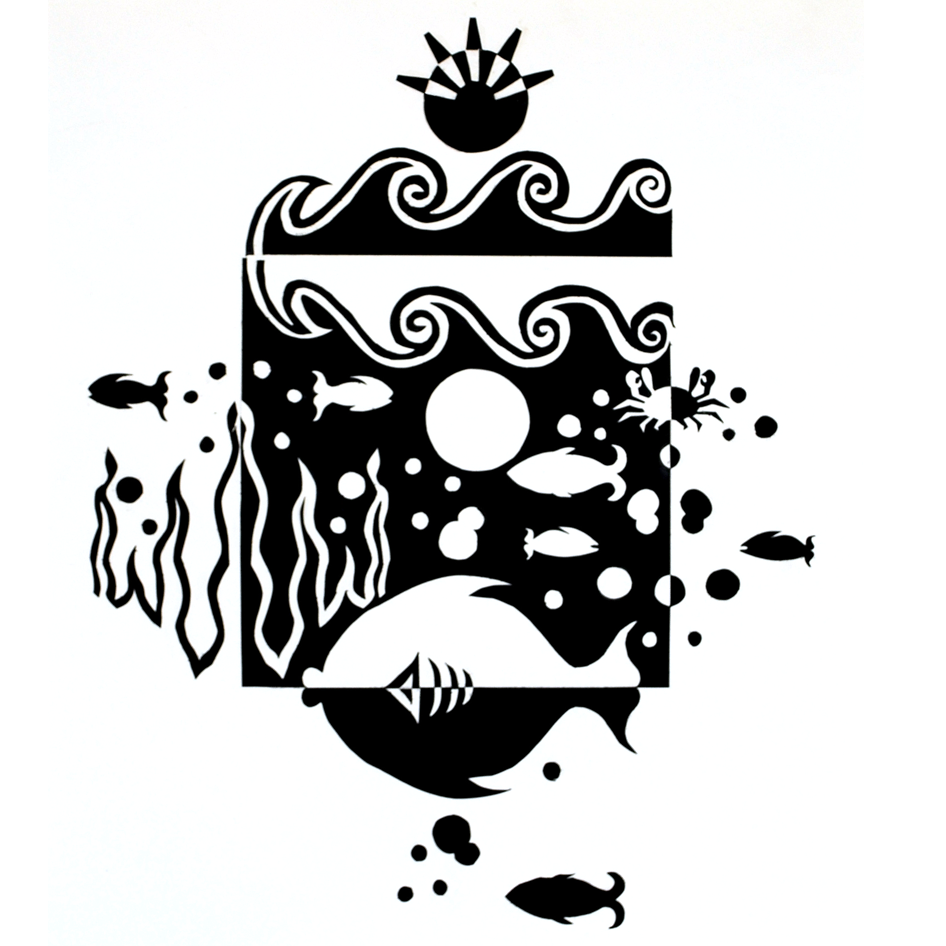
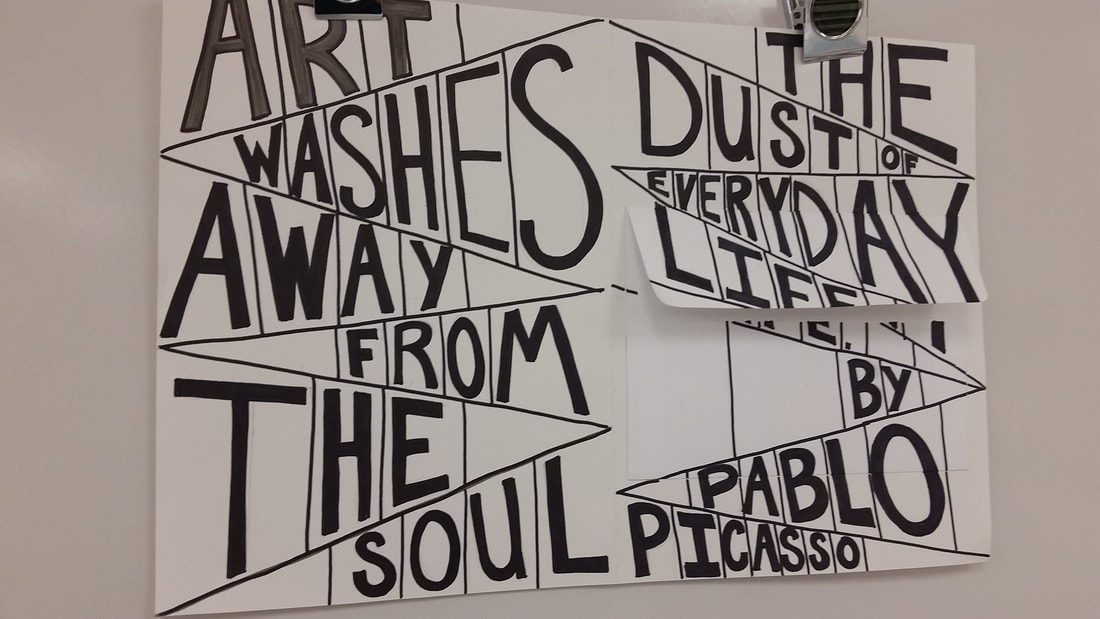
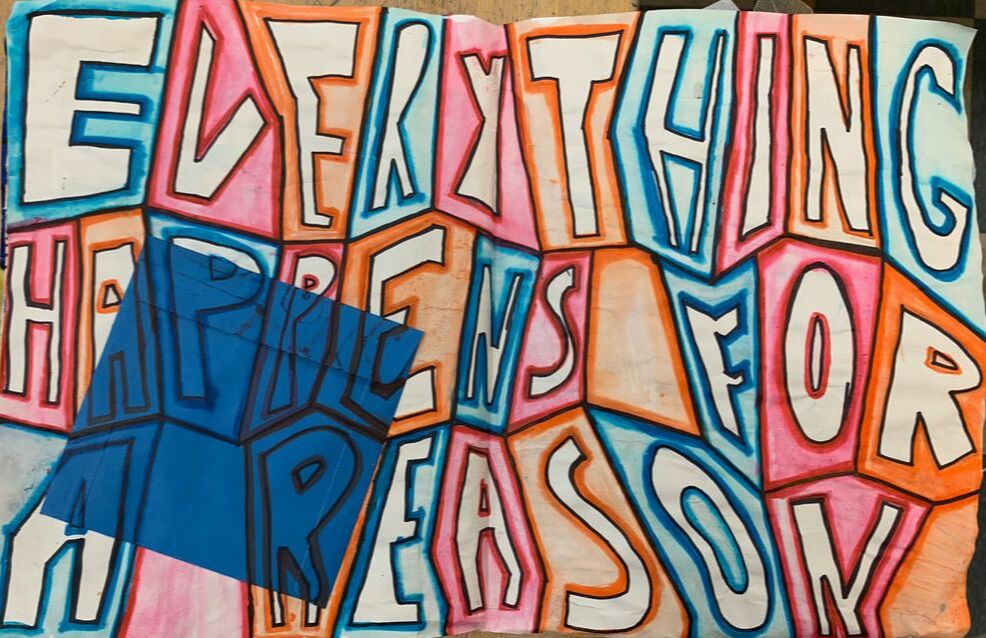
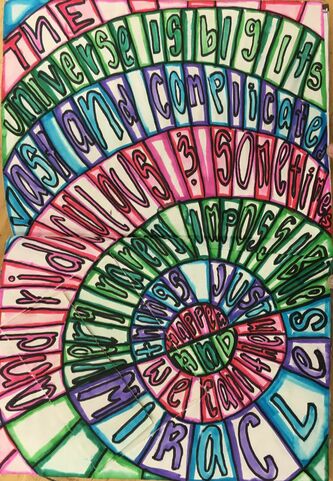
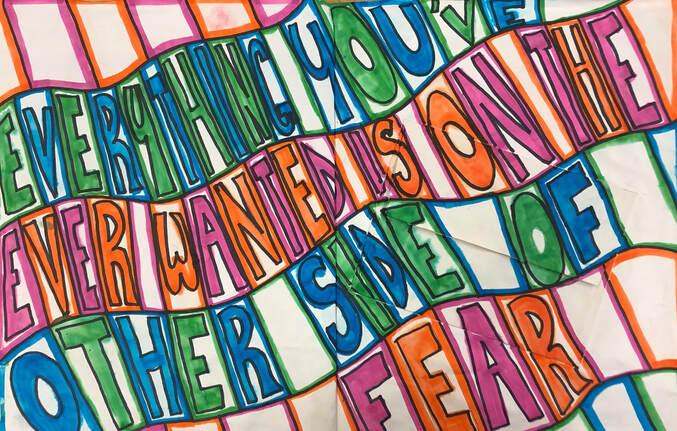
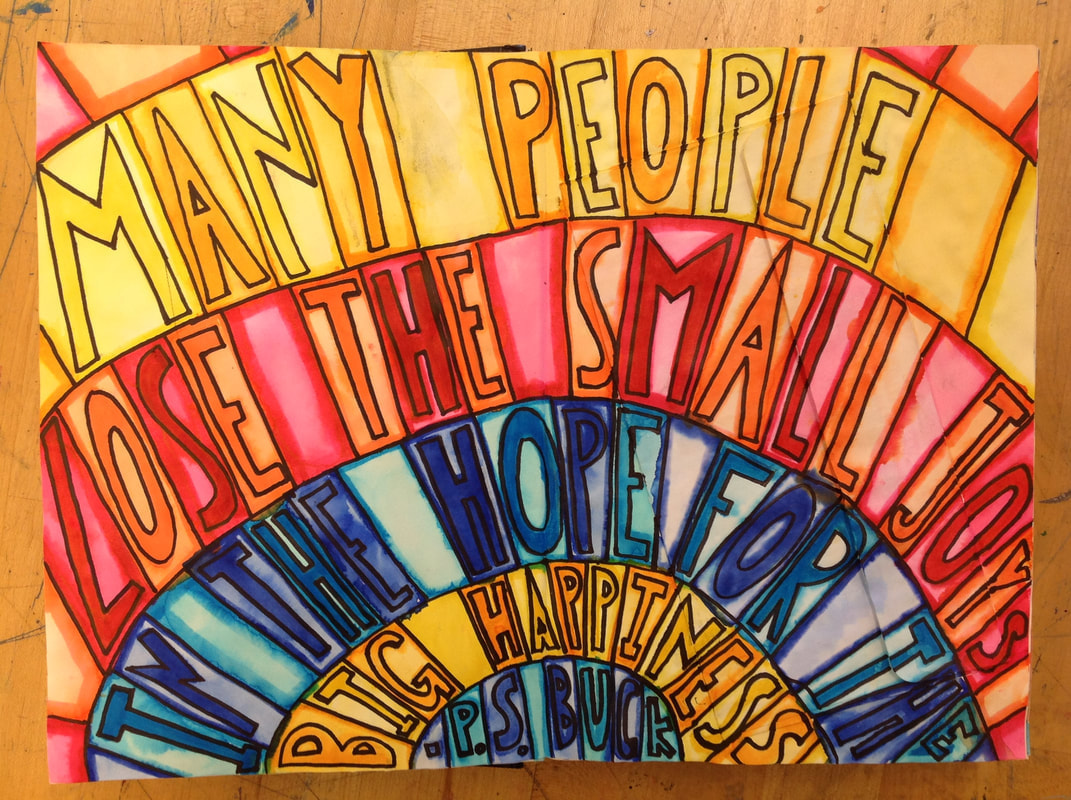
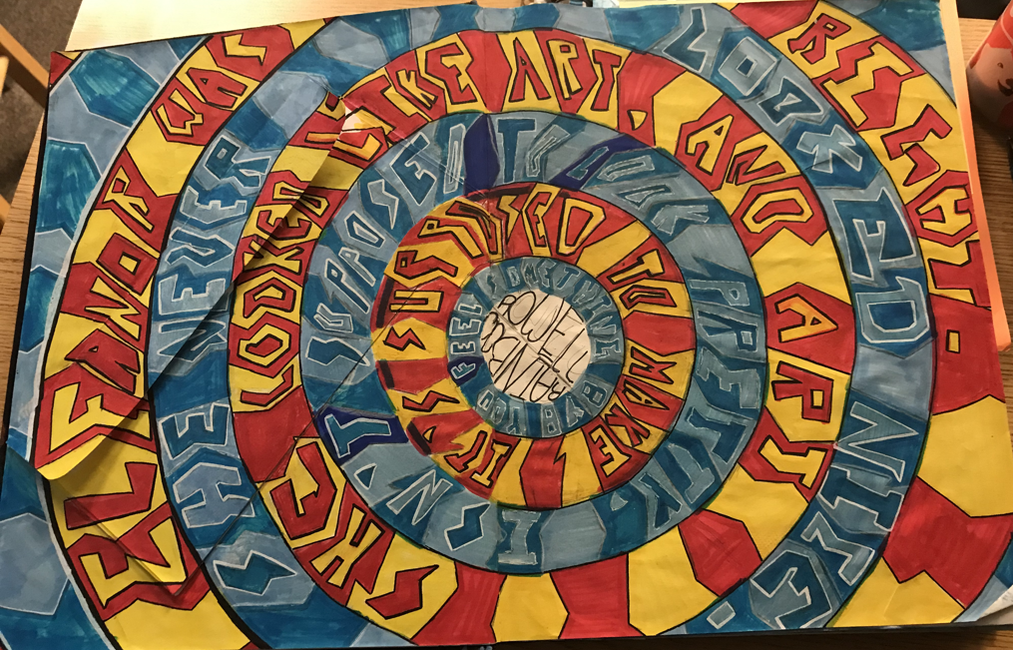
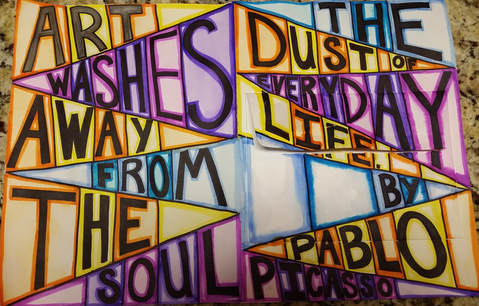
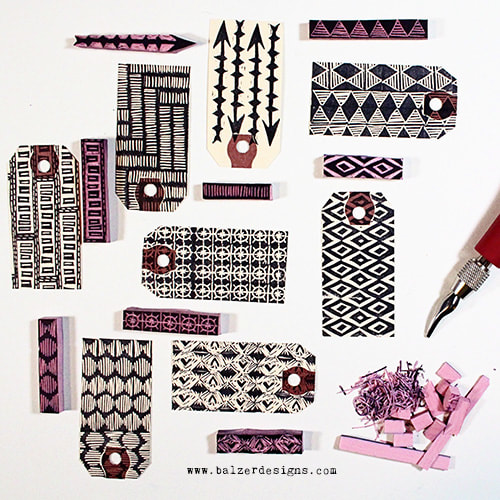
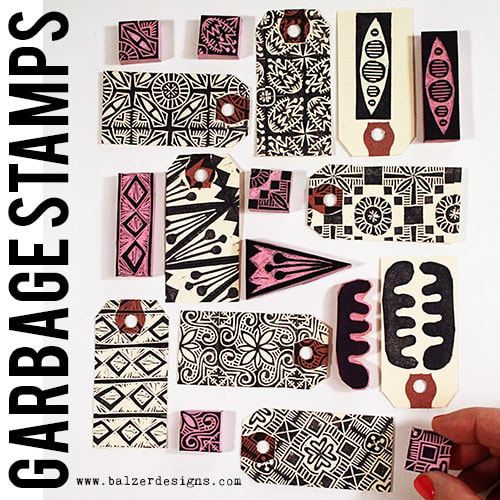
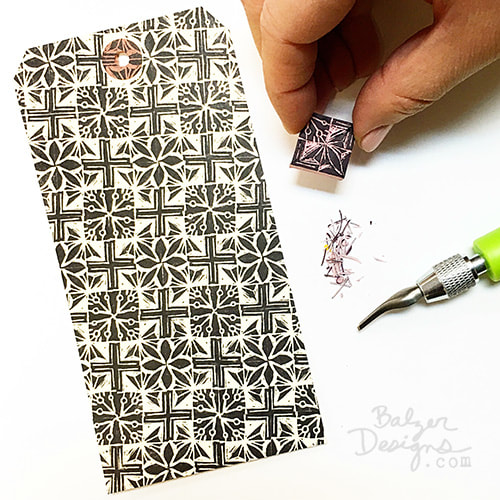
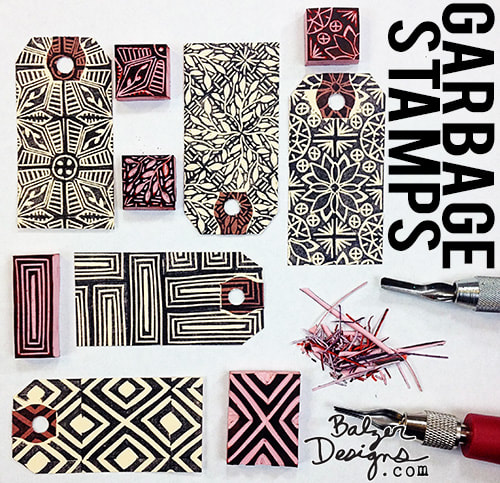
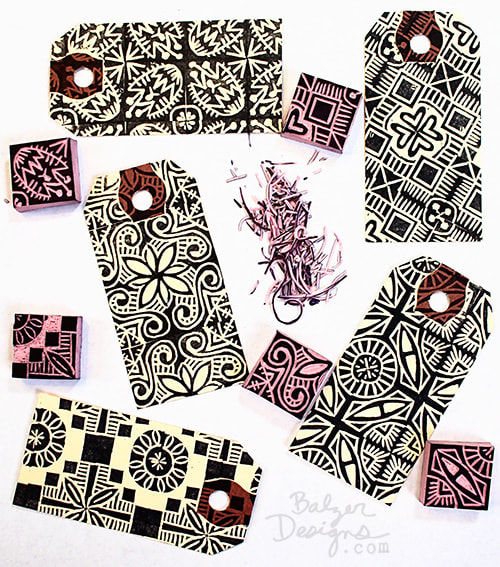
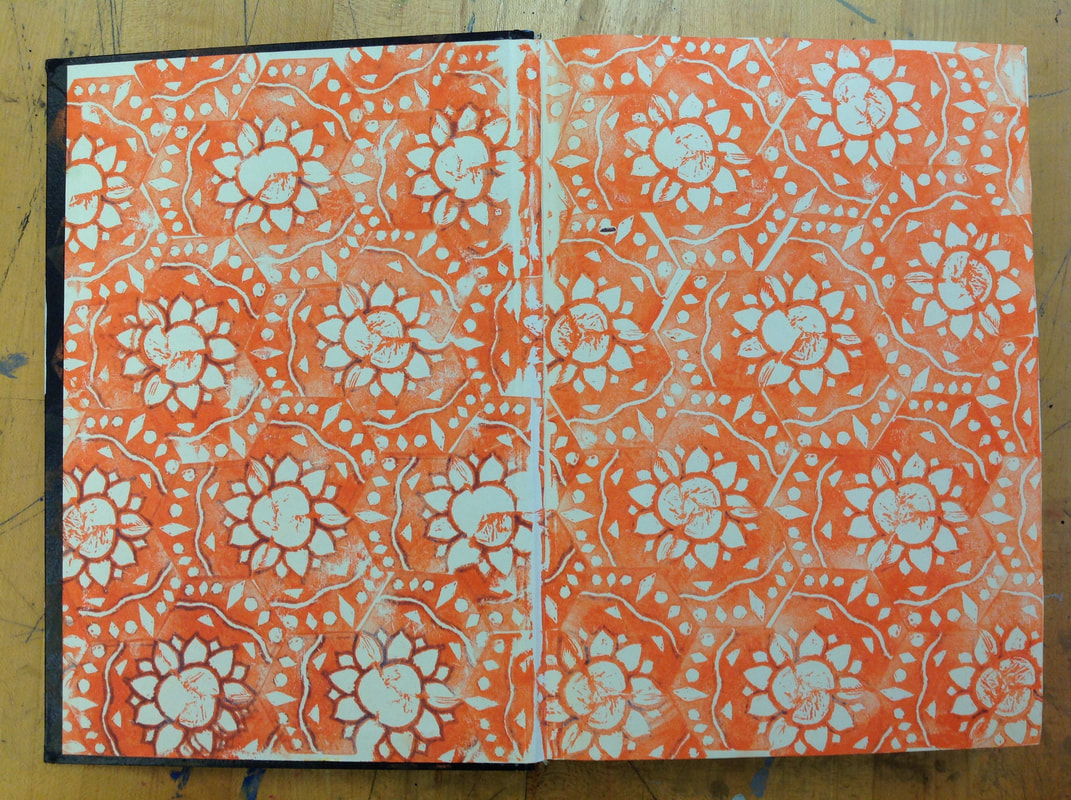
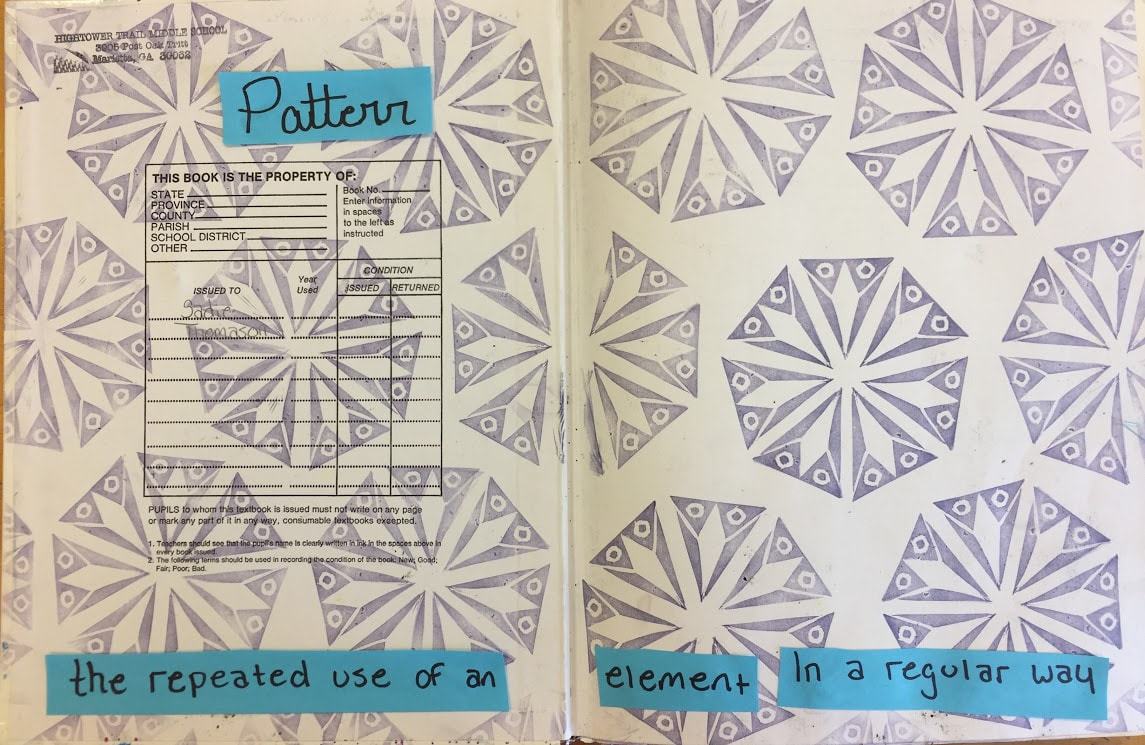
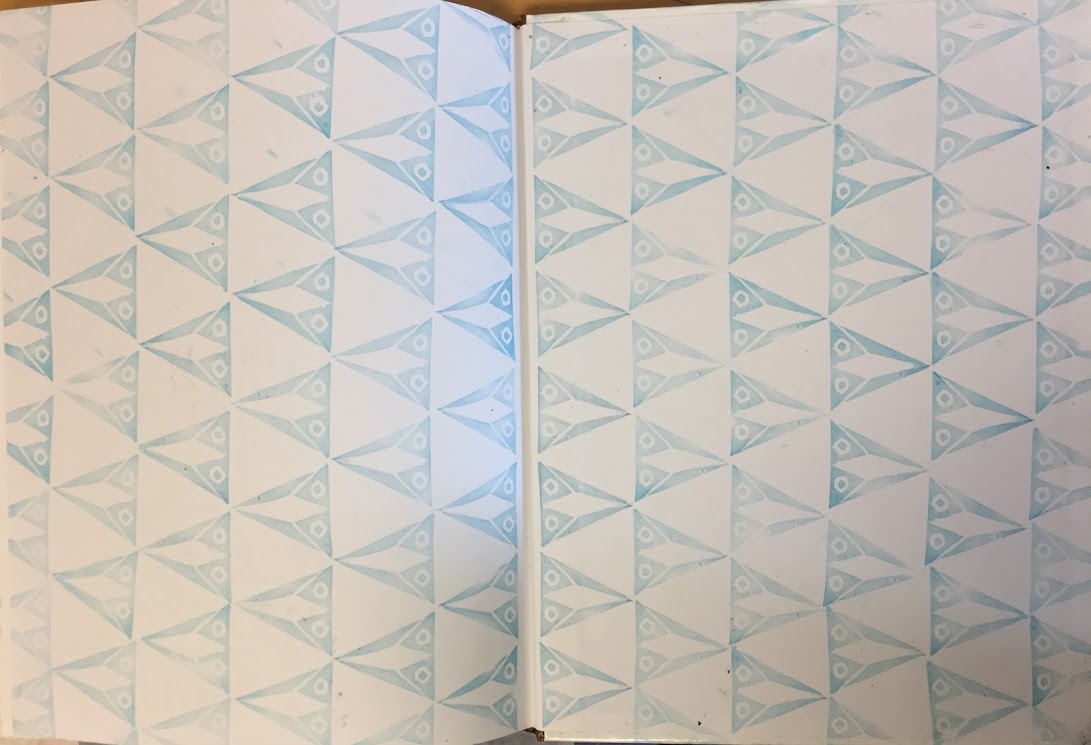
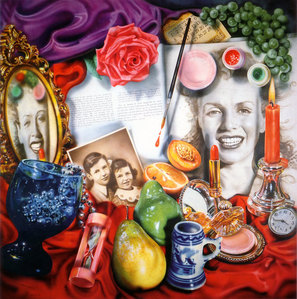
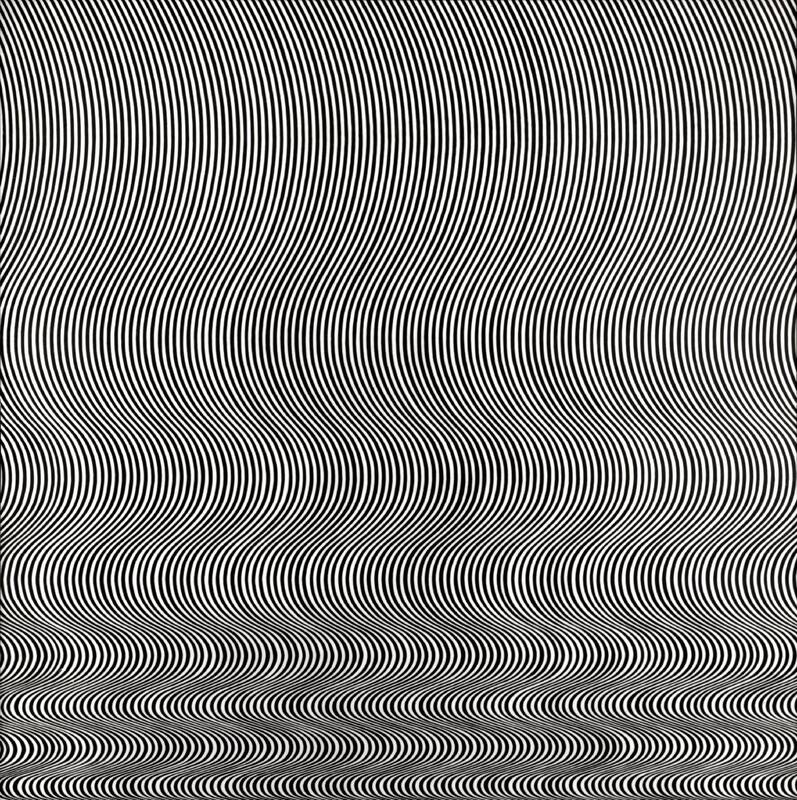
Check out these samples below more more ideas:
Students will "find the creature" in the symmetrical balance design they created yesterday. They will then bring it out using colored pencil. Once it is brought out, students will add designs, the title, and definition for balance. Be sure to add the following:
To finish the Contrast Altered book, you will add at least 2 other contrasting characteristics to the book (not including the Notan Square.) Think about what CONTRAST in art really means (strong differences). This could be differences in Size, Shape, Color, Line Quality, Textures, etc.
Below are how some previous students have added CONTRAST to the rest of the pages in their altered book.
This is a great video on how to make a notan square. This we will do in our altered books!! We are going to use a Noton Square to emphasize the principle of Contrast in our altered books today!
We will next begin our Altered Book Assignment on UNITY. We will create a pocket out of an envelope and put an inspirational quote all over the two page spread to unify the pages together.
Later we will add color!
1. Unity Altered Book: watch the video below and then begin the first steps of the unity altered book page.
2. Once you have watched the video, pick out an inspirational quote, prep your paper (cut it and glue on the envelope), then start breaking up the space on your paper for your quote, and then begin adding your letters.
4. At The end of class, stop and take a photo of your progress and send it to me through Remind as your "ticket out the door" for a formative assessment. Unity Altered book:
We will be beginning a unity altered book page. We will use an inspirational quote to cover the page, (and hide an envelope). The color will be added with marker and then blended with water to achieve a watercolor look.
This altered book page is going to be to create pattern using a SIMPLE stamp that we have carved ourselves. Please check out the video below to see how you can draw out, carve, and then print from your stamp to make really cool designs from a simple stamp!
Check out these other really cool examples below from Julie Fei-Fan Balzer who started #CarveDecember !
We are going to create our stamp and then use it to create pattern on the inside covers of our altered books!!! Student examples:
We are beginning our first production assignment this week. We will be looking at the artist Audrey Flack and be creating our own photorealistic recreations of her work using a grid technique. This project will review using a grid to create accurate proportions as well as using color blending to match colors and values.
For rhythm, we will be creating an Op Art Line design across a 2-page spread in our visual journal. Check out the simple directions in the file below and follow along with my demo video!
Bridget Riley: Op Art!! |
Fun SitesMarilyn Maker Archives
April 2024
Categories
All
|
Draw & Paint 1
Keep up with all assignments and due dates by following the blog feed below.