PRintography extension choices:
Below are options for you to do extensions to the photography you are creating. Over the course of the semester, you will have some free time between assignments. During this time, you will come to this page and sift through the extension options. You will create a minimum of 2 of these extensions to turn in as a project grade at the end of the semester.
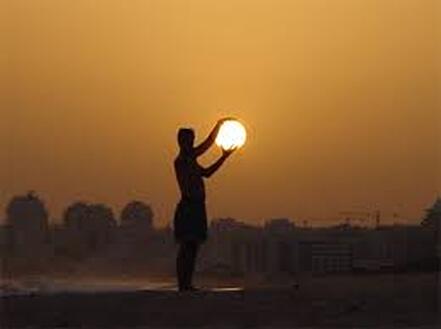
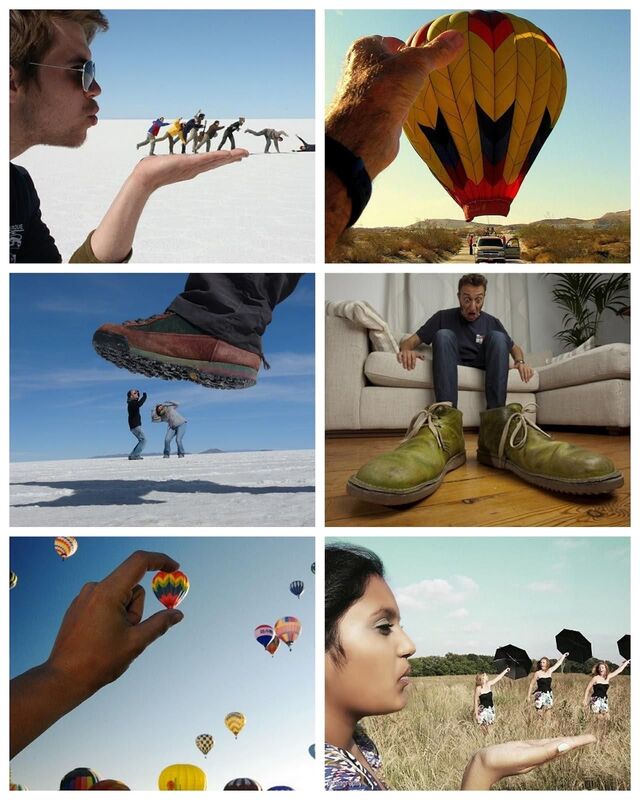
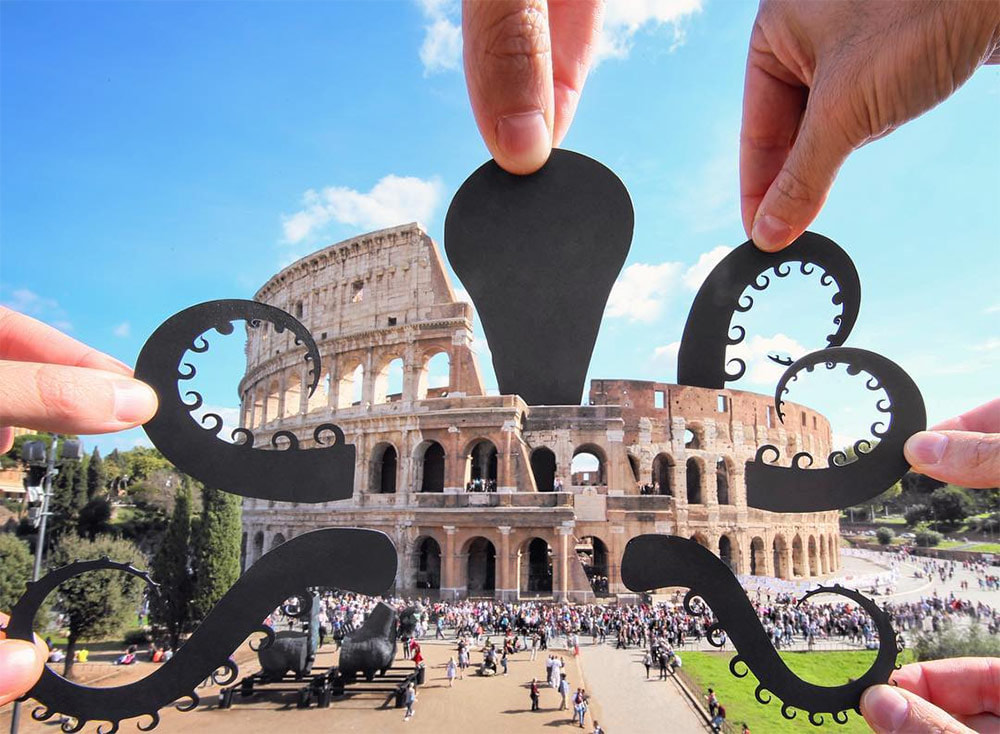
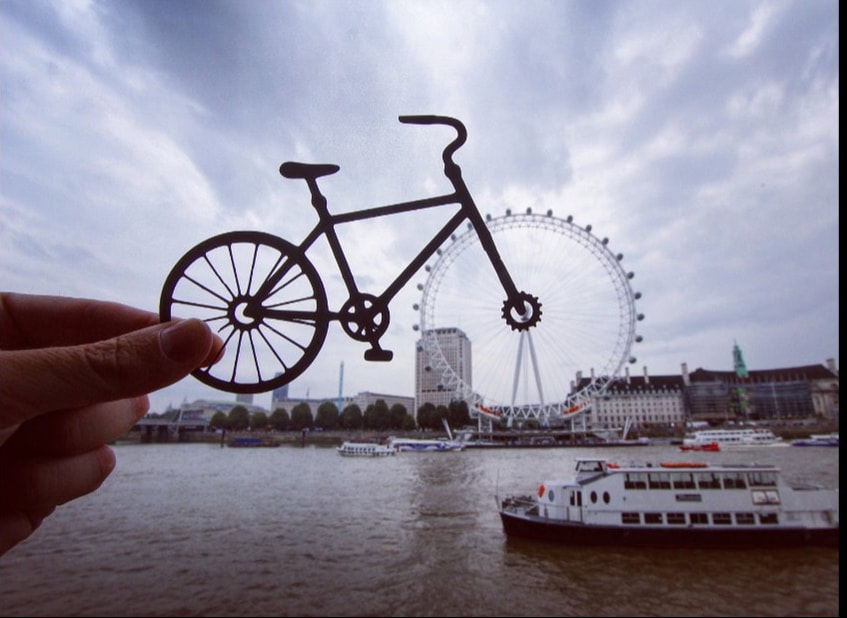
Option #1: Forced Perspective Photography
Forced perspective is a technique that utilizes optical illusions to make objects appear larger, smaller, farther away, or closer than they are. Human visual perception is influenced by observing the relationship between sized items and the camera or spectator's position.
|
|
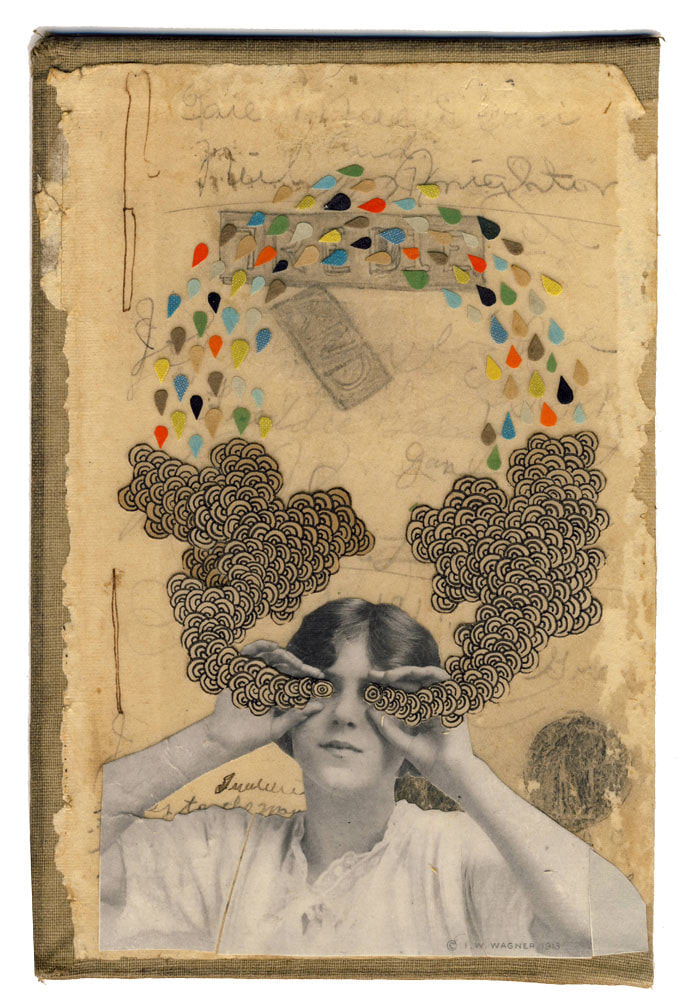
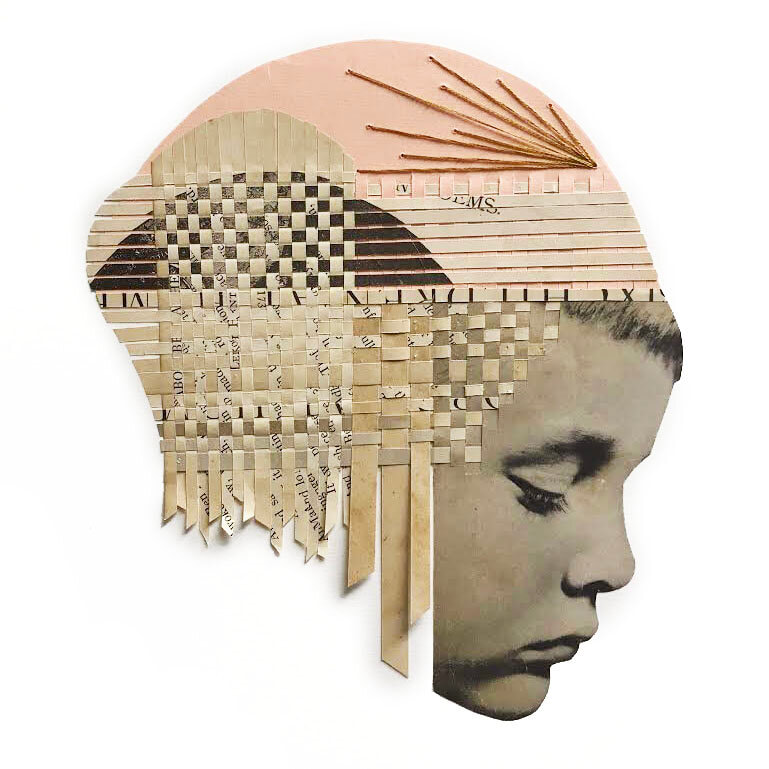
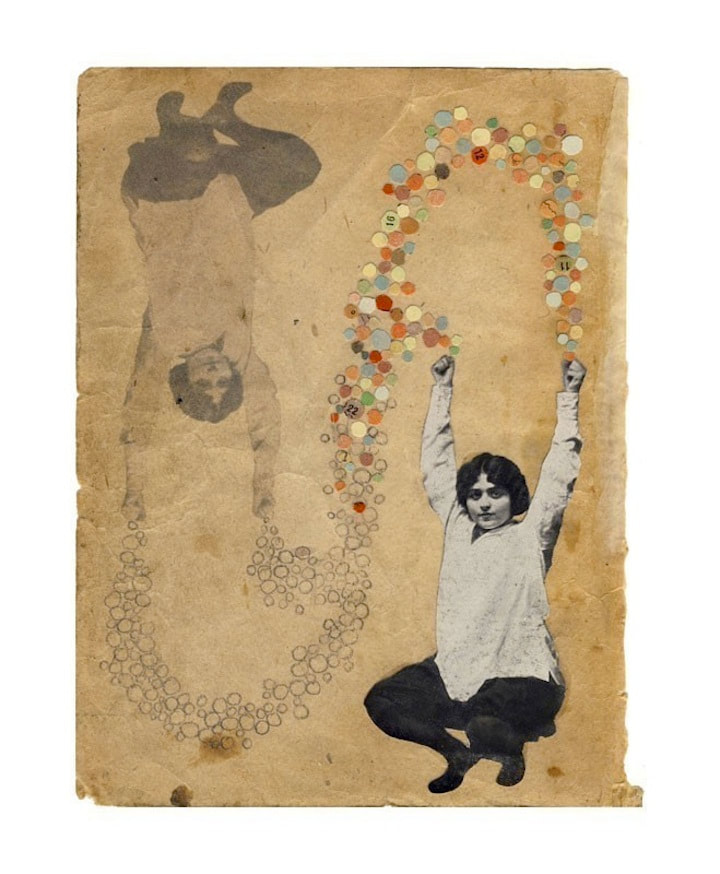
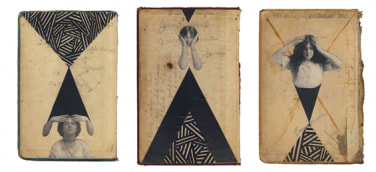
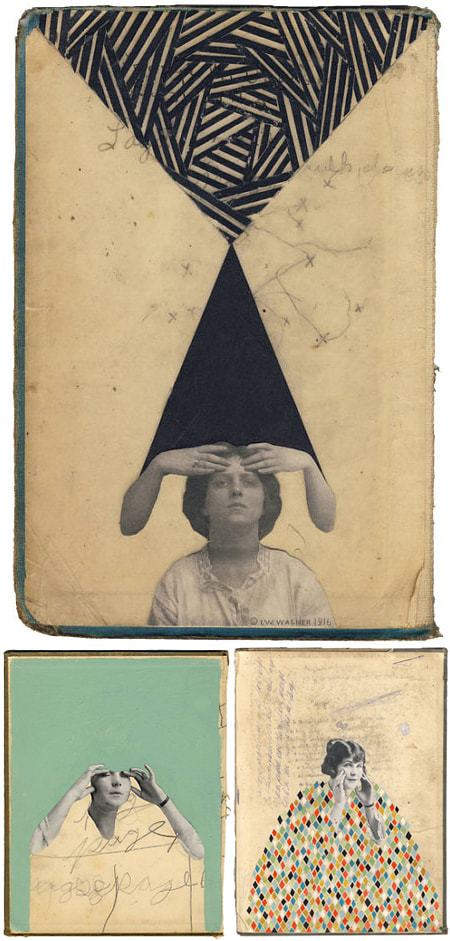
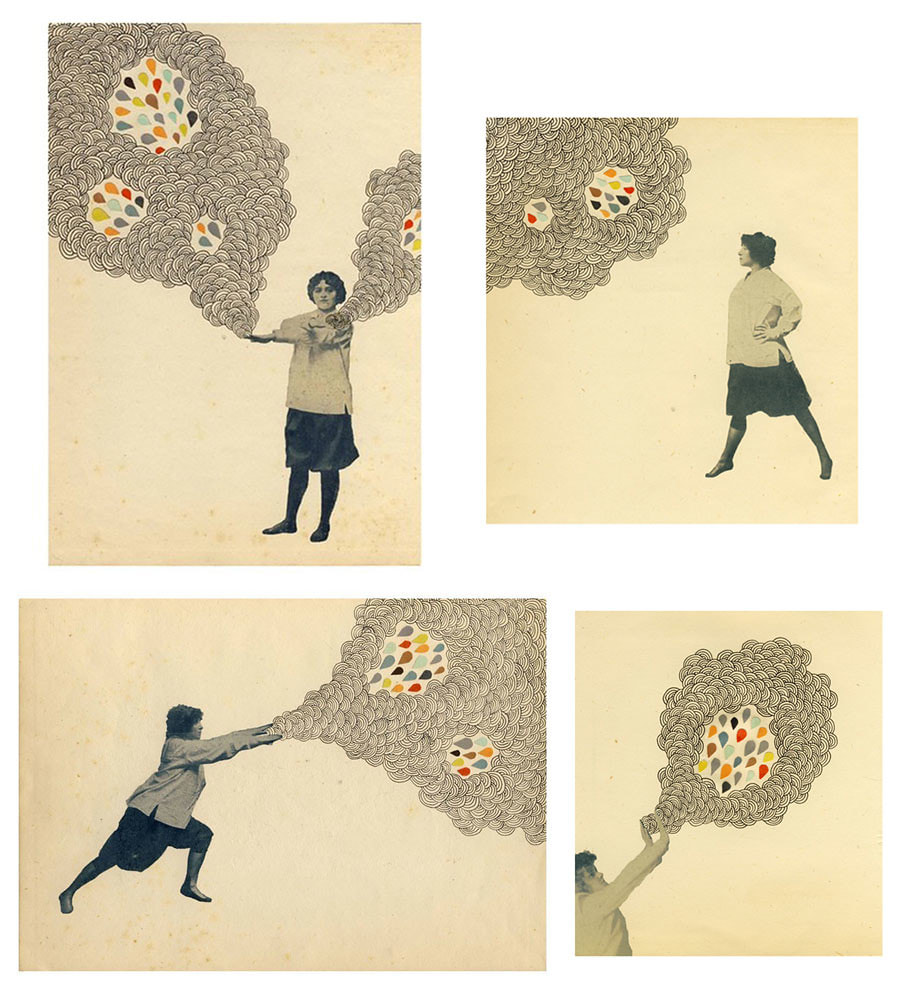
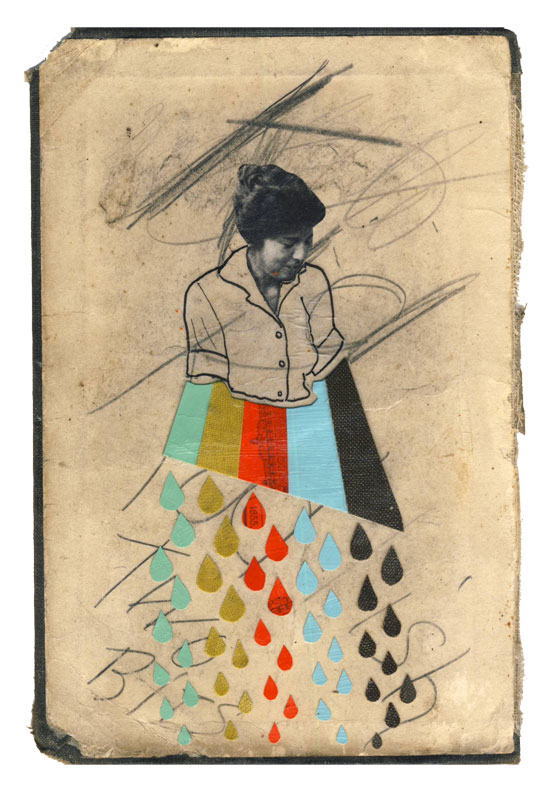
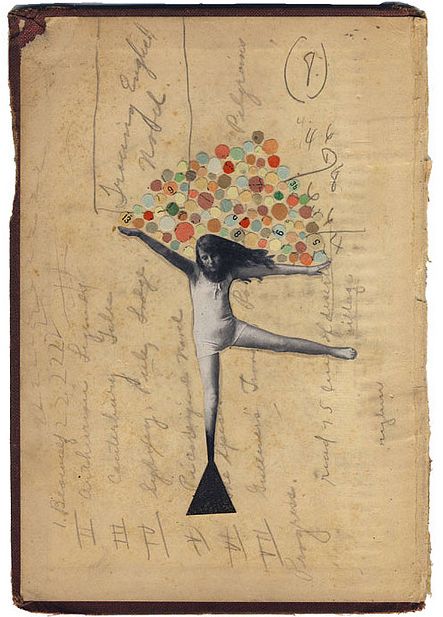
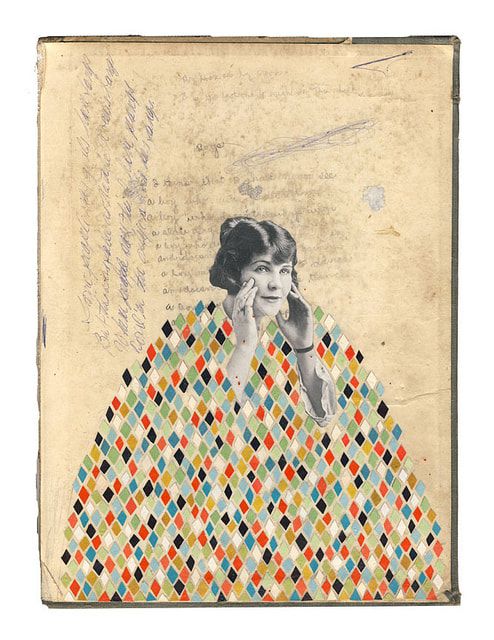
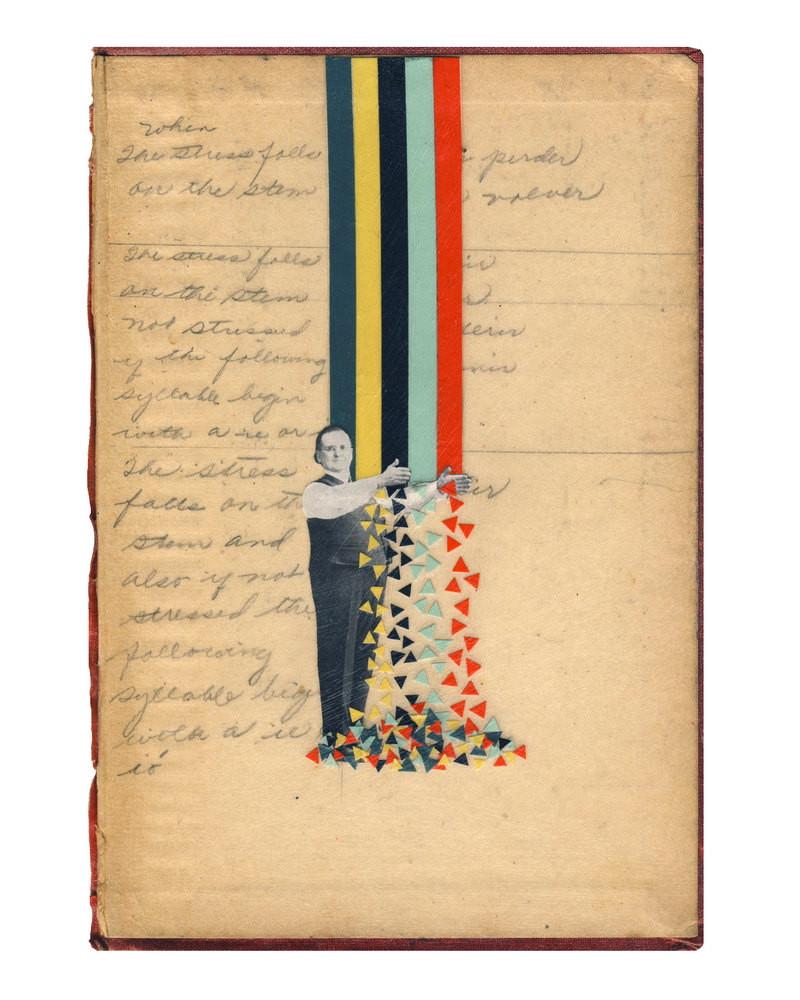
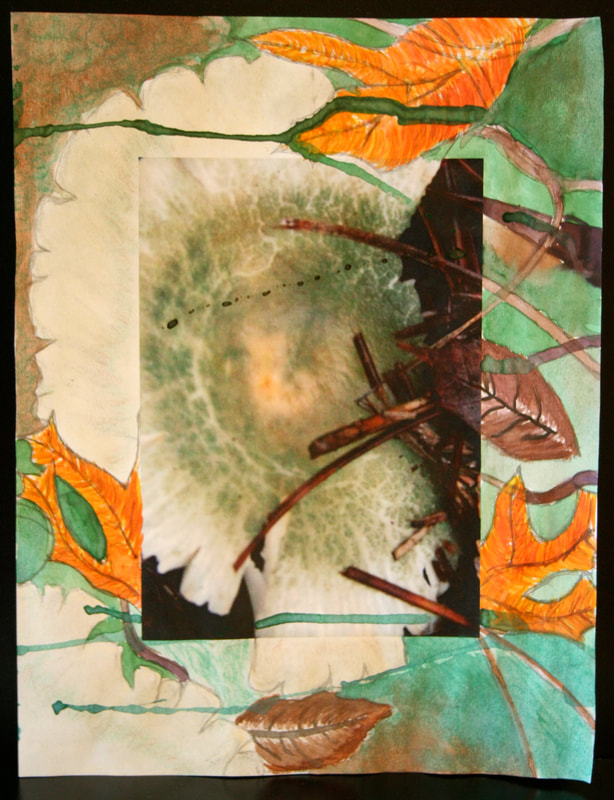
Option #2: Hollie Chastain inspired collage
Hollie Chastain is an artist living and working in Chattanooga, Tennessee. Following studies in both fine art and business she spent several years in marketing and design before taking the leap in 2009 to launch a career as an artist and illustrator. Hollie works mainly with paper, mixing vintage and found images with modern colors and compositions to create work full of originality and narrative.
For Option #1, you will take your photograph(s), and print out in black and white. Then, add collage, drawing, or even sewing to create simple compositions inspired by Hollie Chastain. You can see below, she often uses old, discarded library books, or pages as her substrate and sometimes even weaves her photos/collages together.


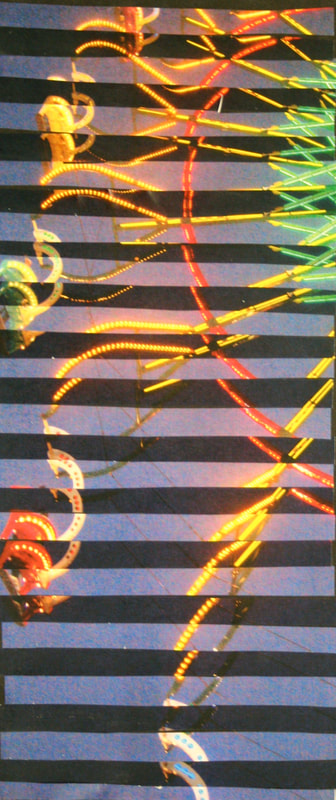
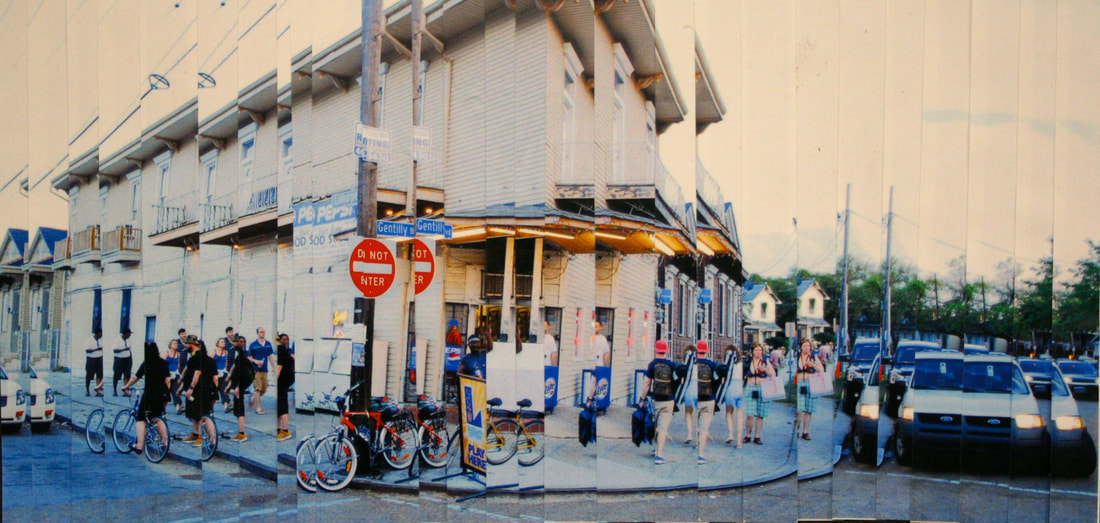
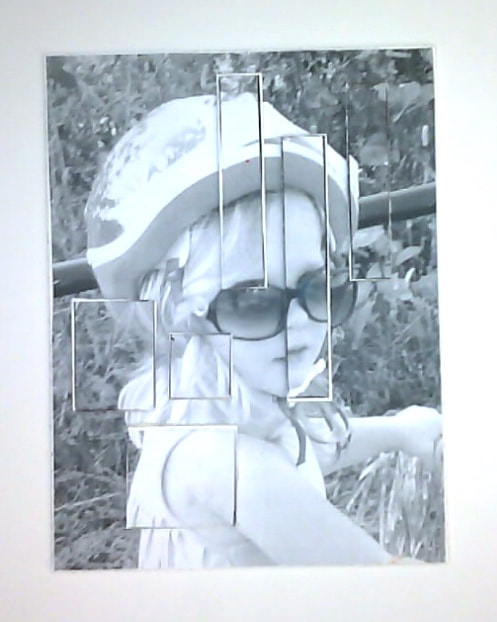
Option #3: Slice N Stretch
For this assignment, you will print two photographs that are the same or very similar and cut them into strips, and layer them together to create one expanded photograph. See some examples below:

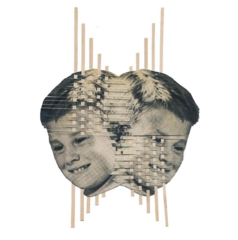
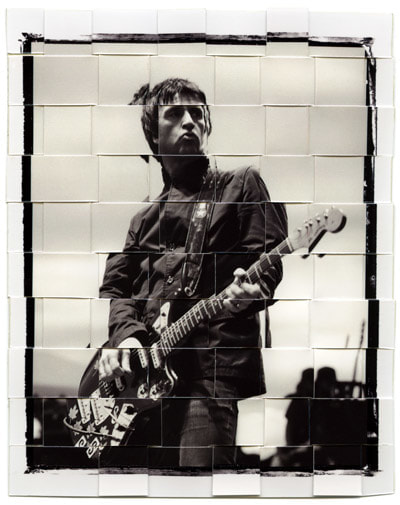
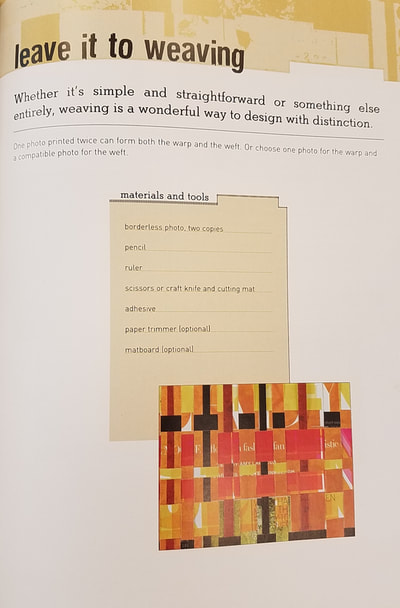
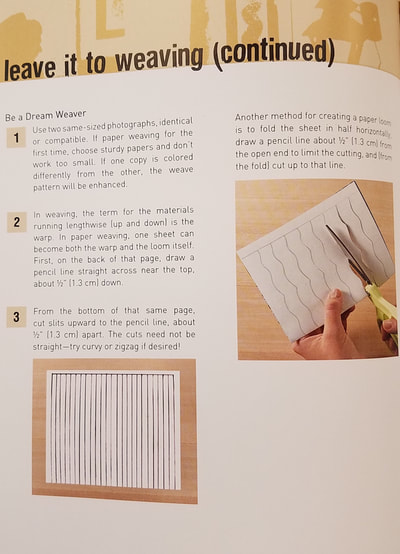
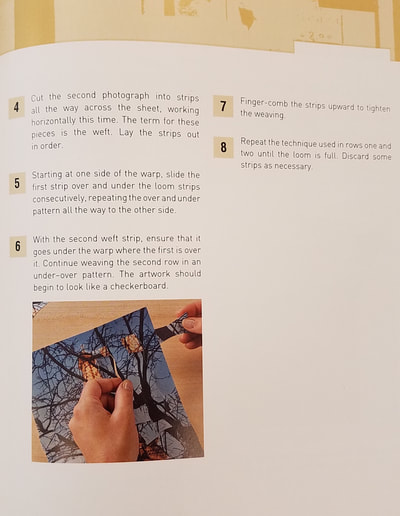
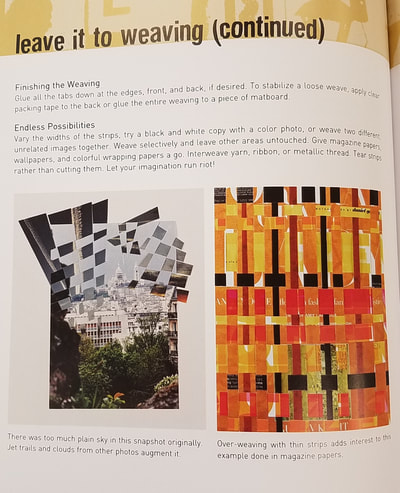
Option #4: PhotoWeave
Follow the directions from the book below to create a photo weave!

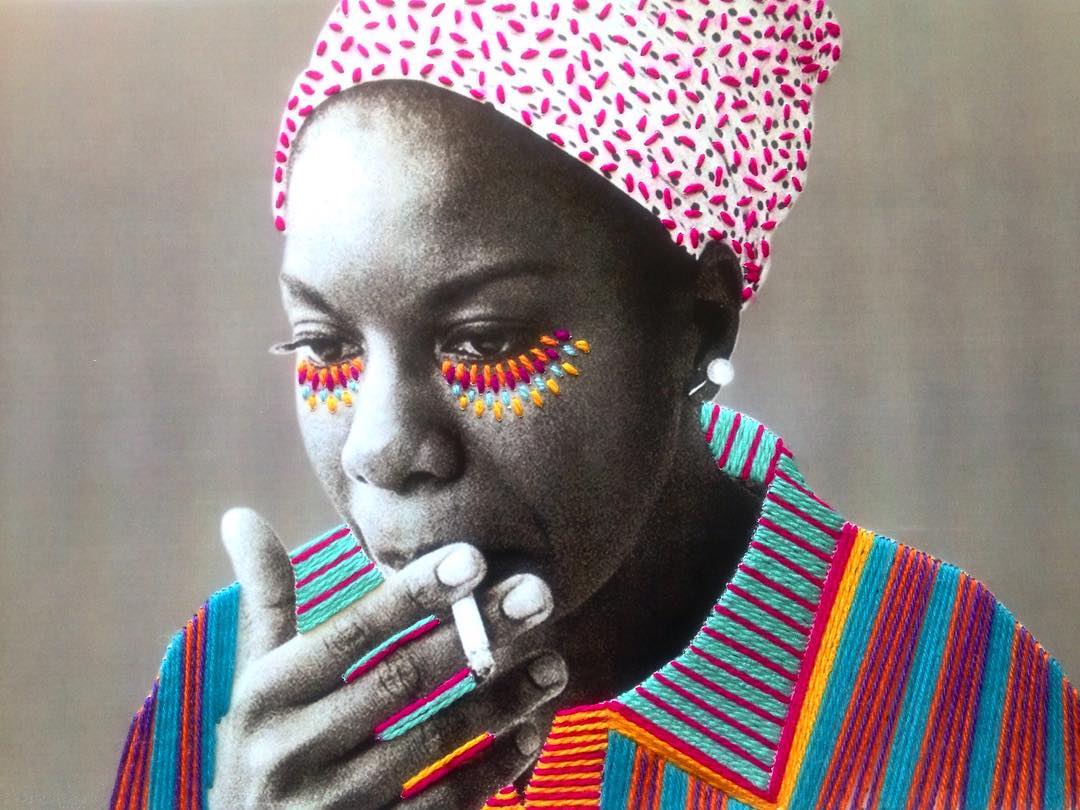
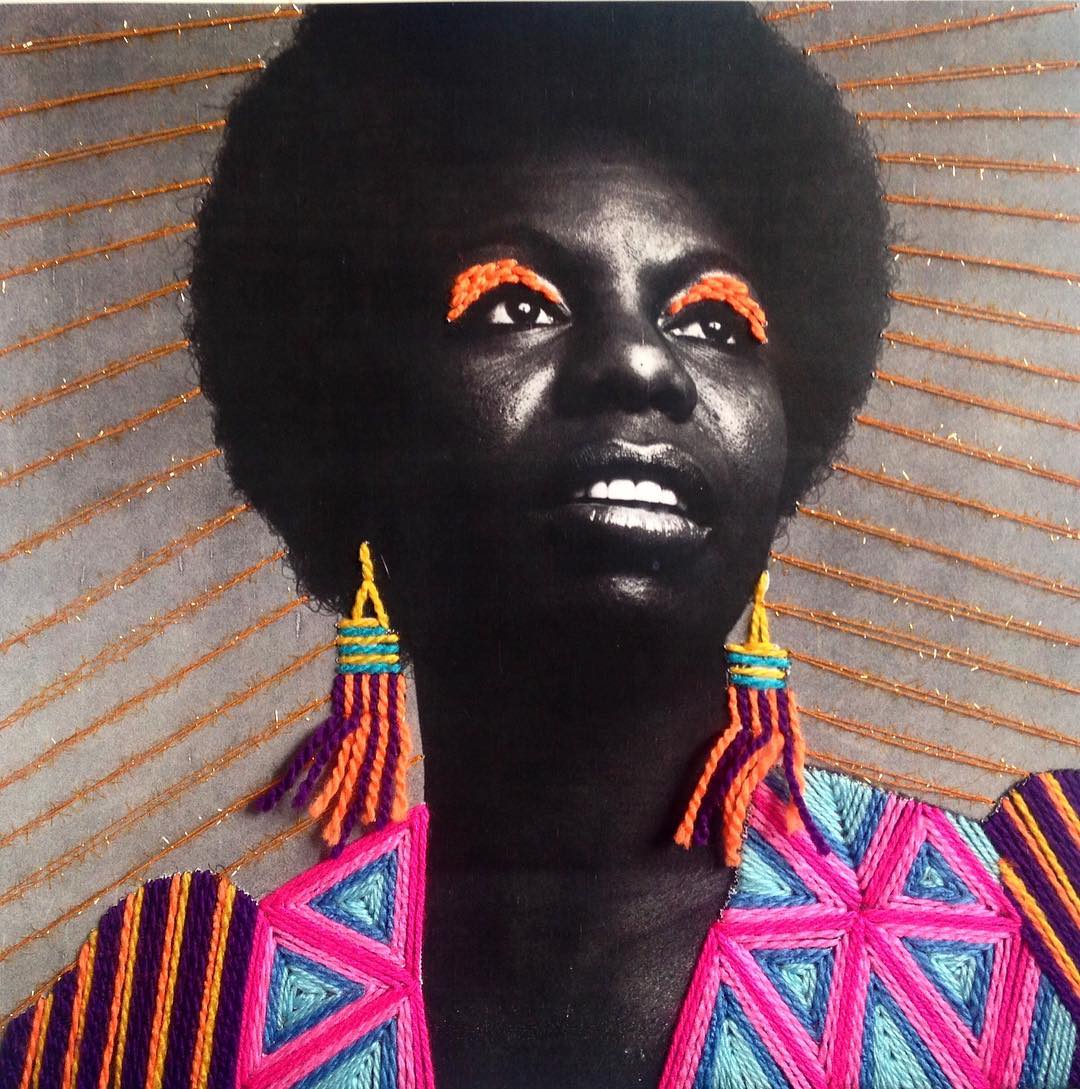
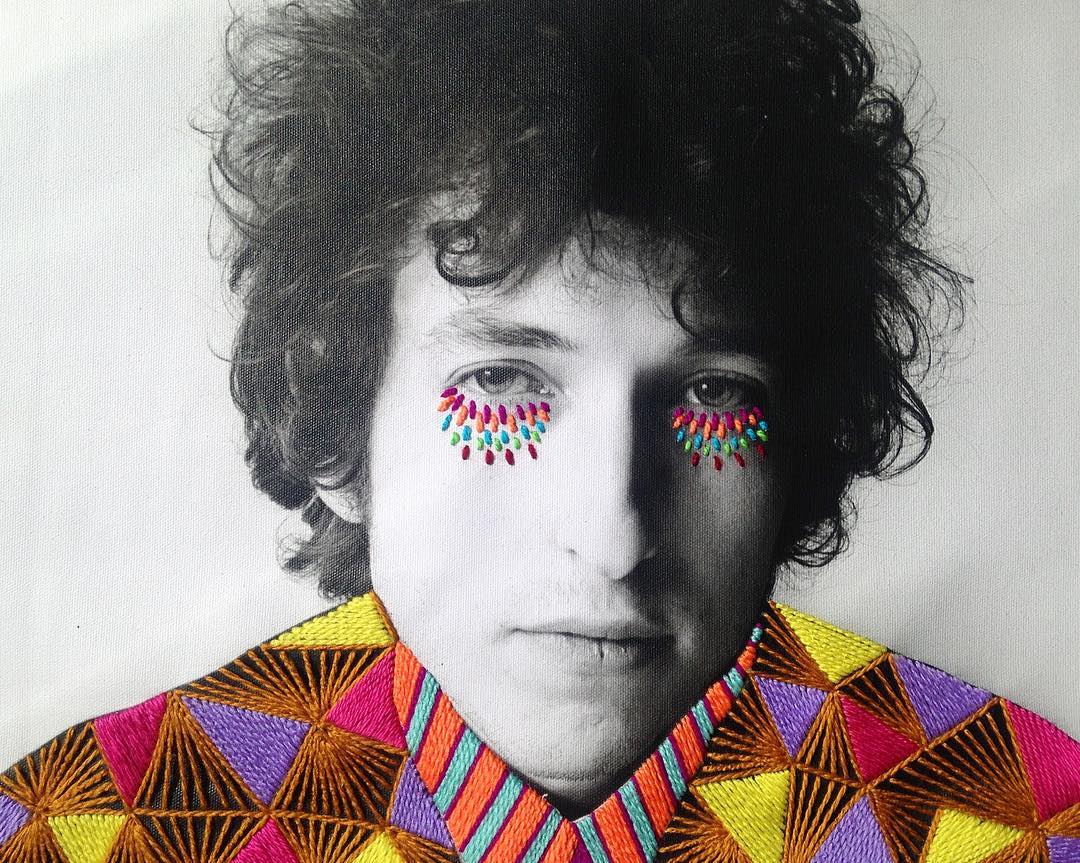
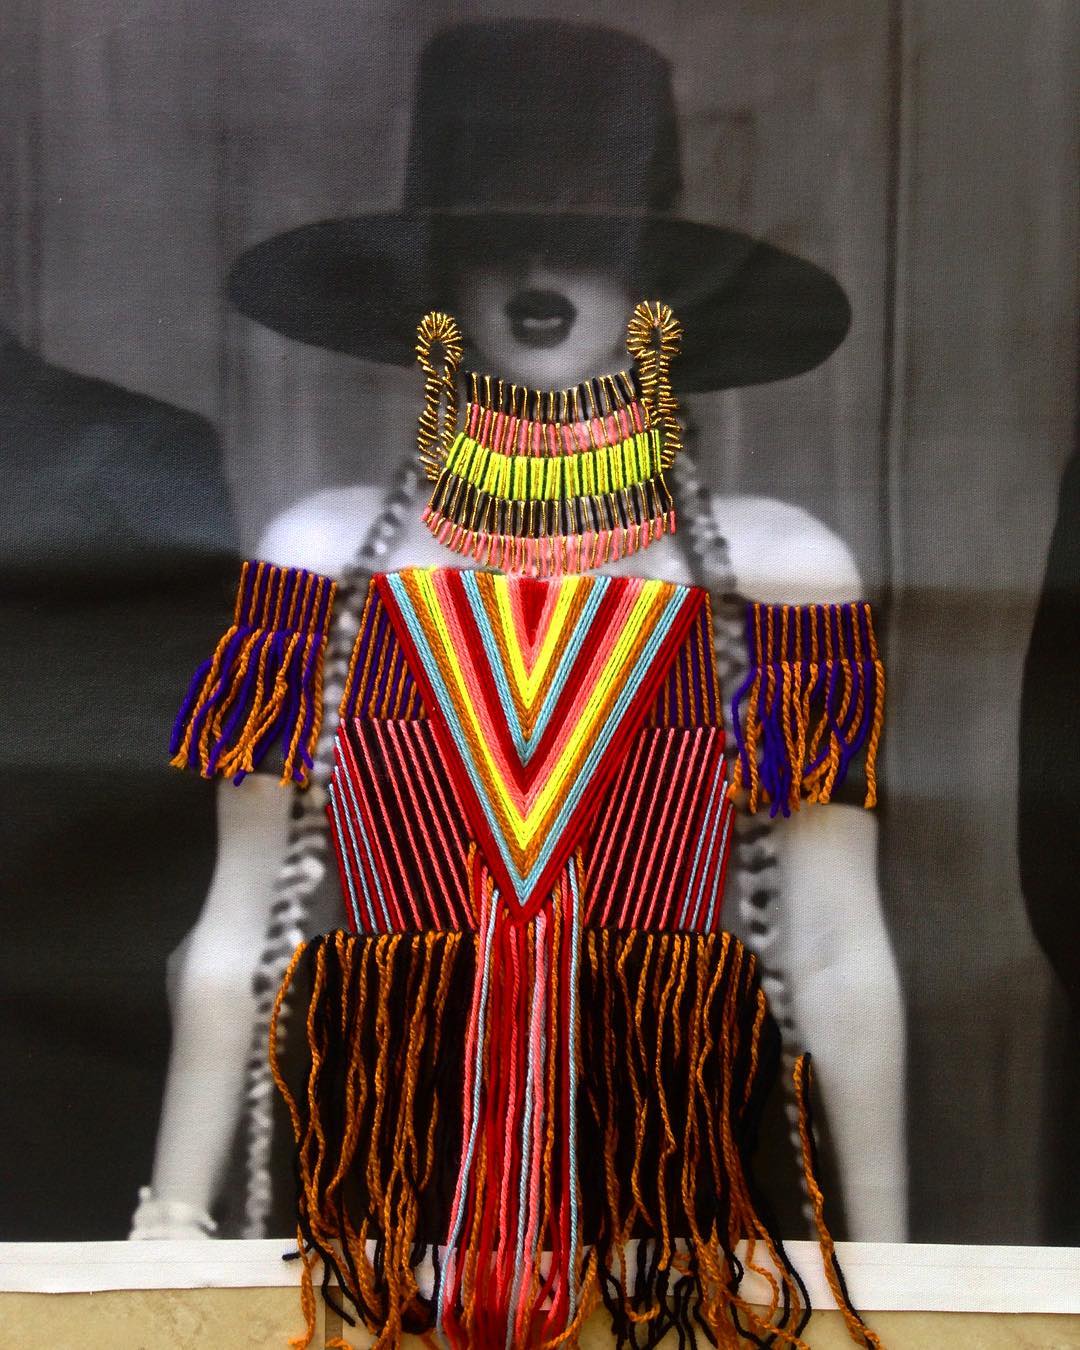
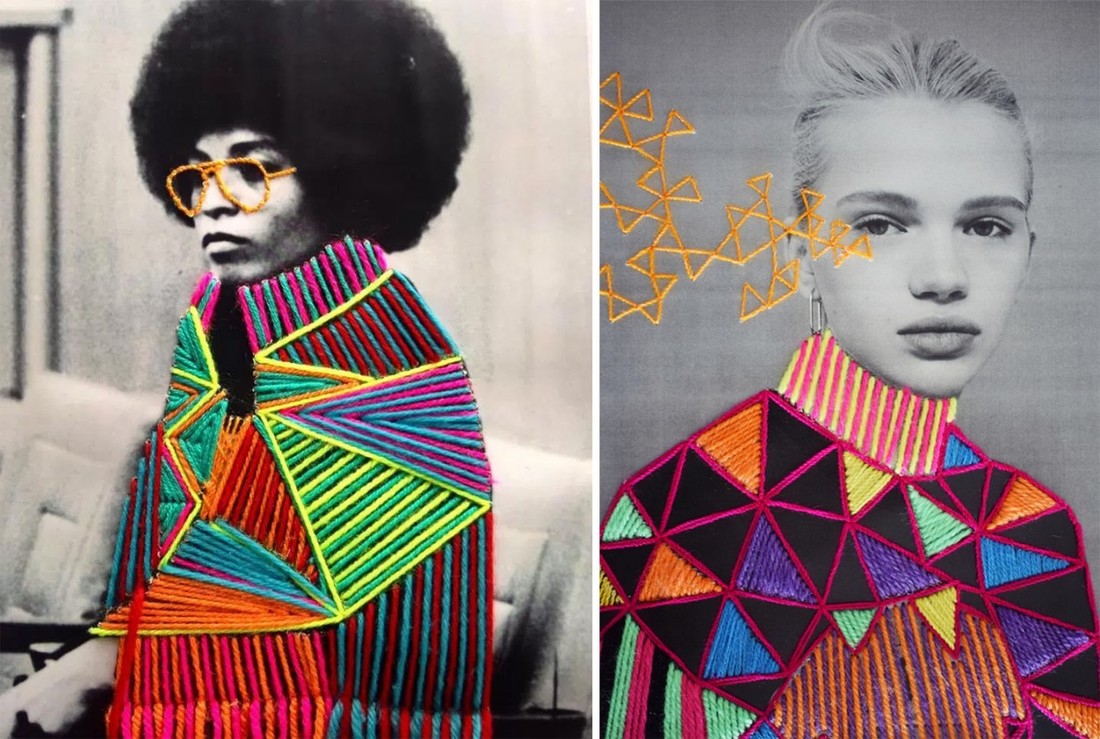
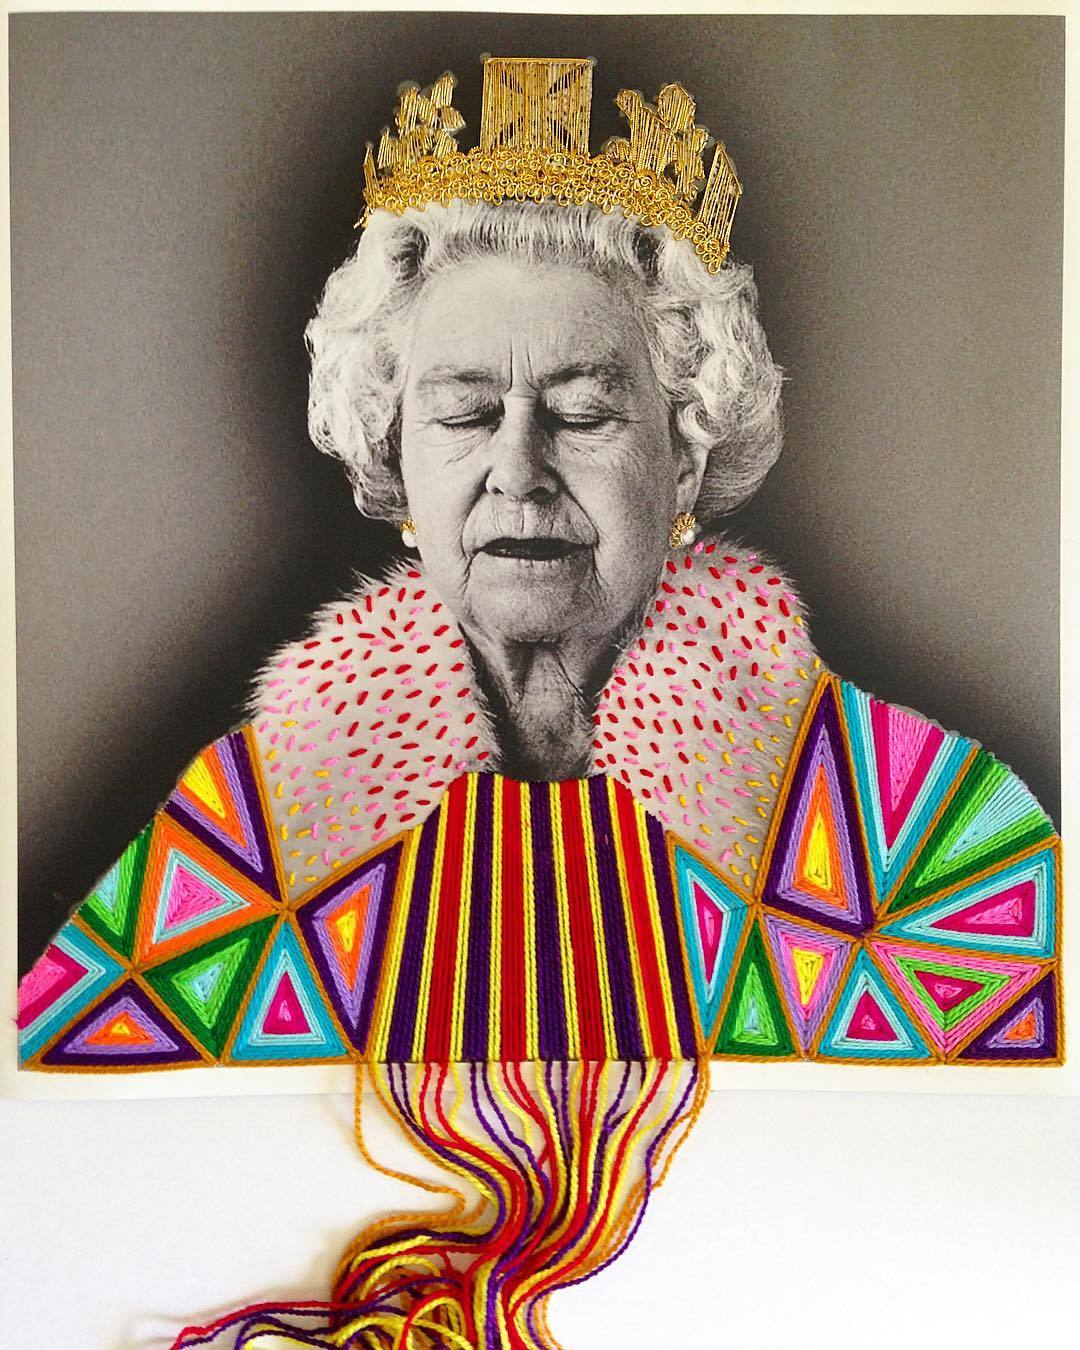
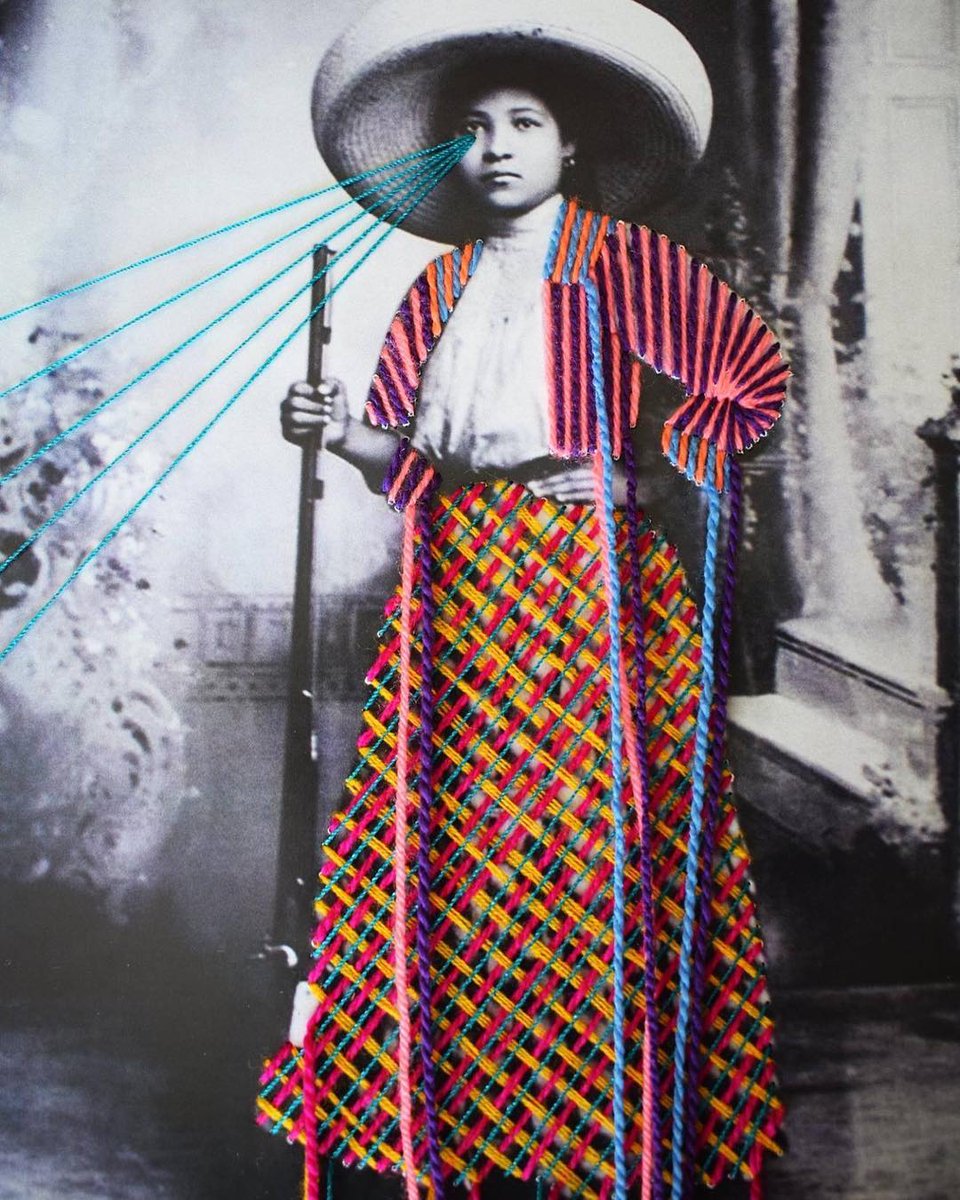
Option #5: Embroidery and Photographs
We will be inspired by the artist, Victoria Villasana who creates embroidered portraits with lines and designs! Below are examples of her work!


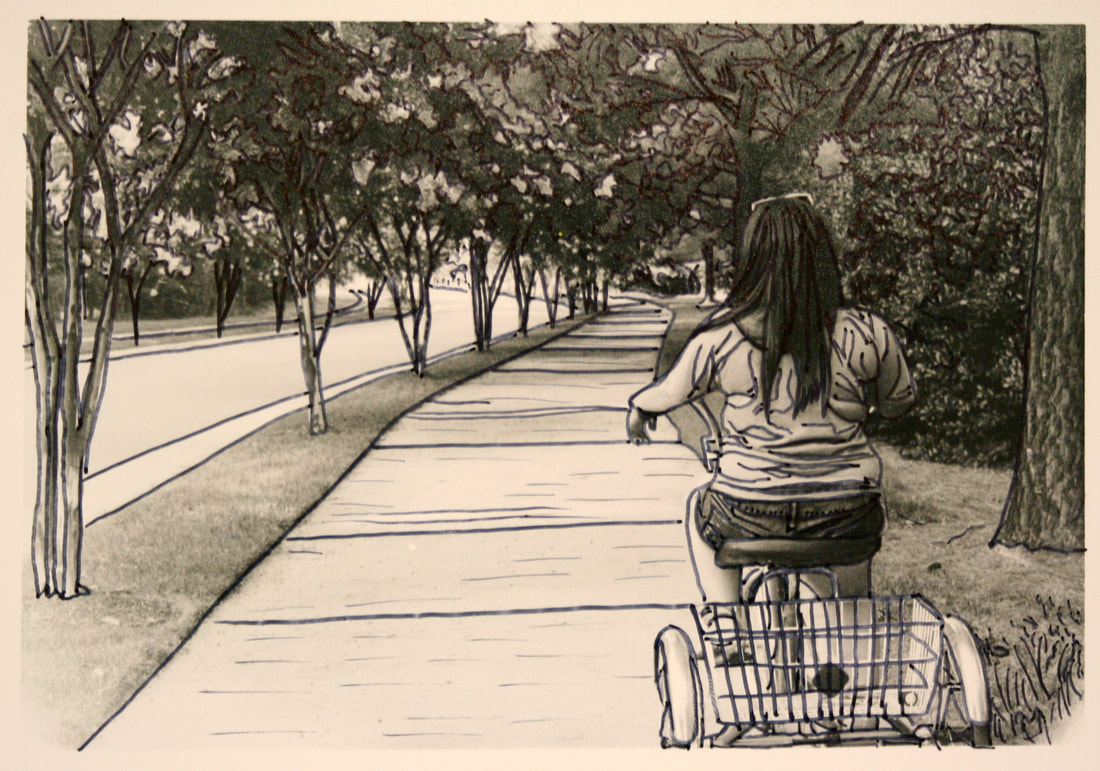
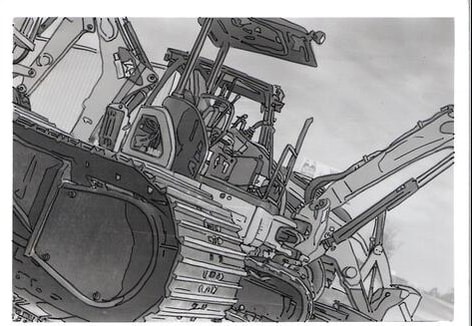
Option #6: Sharpie Contour
Take one of your previous photos, print it out and go over your contour lines with fine point sharpie. Dark photos can use silver sharpie or white gel pen instead. (This works well for photos that are slightly blurry to clean up the contours.). You can digitally alter the photo first to make it lighter so that the contours add more contrast.
|
|
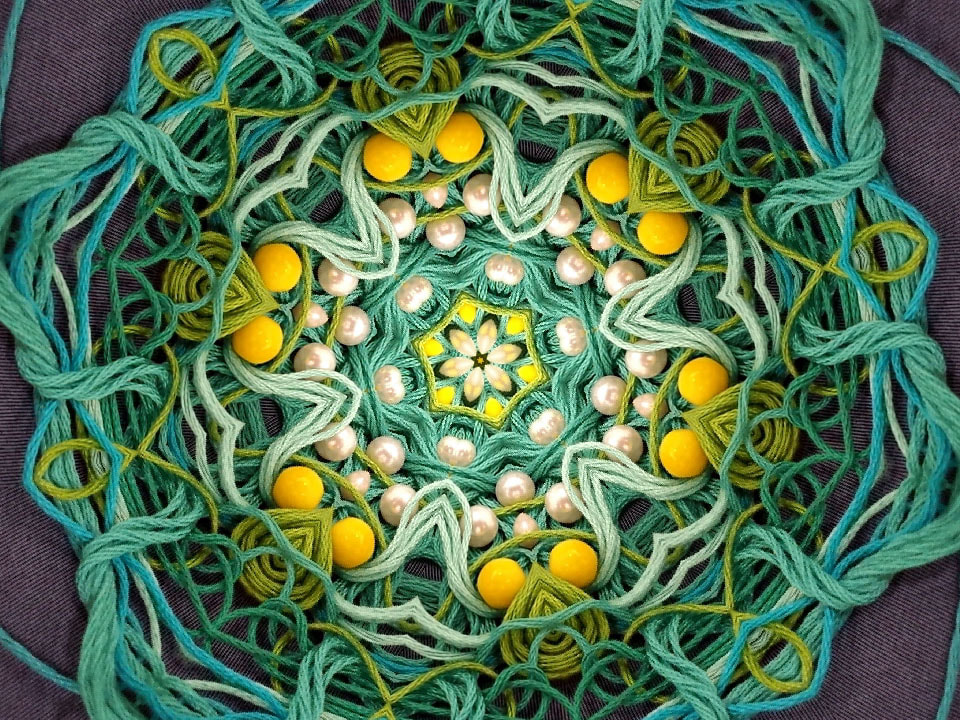
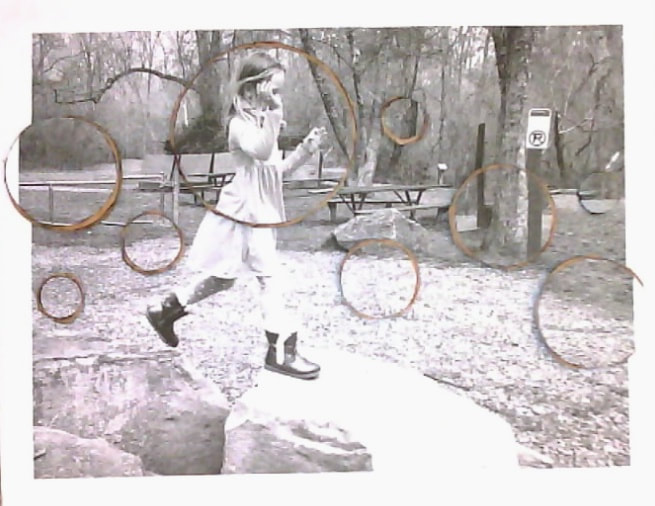
Option #7: Radial Balanced Design
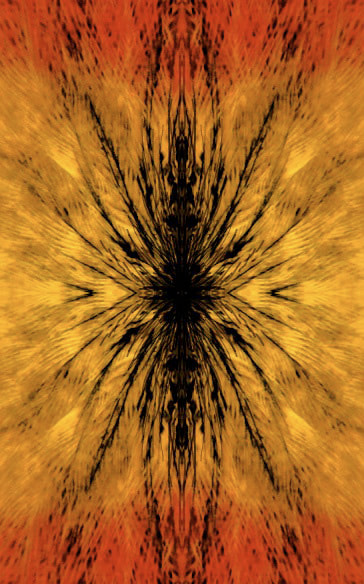
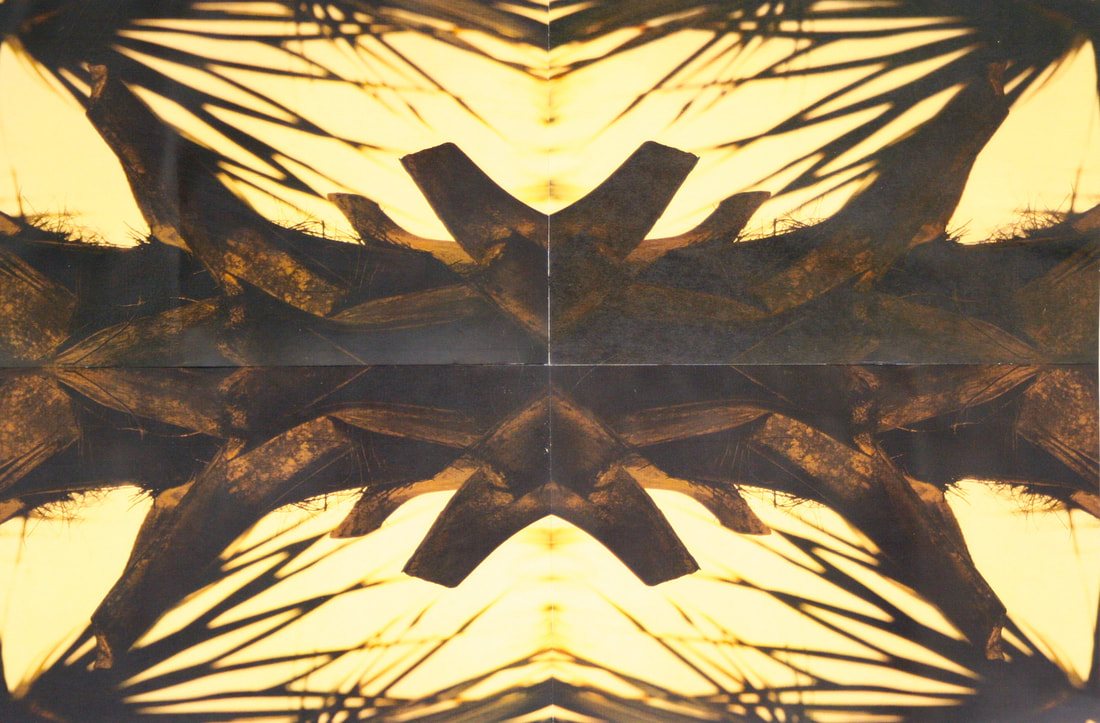
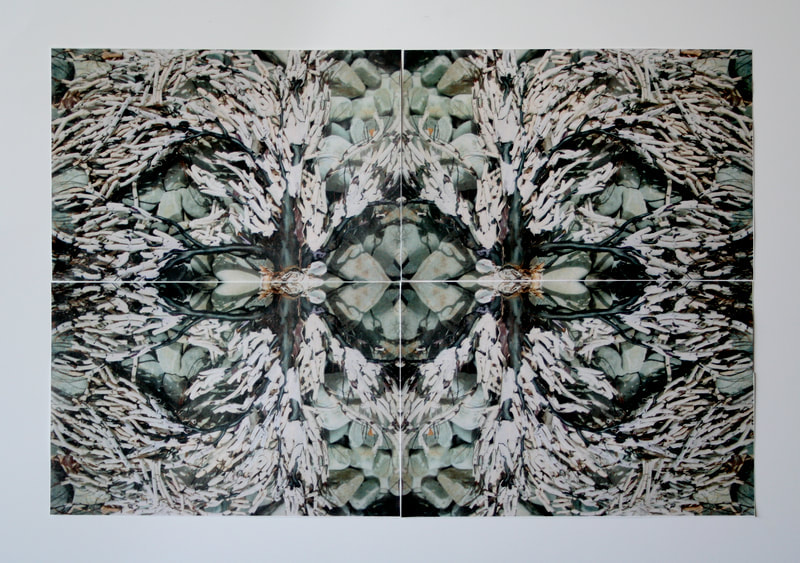
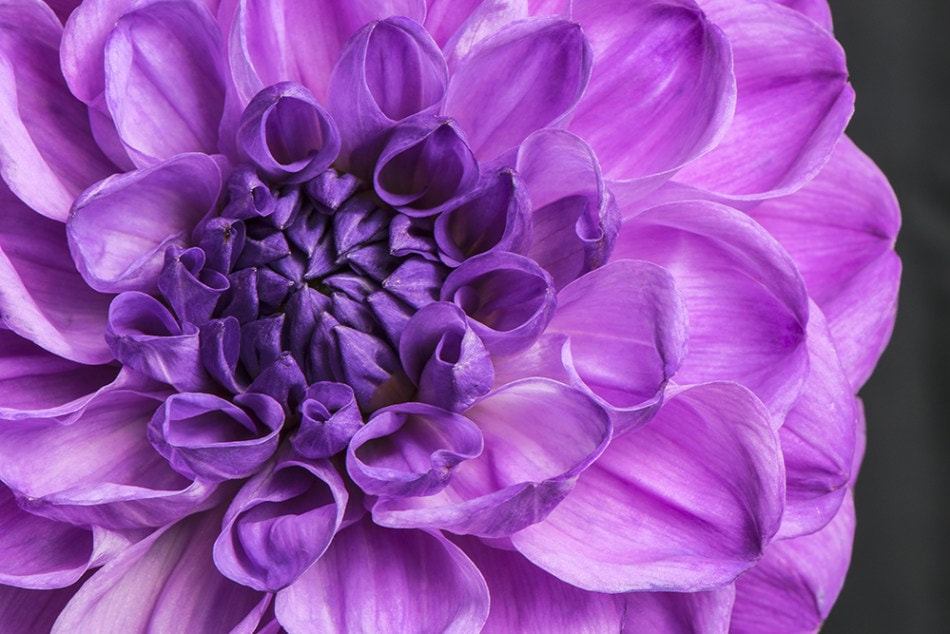
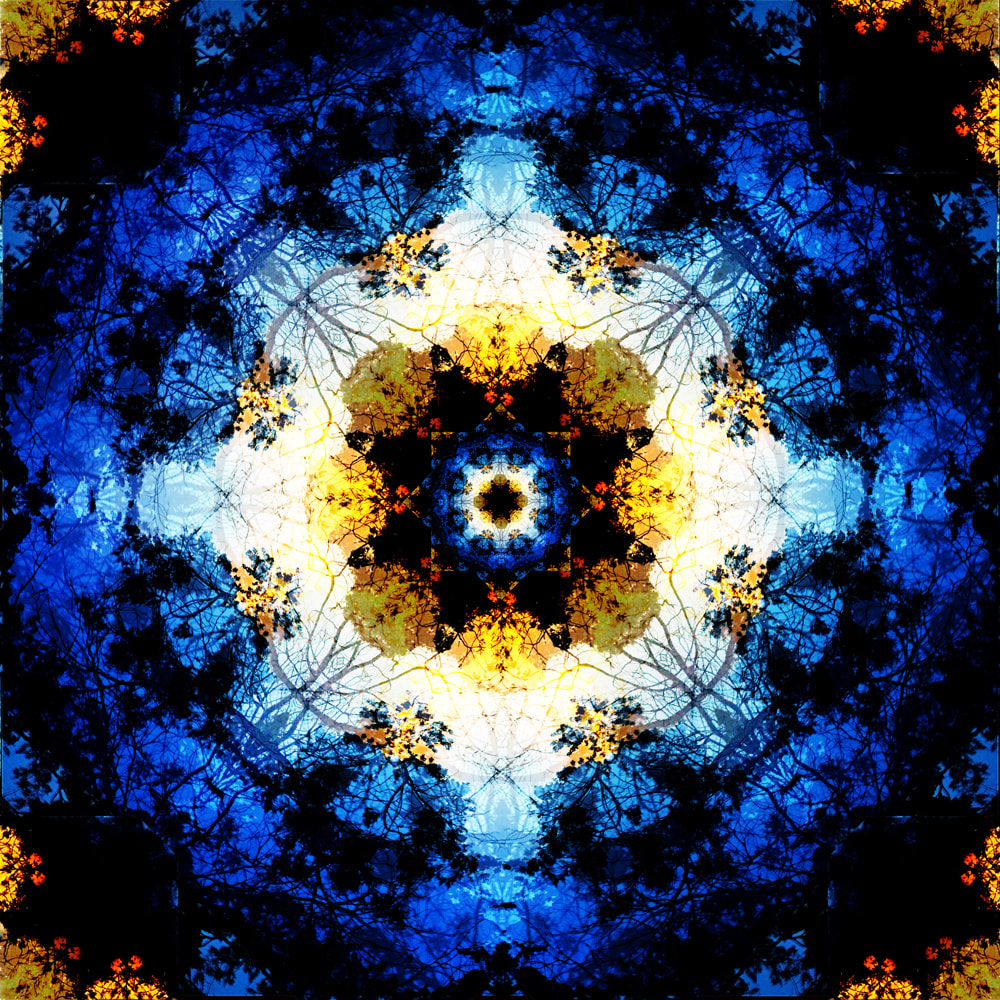
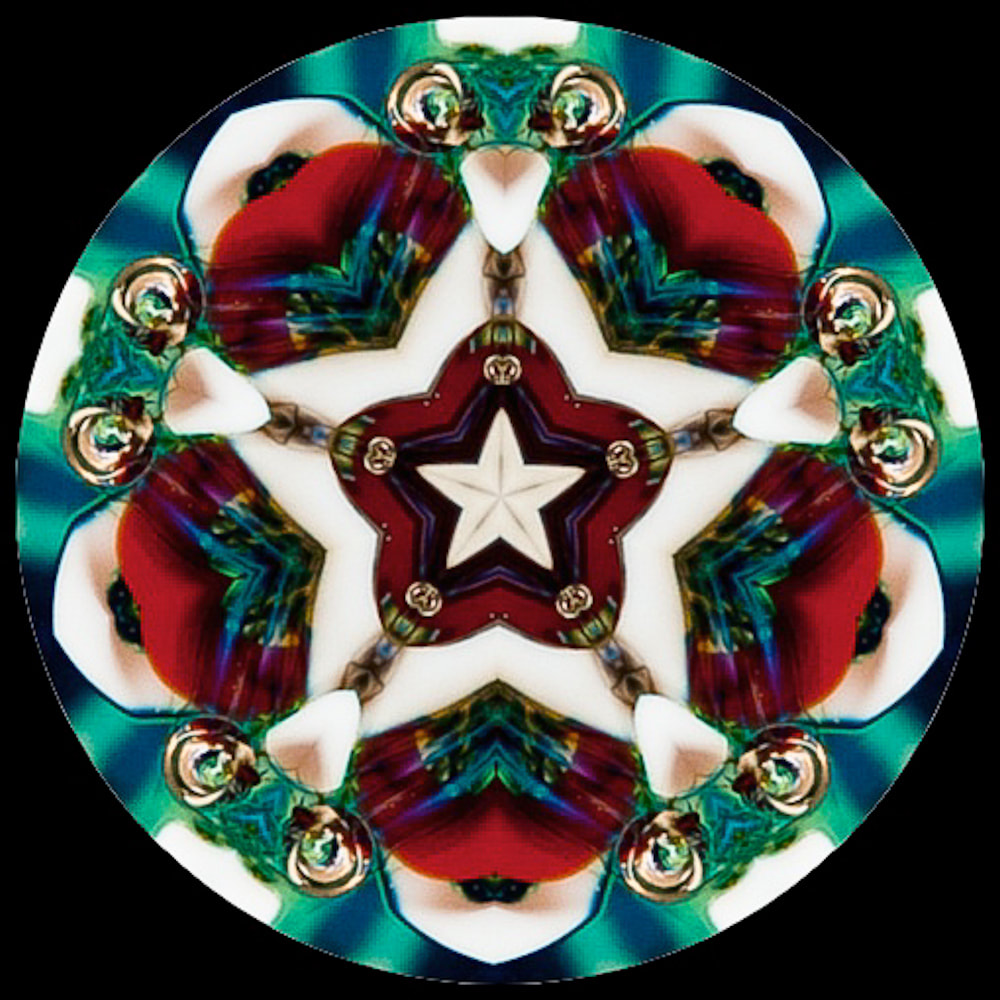
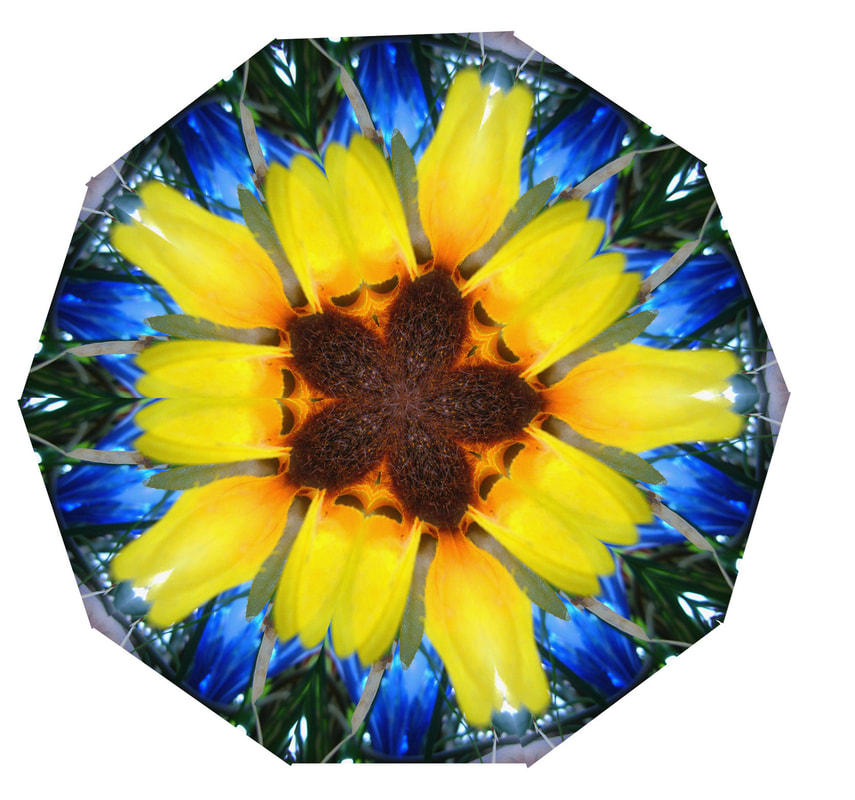
Option #8: Photo Mandala
The challenge for this concept will be to take a portion of one of your previous images and turn it into a mandala. For example the Figure #1 below was cropped, copied, flipped and rotated in photoshop to create Figure #2 on the right. You can use Pixlr or any other photo editing software that is helpful for you to create the final image.
|
|

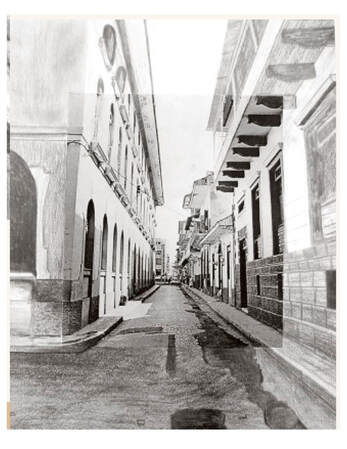
Option #9: extend-a-photo
For the next concept assignment, you will print a 4x6 or 5x7 photograph where the main object crops out off the edge of the photo. Then glue the photo onto a white sheet of drawing paper and continue the photo off the edges with drawing or painting media. (see the examples below.).
|
|
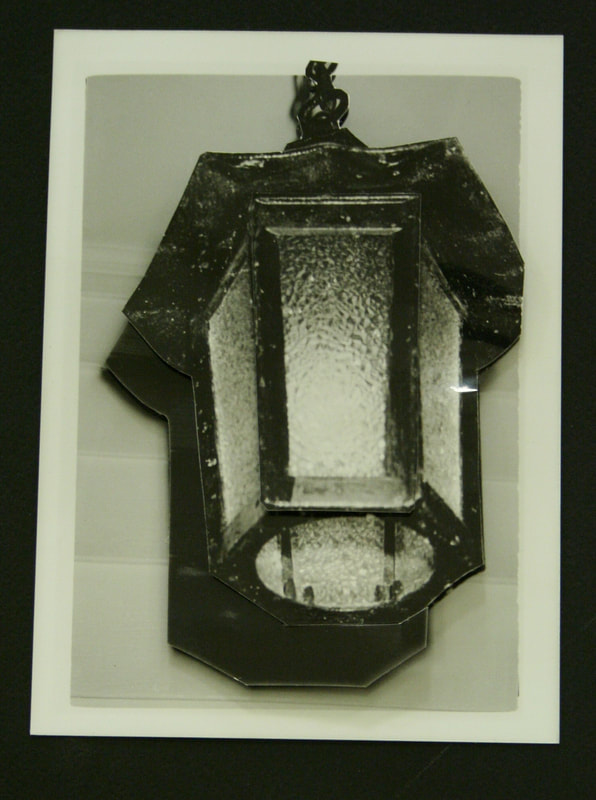
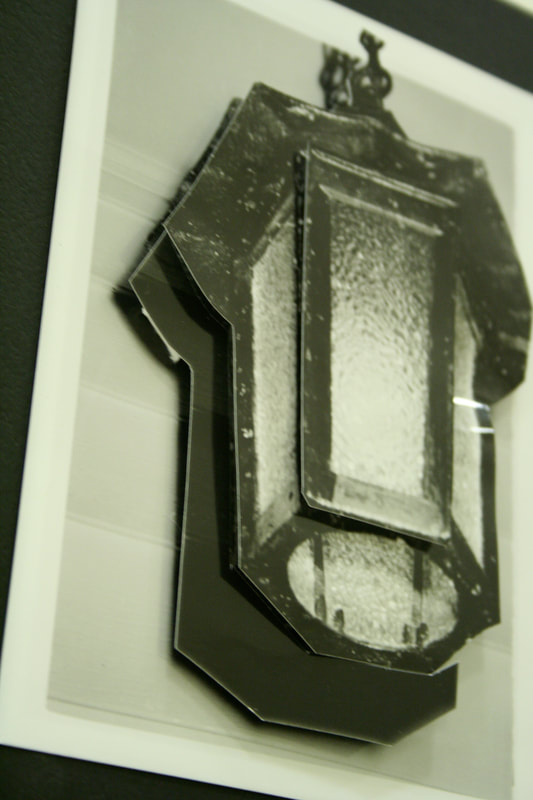
Option #10: Pop up Photo
Pick an image that had some depth to it. Print 3-4, 5x7 copies of that image. Then pick the parts that are closest to the viewer to "pop out" by cutting those out and placing them up on scrap cardboard or foam board. If photos are printed onto computer paper, you may want to first glue them to scrap poster board before popping them up.
|
|
Option #11: Patterned Pop UP
|
|
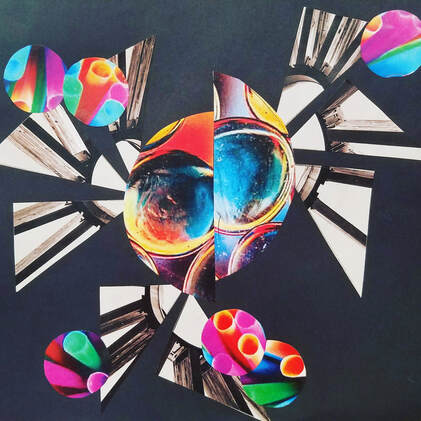
Option #12: Pattern Collage
Take 4 or 5 of your photographs that have good repetition. Print them out and cut them out into shapes and make an abstract collage from the results!
Option #13: Special Effects photo montage
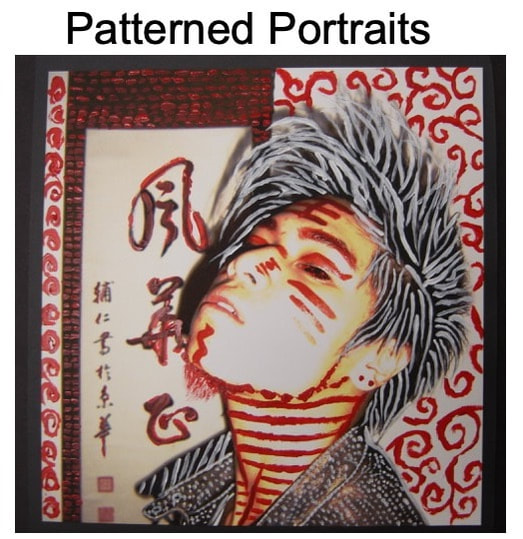
Option #14: Patterned Portrait
|

|

|
Option #15: Handcut silhouettes
|
|
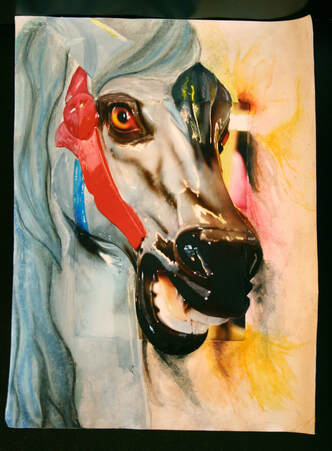
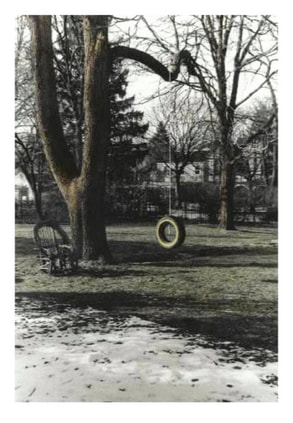
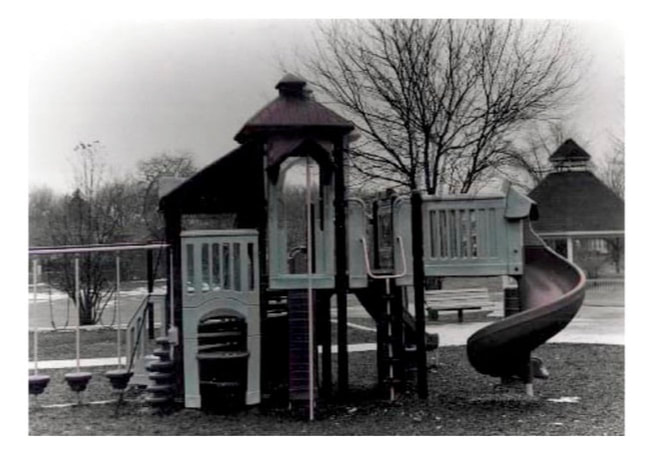
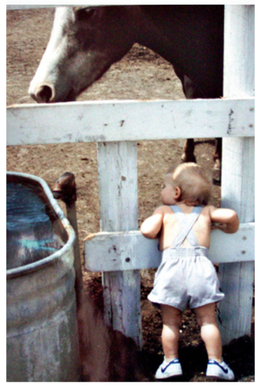
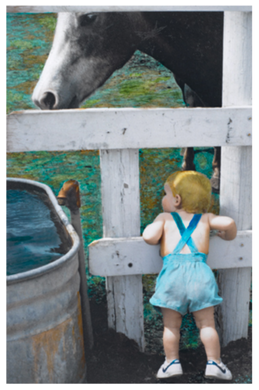
Option #16: Hand Tinting
With Watercolor: You then carefully take concentrated water colors and mix what colors you'll be using with water. Then you choose a portion of your print to color and color it in so that you can still see the image that was there before.
|
|
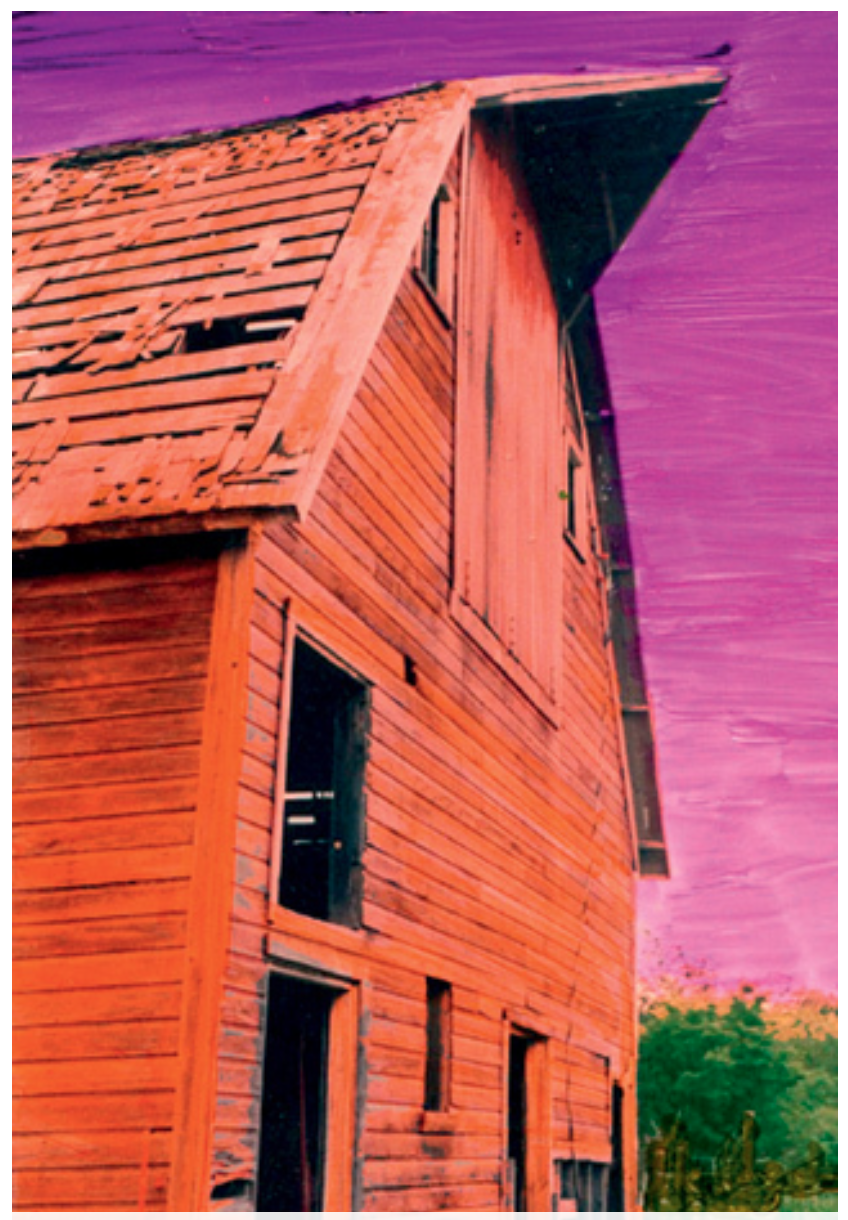
With Marker: Pick bright tones, neon highlighters, or muted tones to add color with marker on top of your chosen photographs.
|
BEFORE
|
AFTER
|
