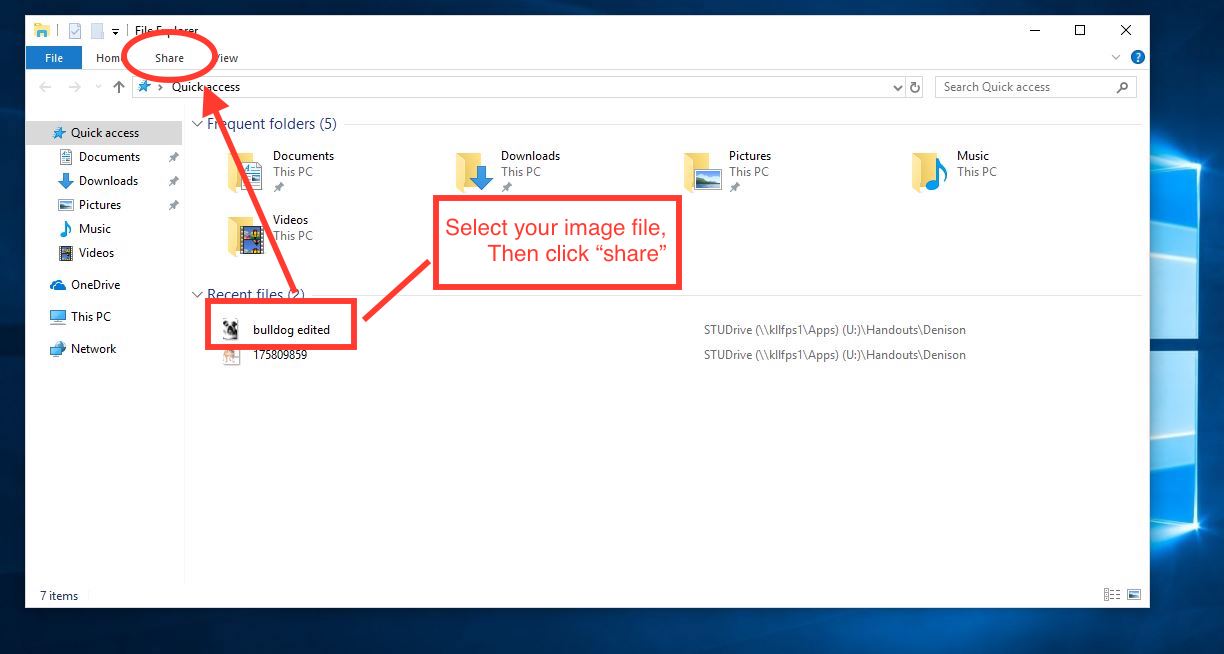
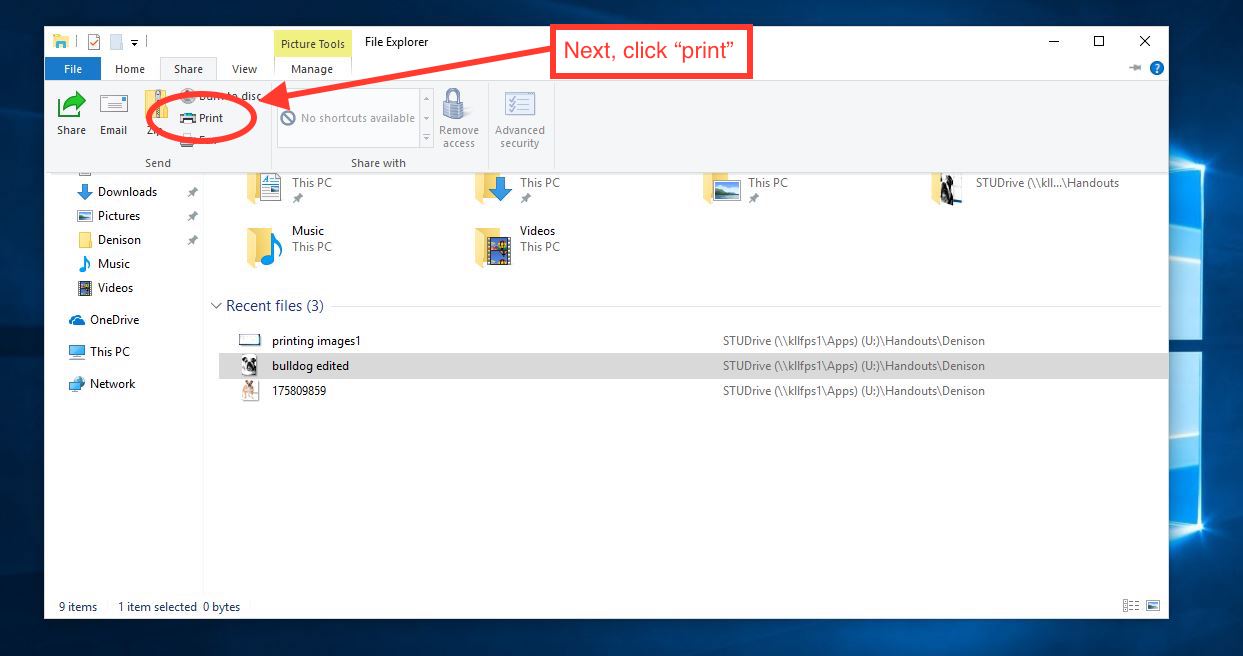
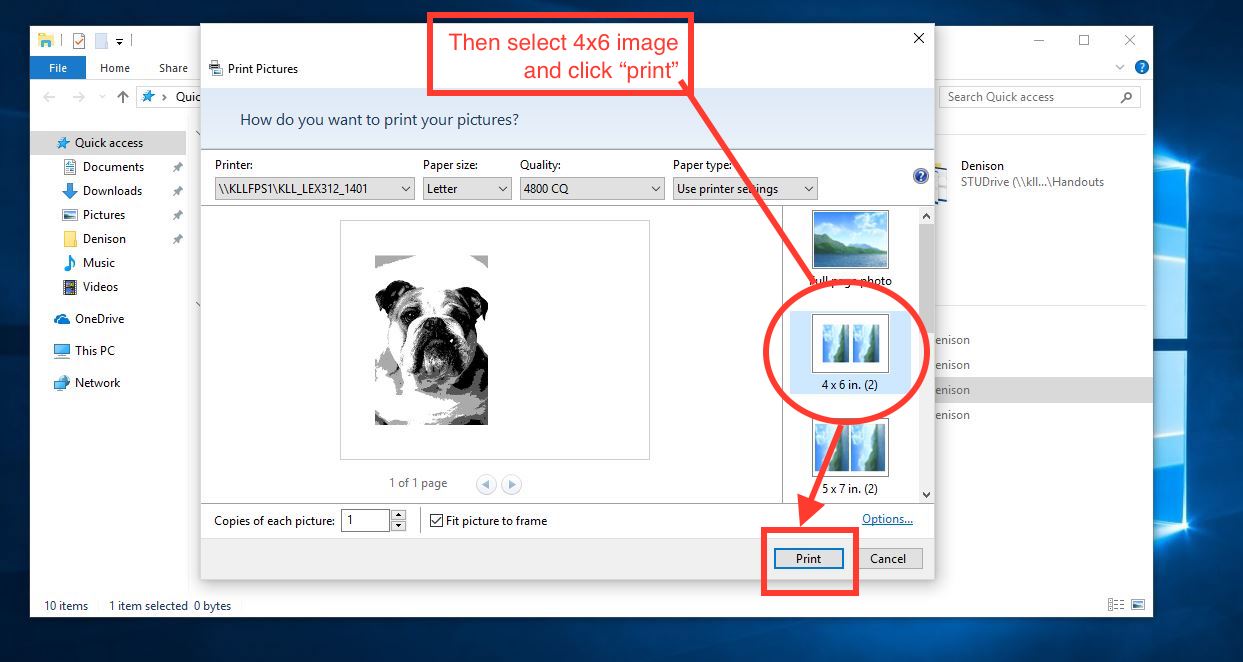
Download the Pixlr app to your device to create amazing edits to your photographs or previously made artwork! Check out the video below for directions on how to play with your images using the app. Be sure to post all of your images to your website!
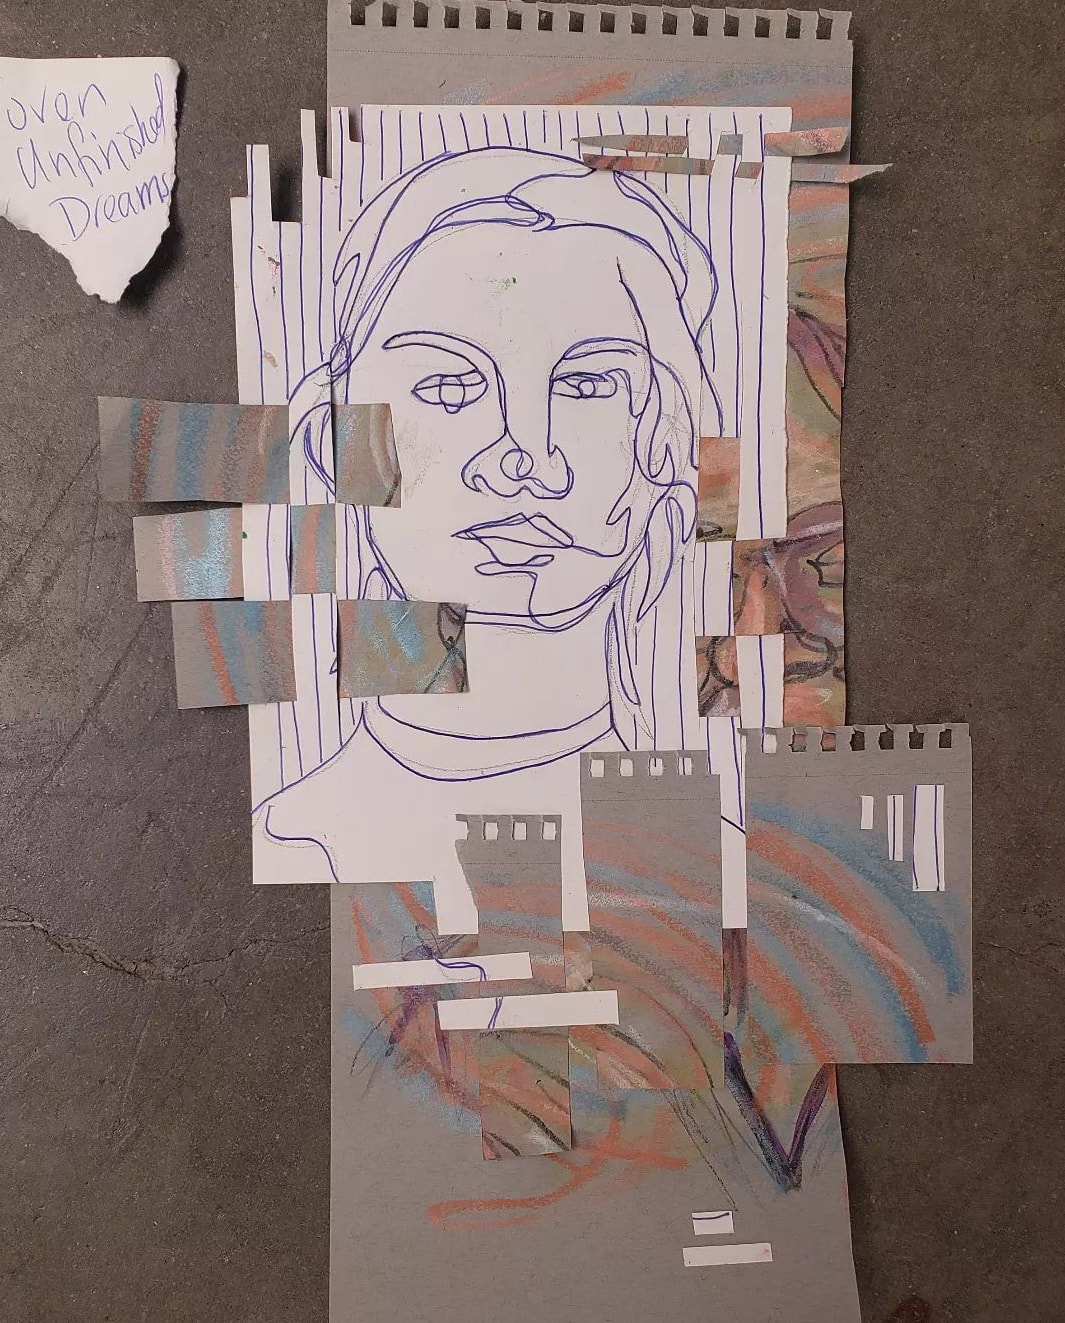
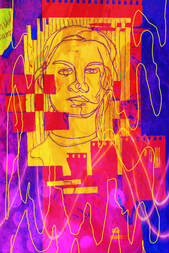
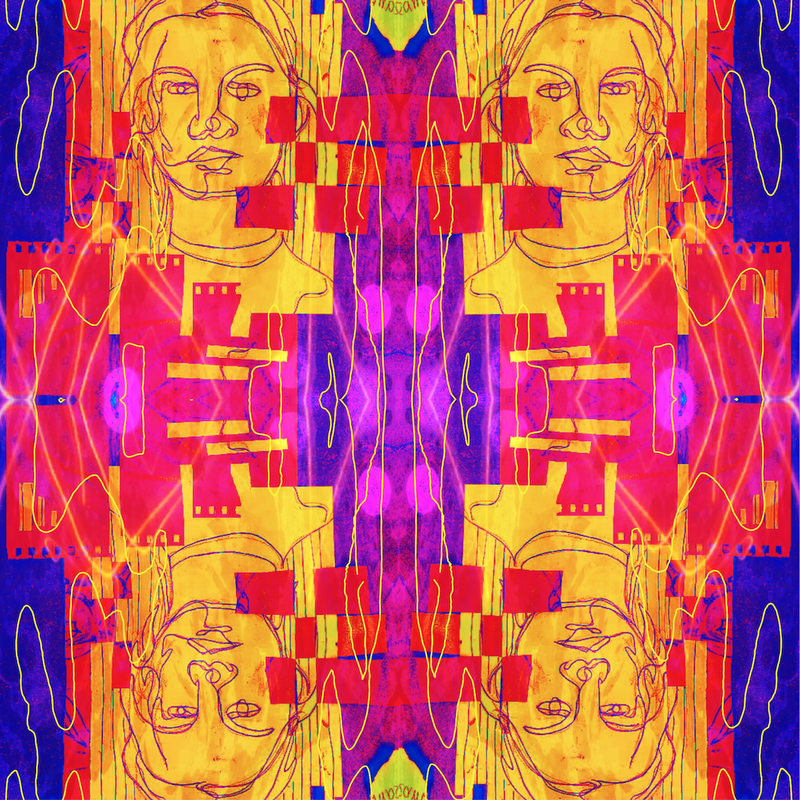
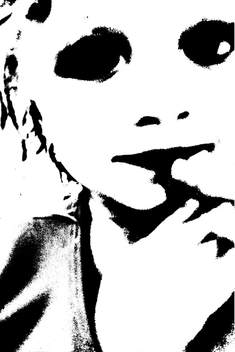
Image #1: edit a photo of one of your artworks that you have done in class
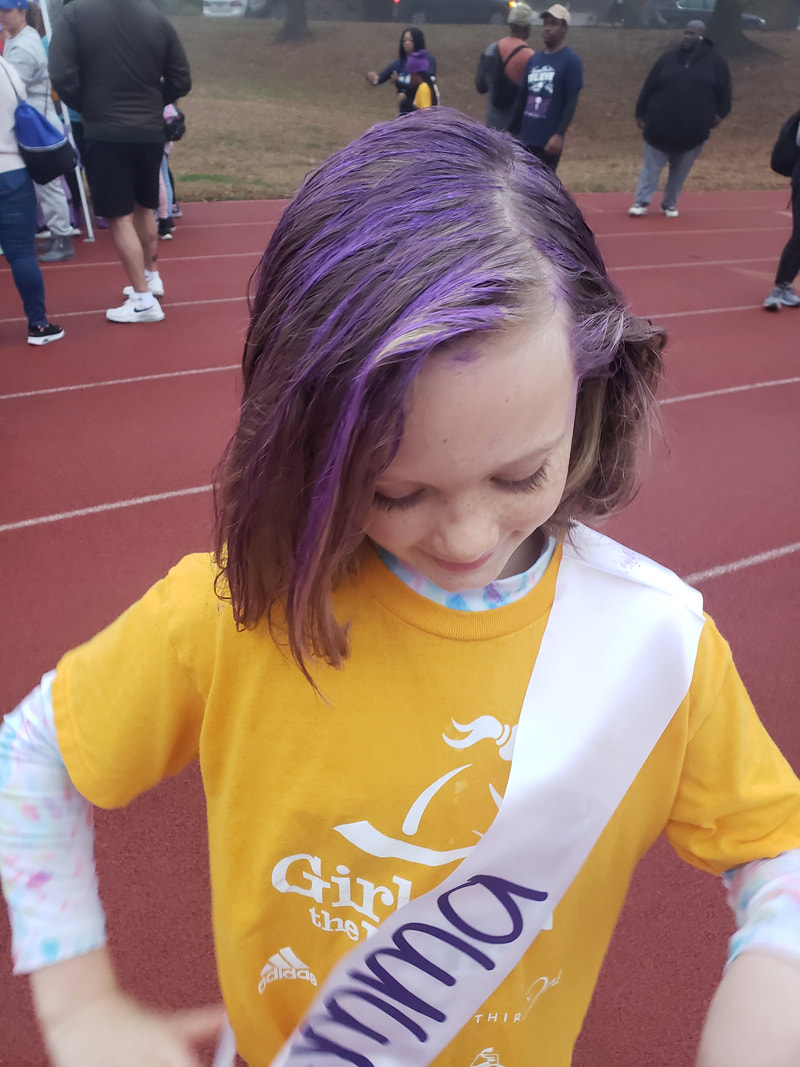
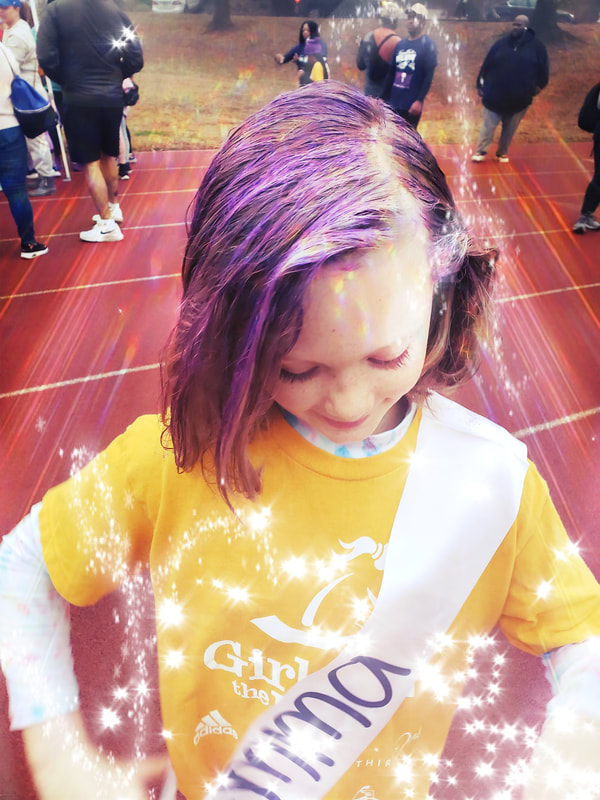
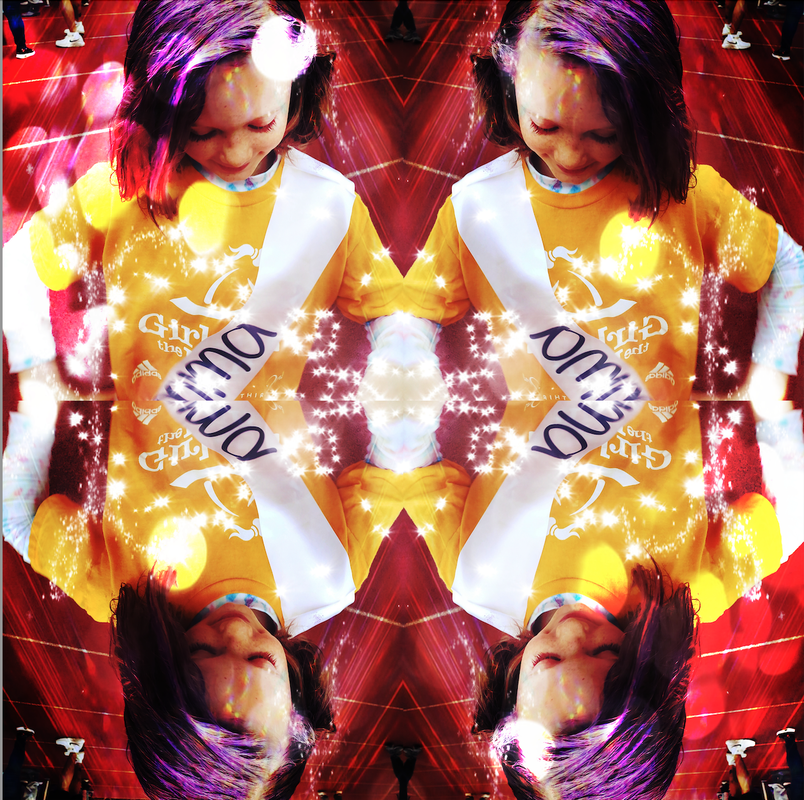
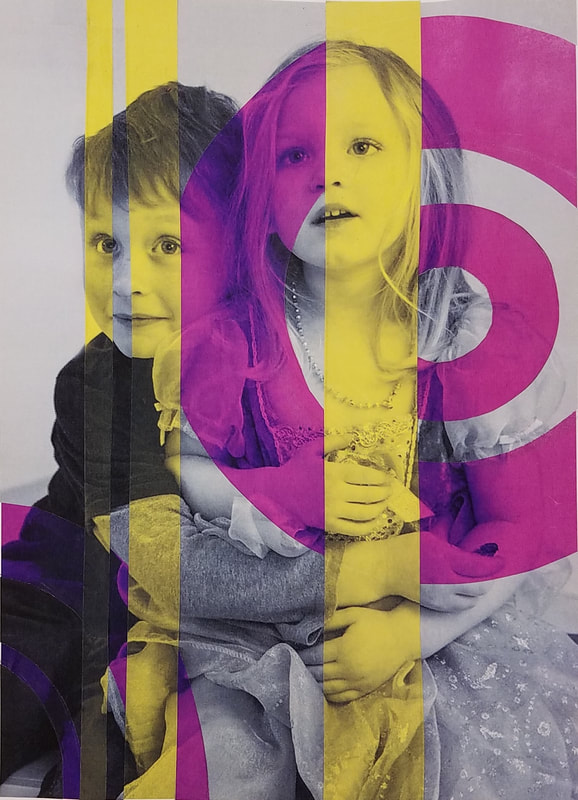
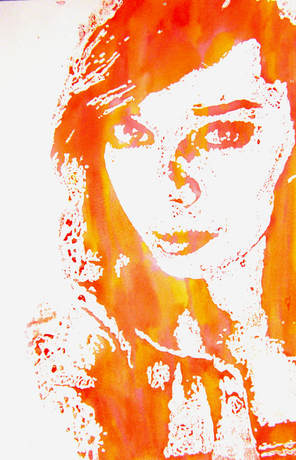
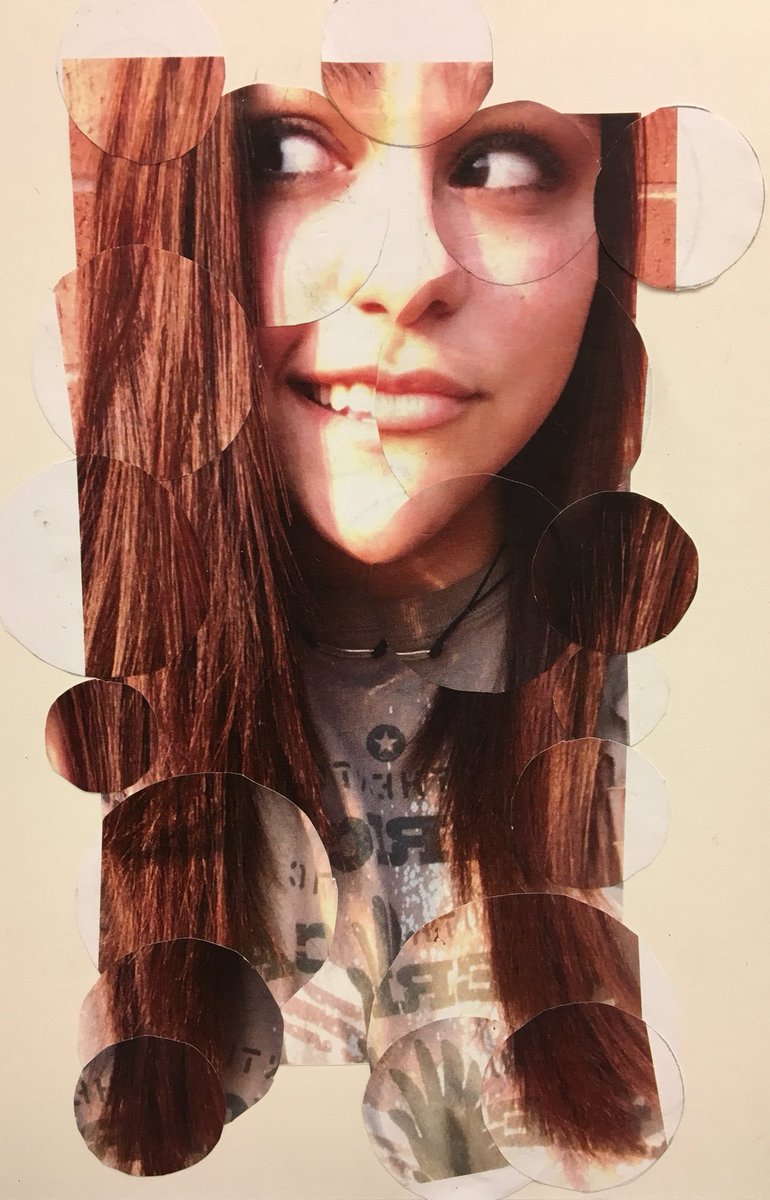
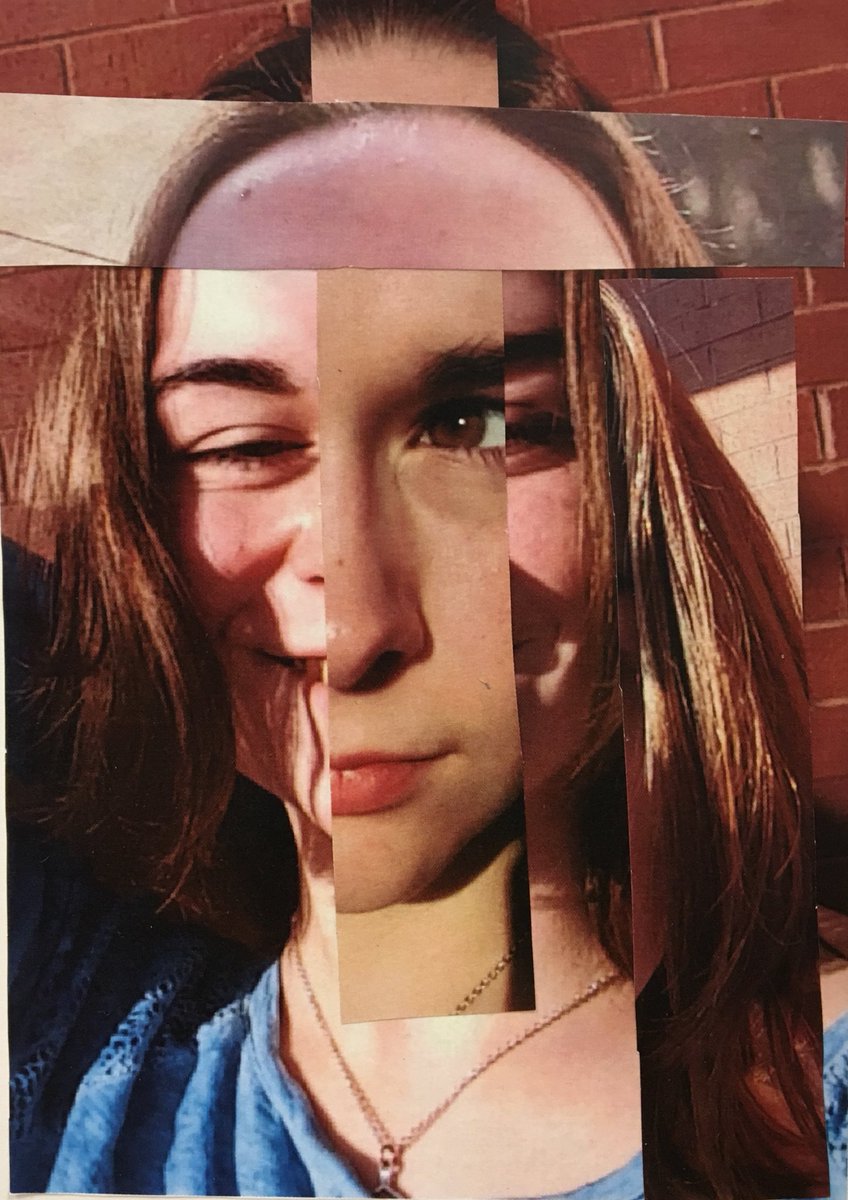
Image #2: edit a selfie/ or a photo of a friend or family member you have taken.
Image #1: edit a photo of one of your artworks that you have done in class
Image #2: edit a selfie/ or a photo of a friend or family member you have taken.
|
|
|
|
|
|


 RSS Feed
