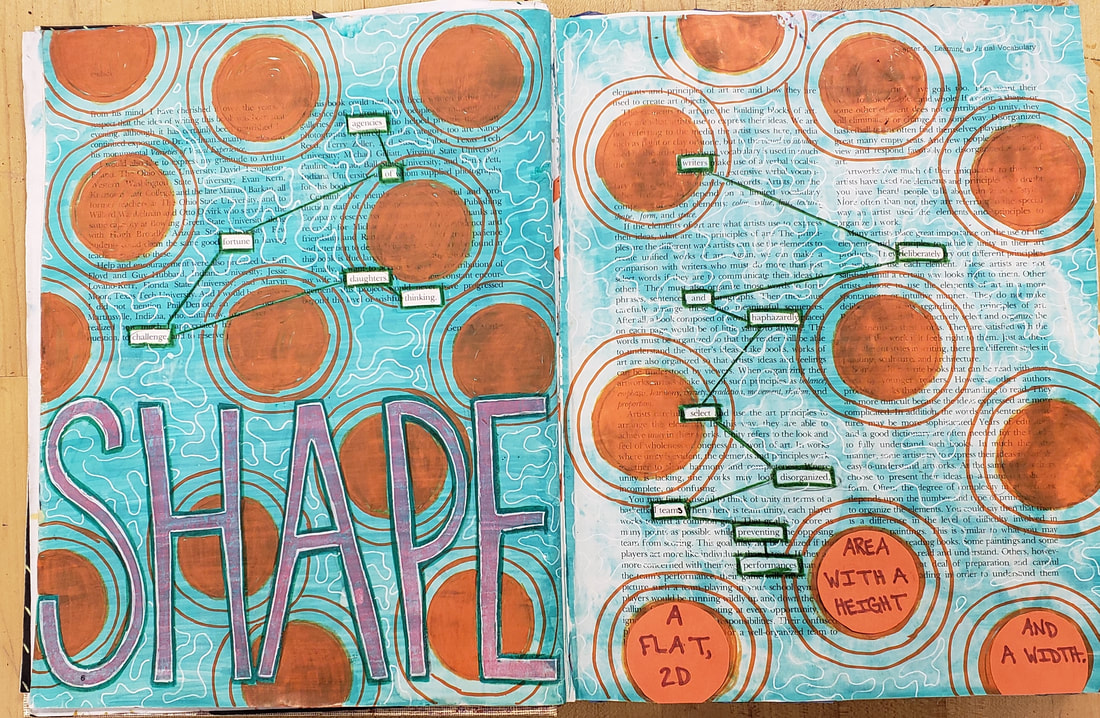
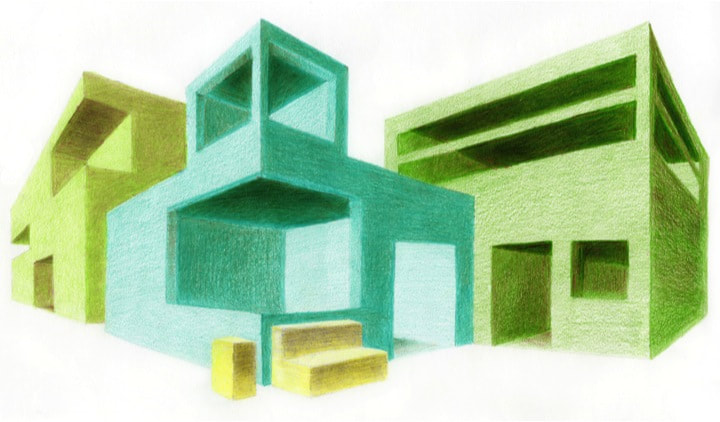
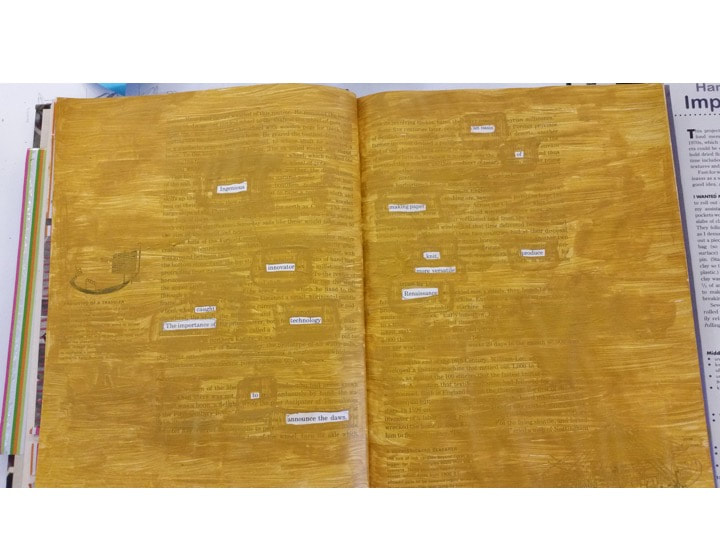
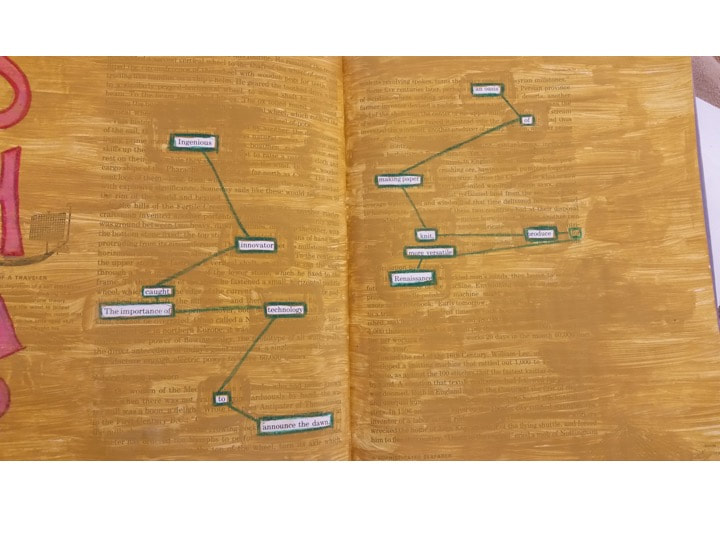
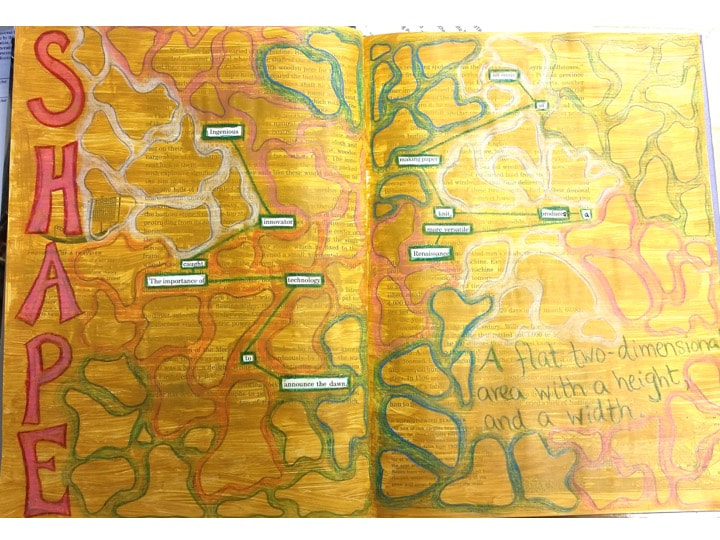
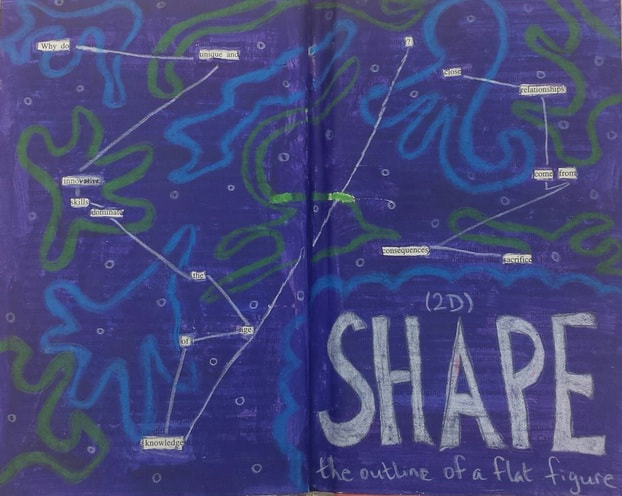
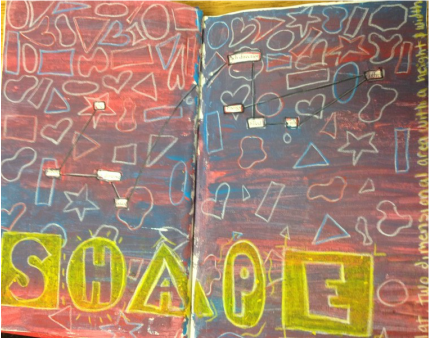
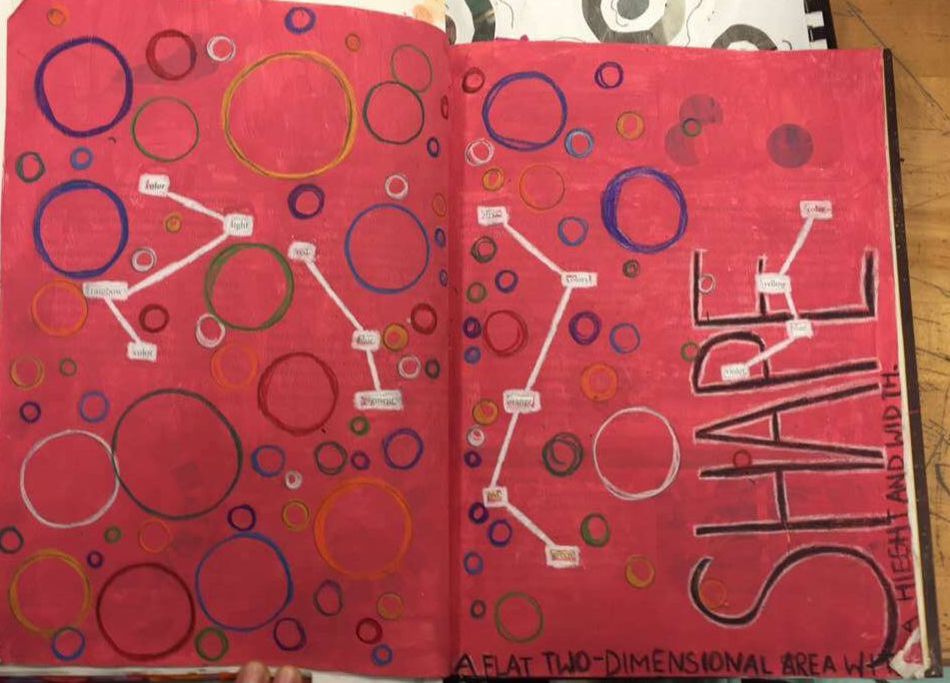
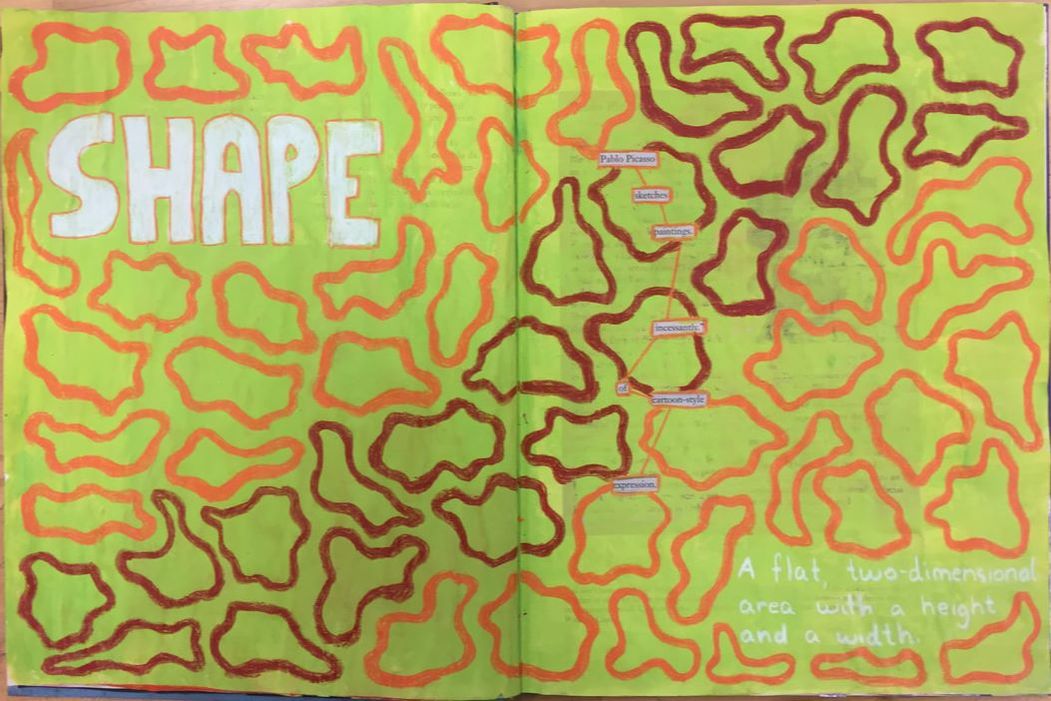
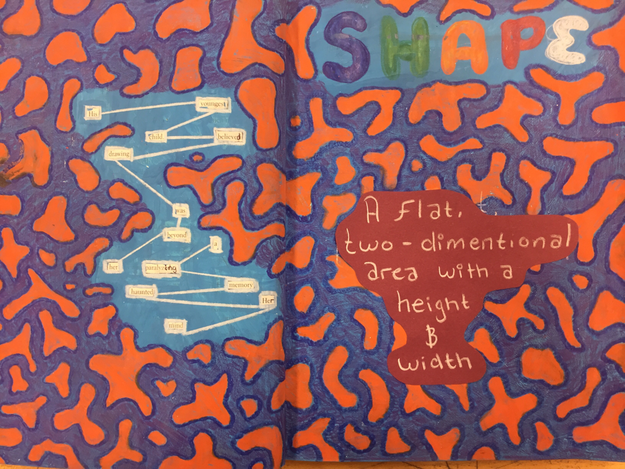
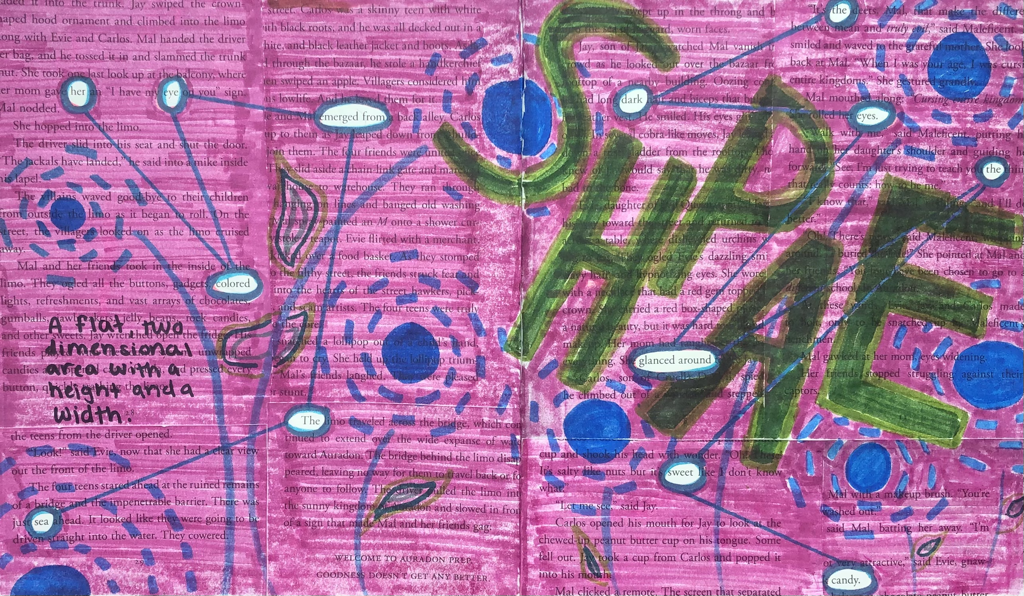
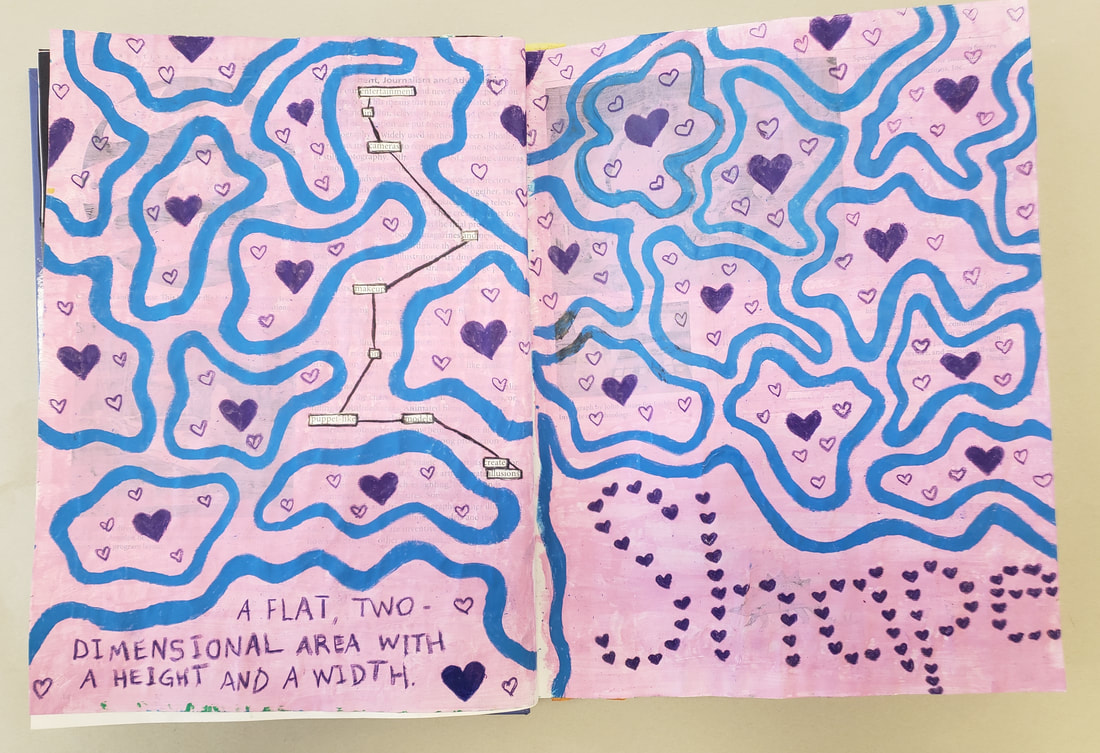
Students are creating a 2-page spread featuring a text poem. In the background students choose either geometric or organic shapes to add with prismacolor pencils. They also are including a title and definition for the page.
| KELL HIGH SCHOOL ART |
|
|
Students are creating a 2-page spread featuring a text poem. In the background students choose either geometric or organic shapes to add with prismacolor pencils. They also are including a title and definition for the page.
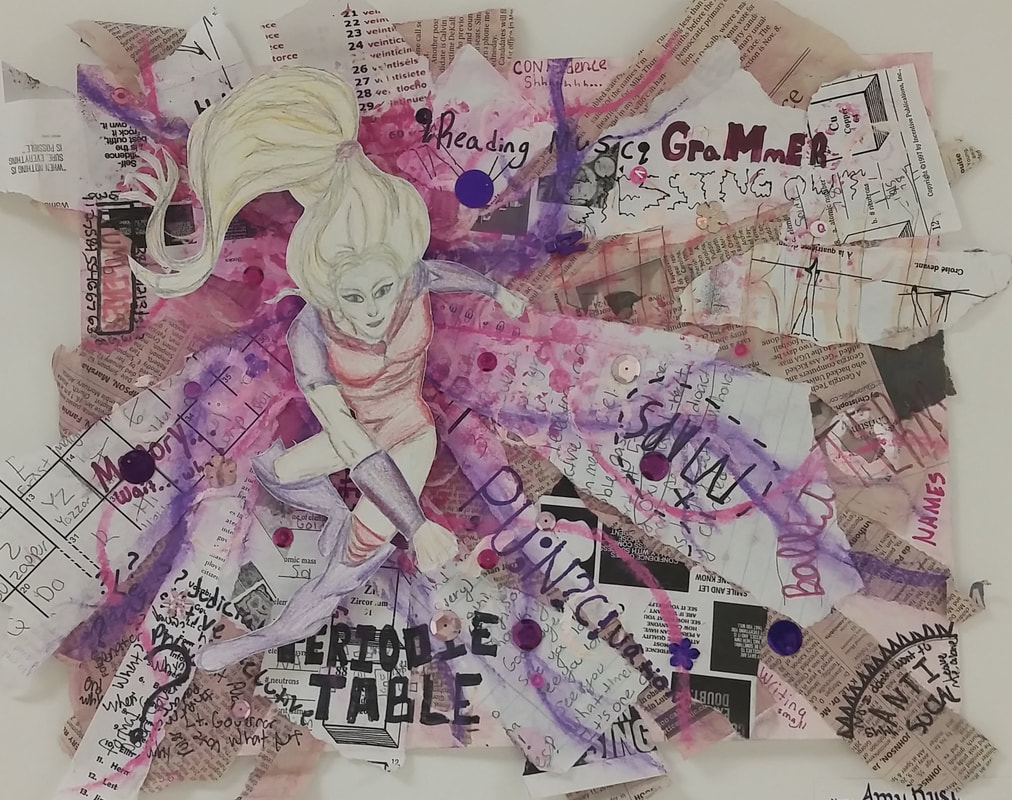
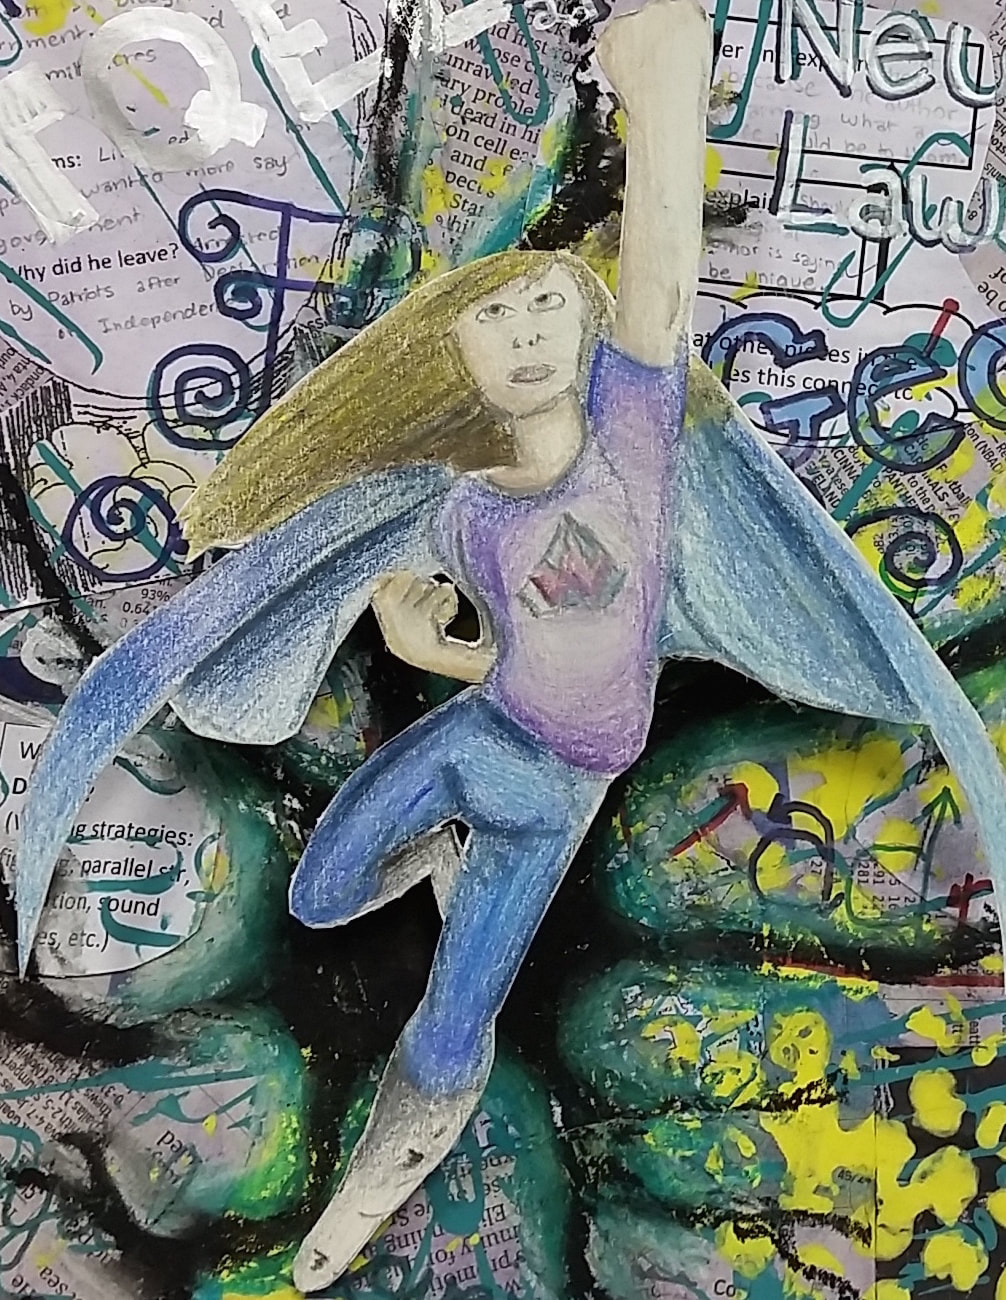
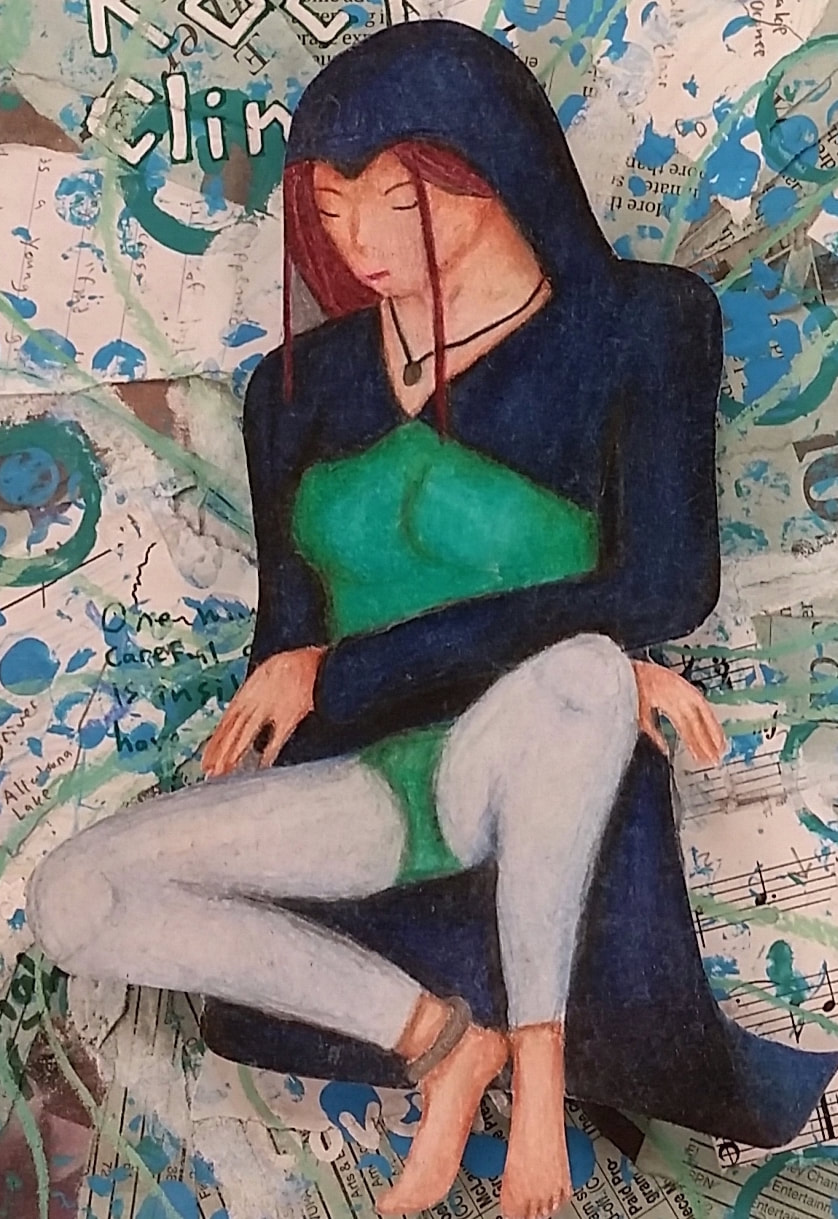
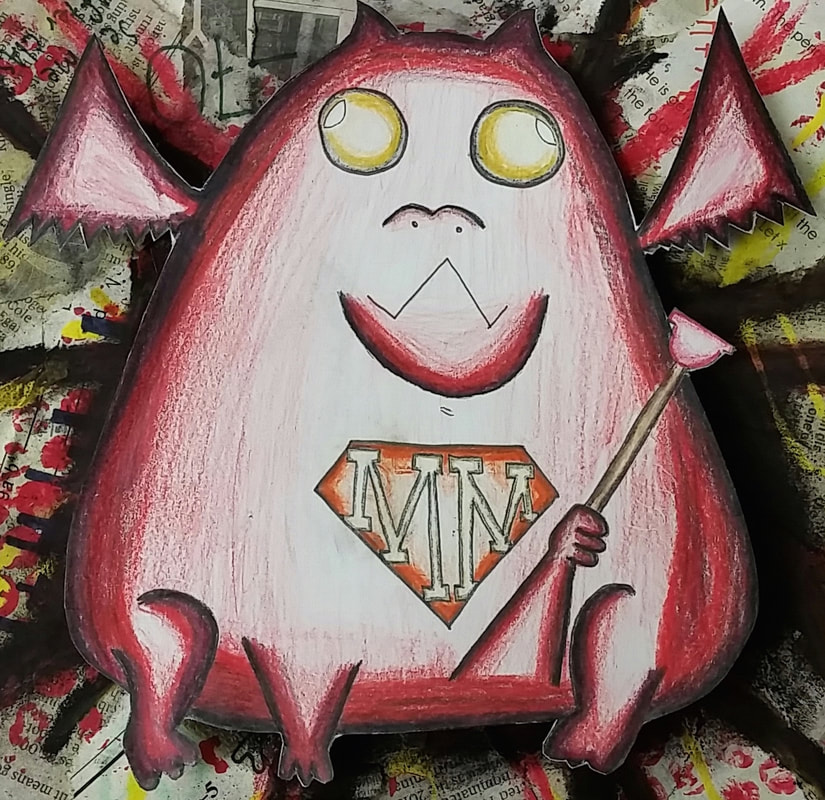
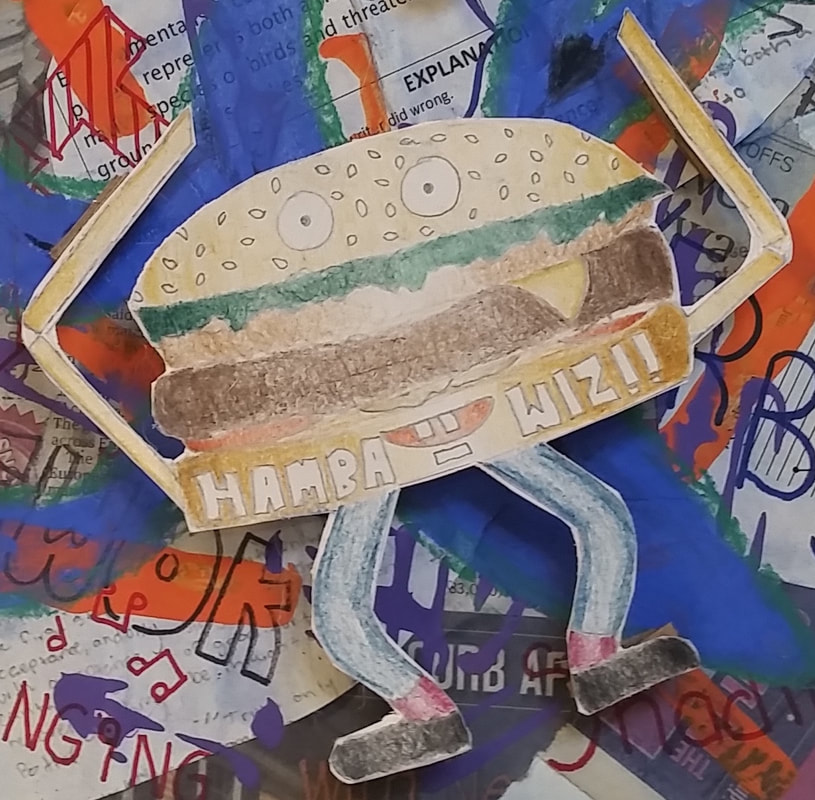
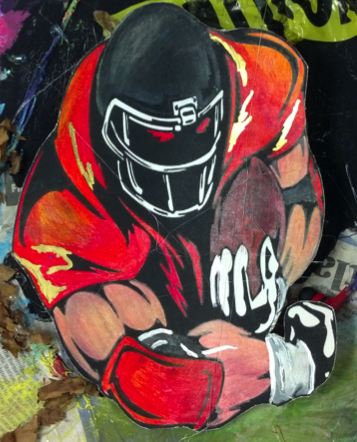
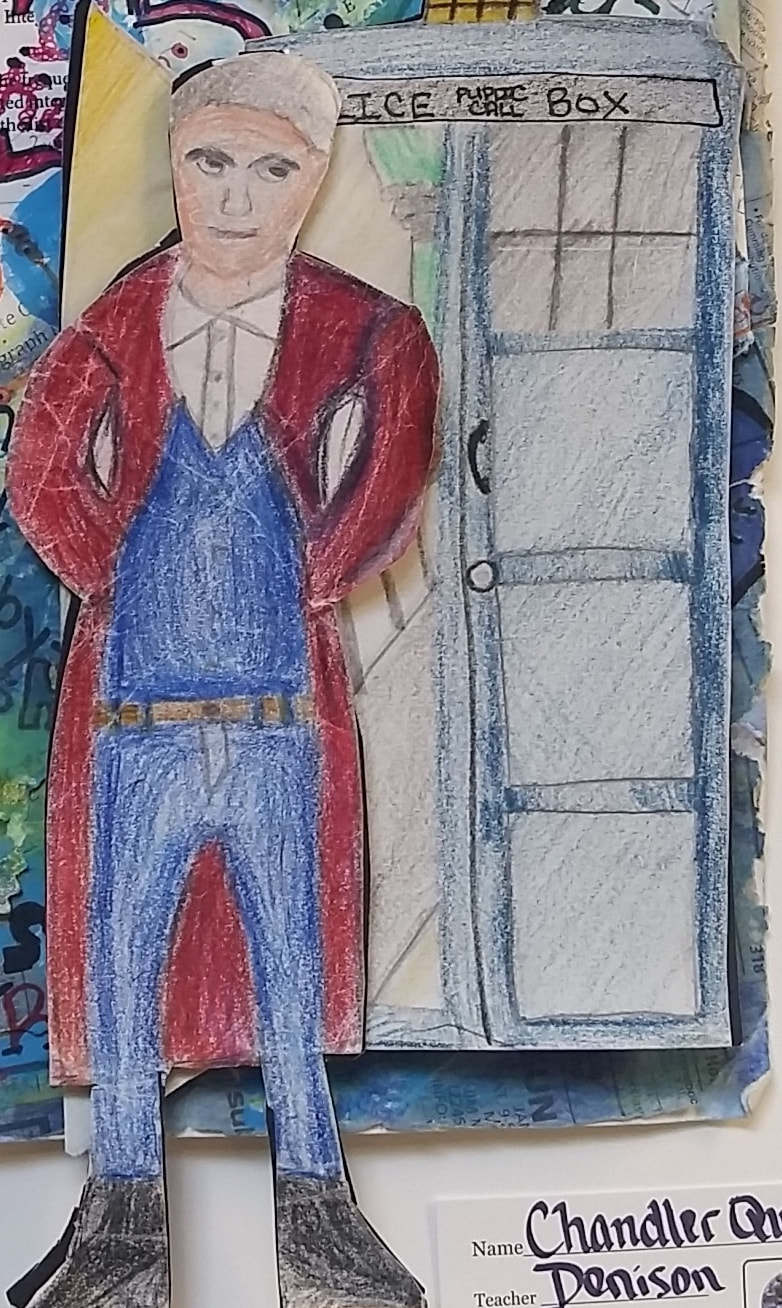
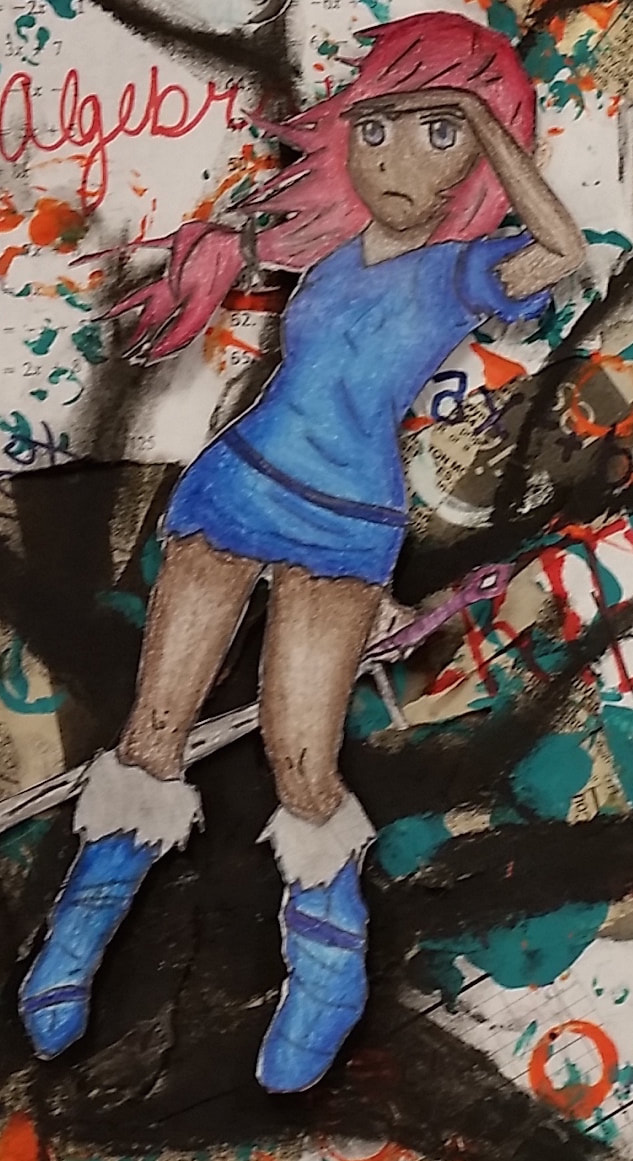
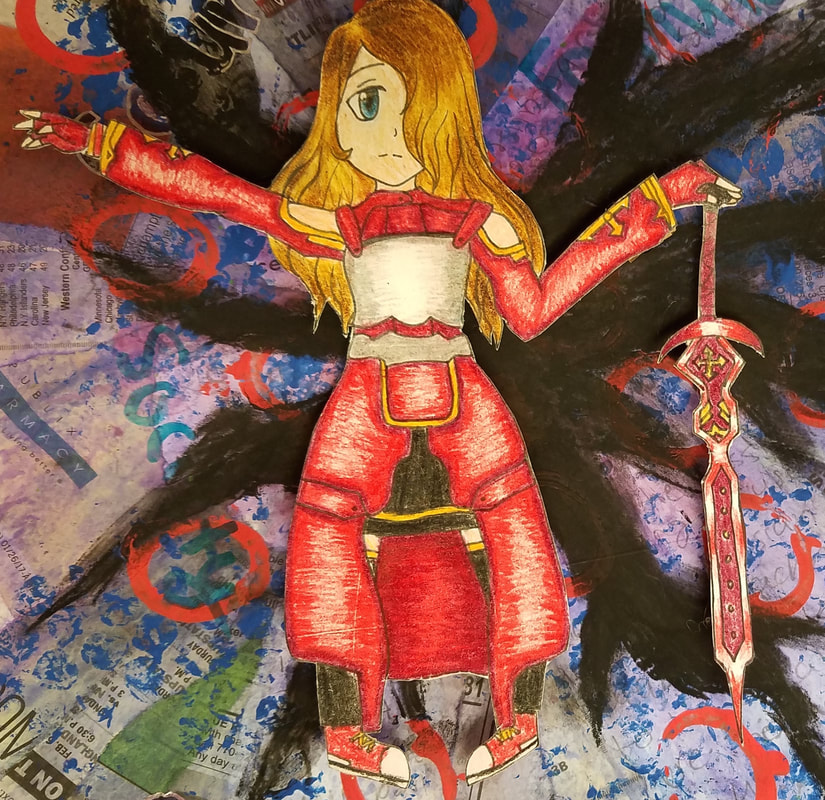
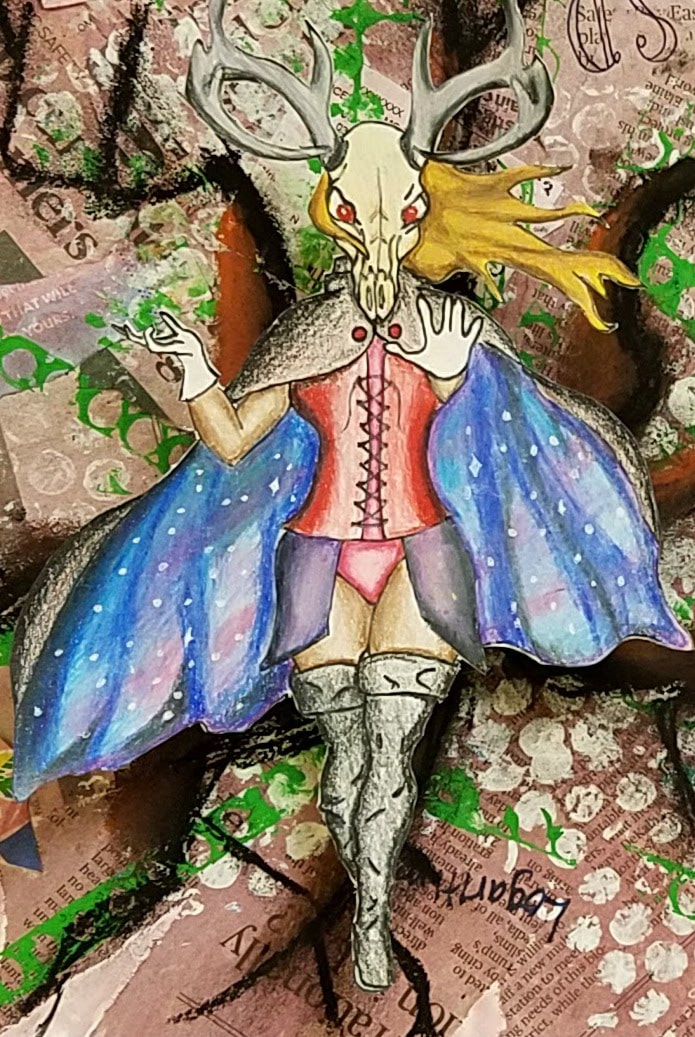
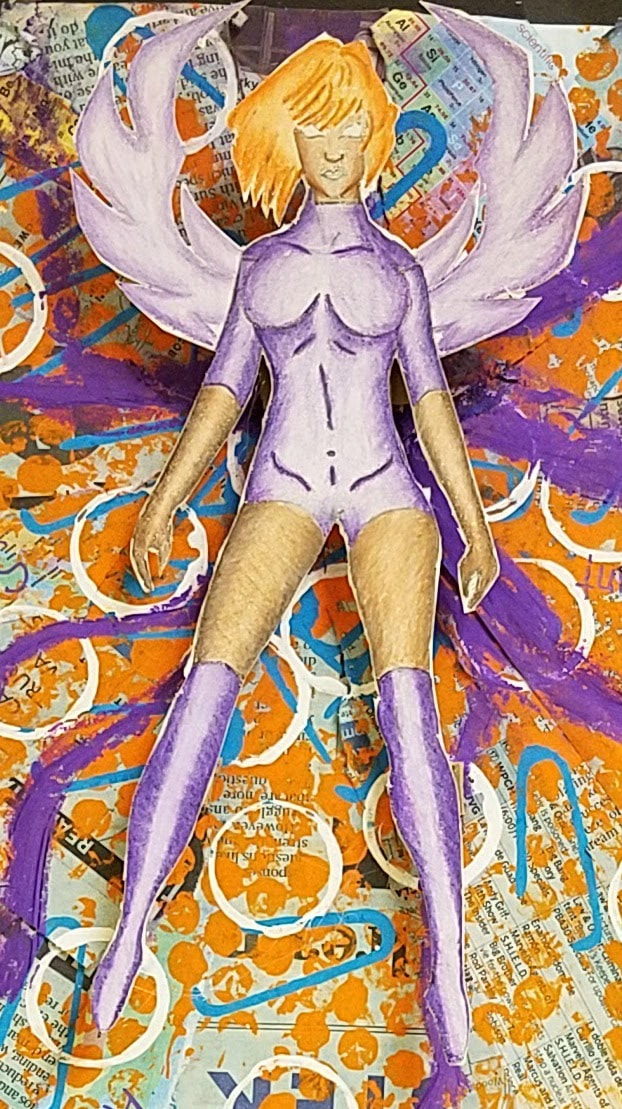
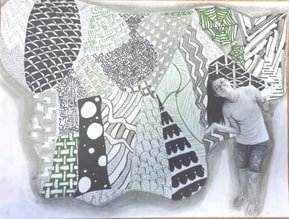
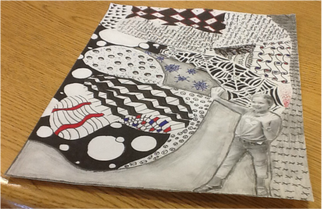
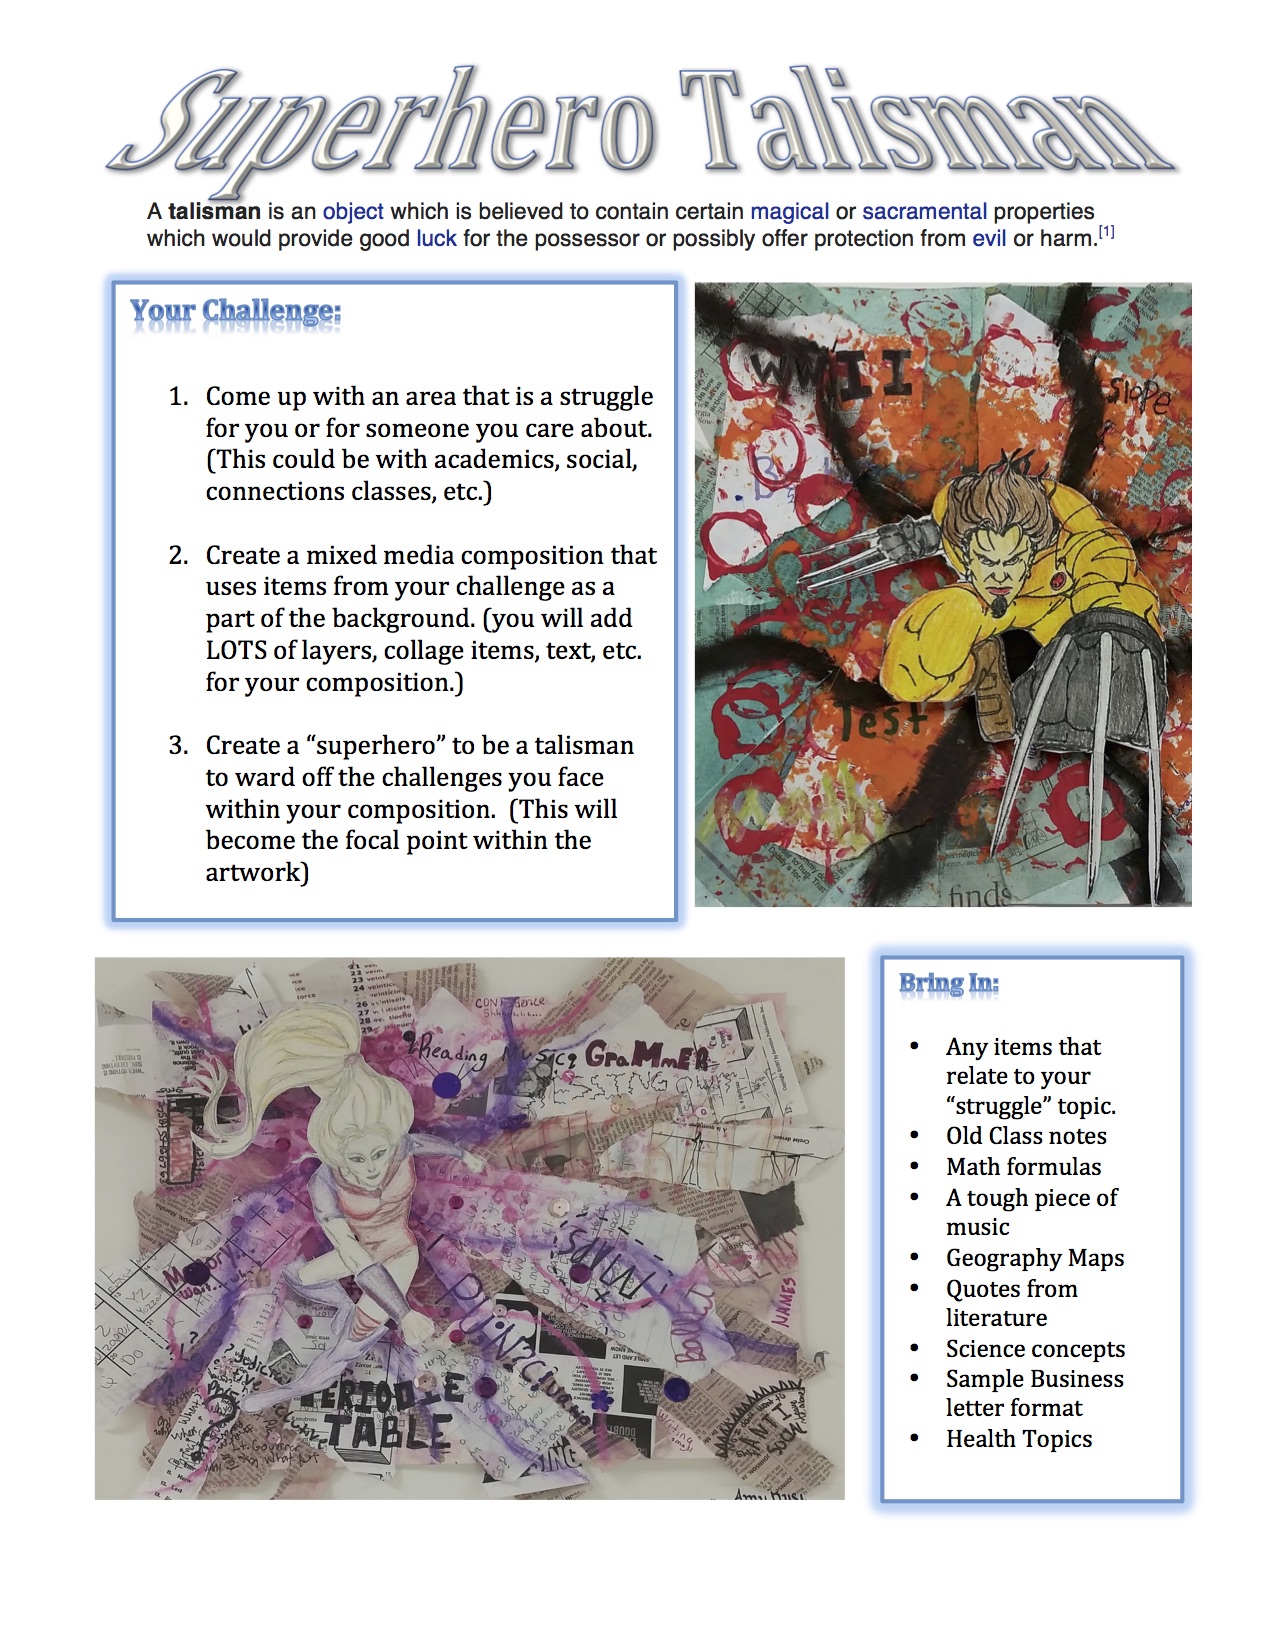
Student Samples:Students will begin designing their superhero! Think about what you want your superhero to be, what powers you want them to have. Will they be realistic? Are they humanoid, animal, robot, or alien!? If you need to, look through the folders at the table for ideas. You can even choose three or more of the samples to morph together your superhero. (ex: head of one character, body/clothes of a second, and hair or weapon of a third character!) Be sure to make your superhero large to fill the paper. (bigger than your hand!!). If its too small, it will get lost on your background. Check out these ideas below! Today we began working on our backgrounds. We first discussed the Rule of Thirds to have our superhero/focal point located on one of the 4 intersecting points in order to add more interest to our composition. 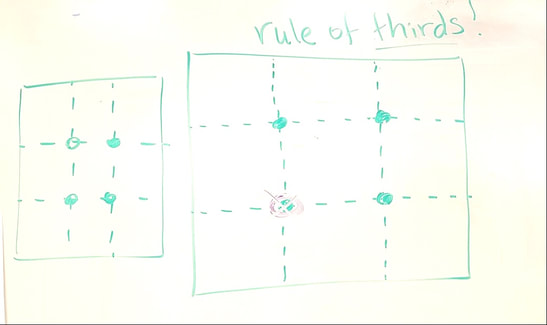 Once we picked the focal point, we ripped up newspaper and composed it onto 15x12 tagboard to give us movement towards our chosen point. We used watered down glue to glue the newspaper in place and then put 4-5 "challenge items" into the background. 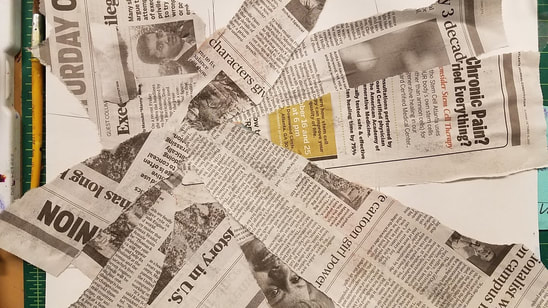 We then mixed up a transparent background with a watercolor wash to completely cover all the layers thus far. 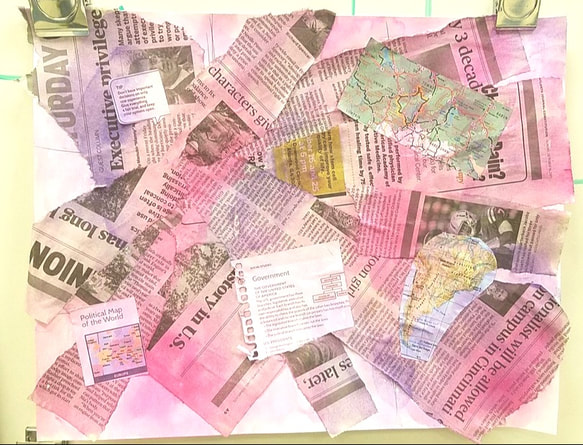 Today we are starting on the background of our Superhero Talisman projects. These will be mixed media works of art incorporating several layers. The focal point will include a superhero "breaking through" the struggles and challenges of the artist.
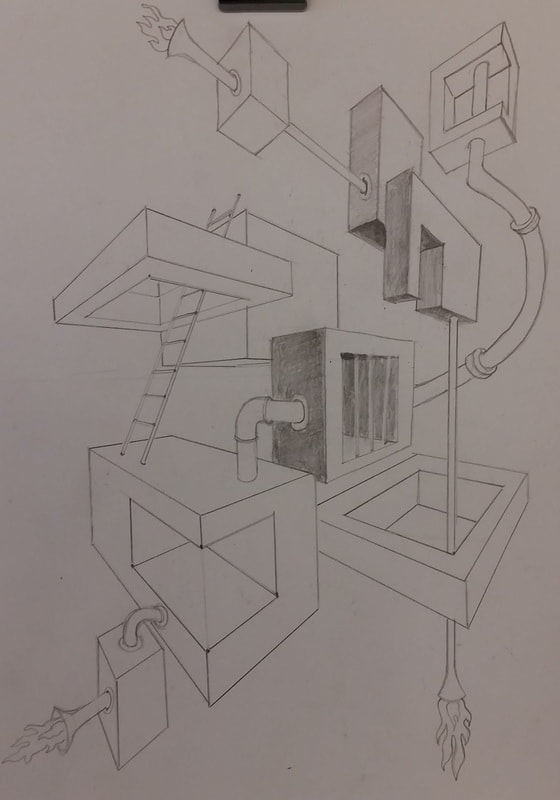
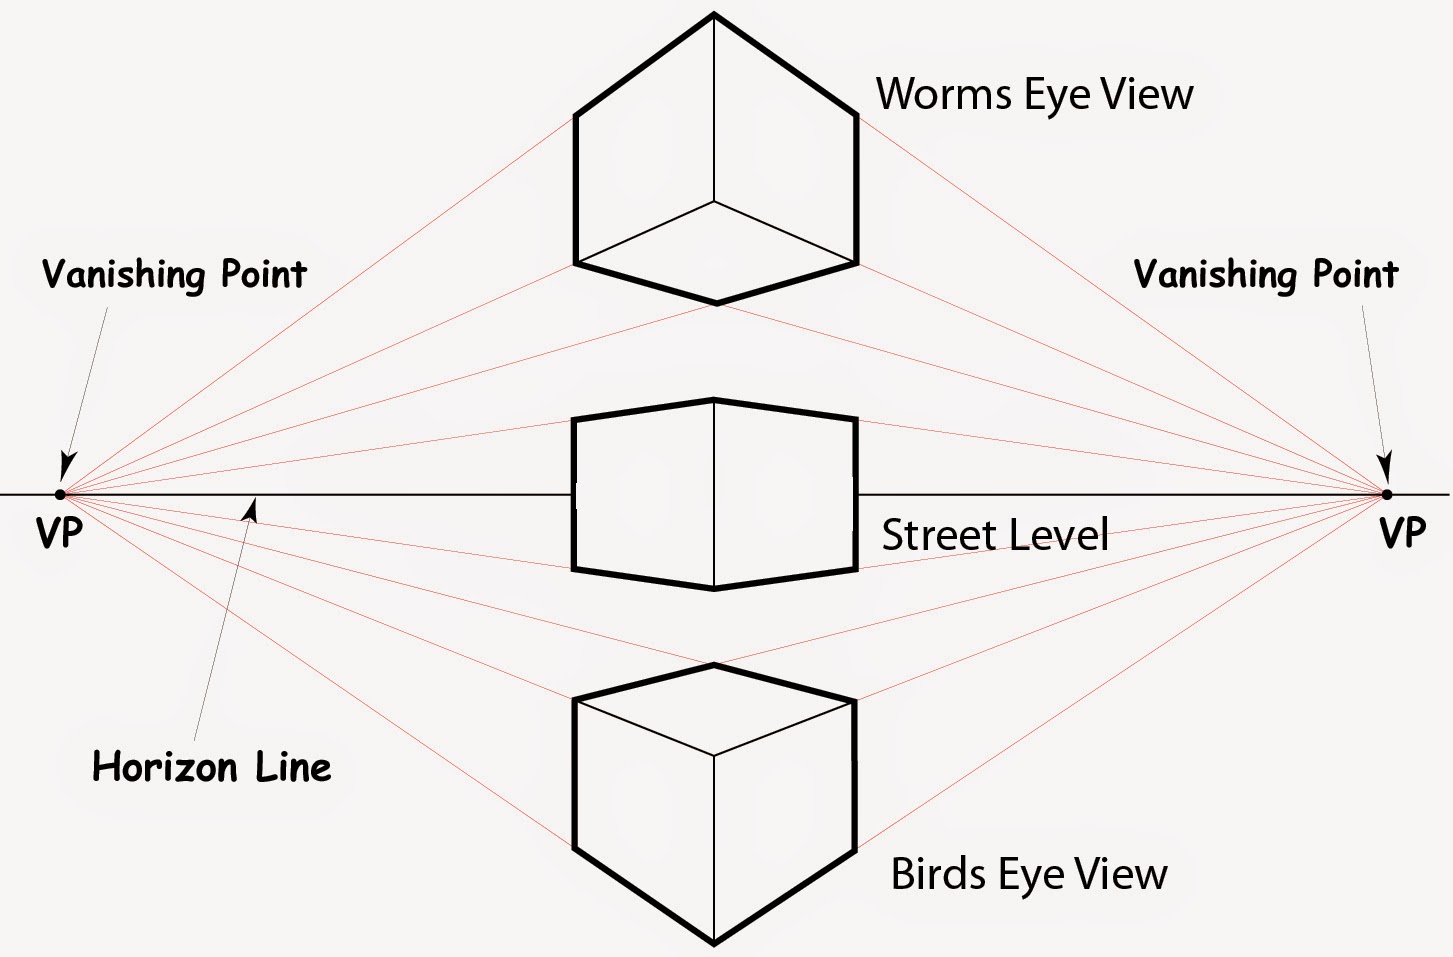
 Step 1: You will create a small 2 point perspective drawing on colored paper that will be the focal point in your Space Altered book page. 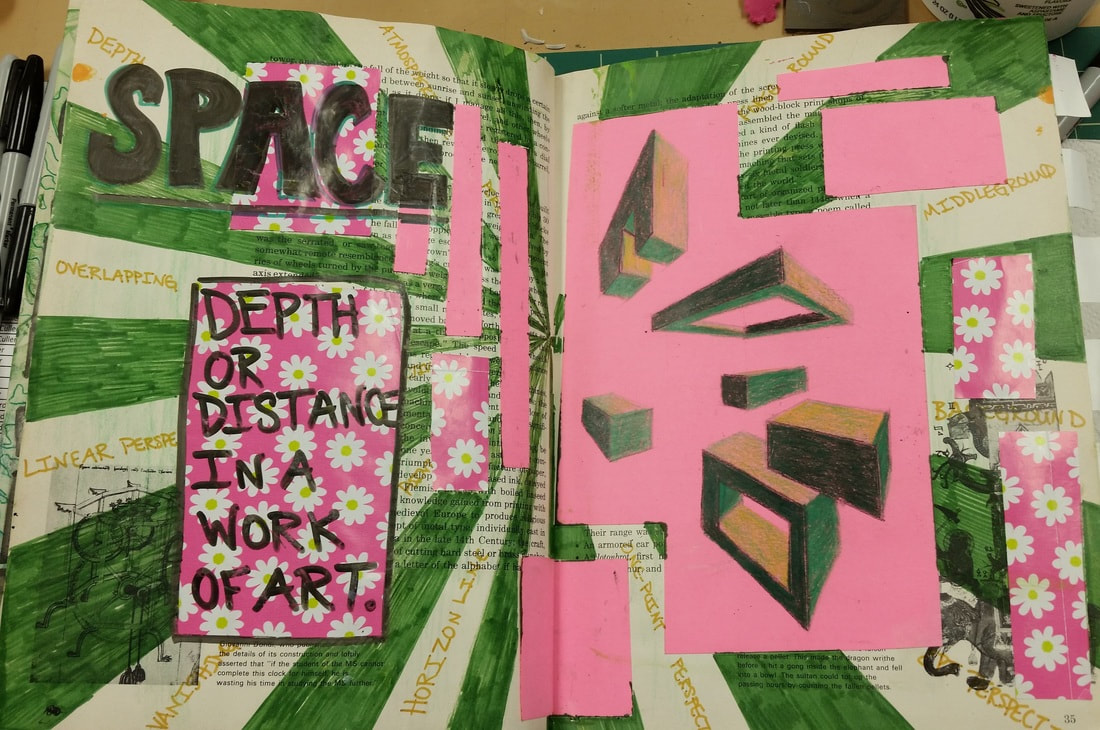 Students will create a 2 point perspective design on a small piece of colored paper. They will need 5-10 boxes, 3 overlapping areas, and 3 doors, holes, piercings, etc. Step 2: Adding shading with graphite or colored pencil. 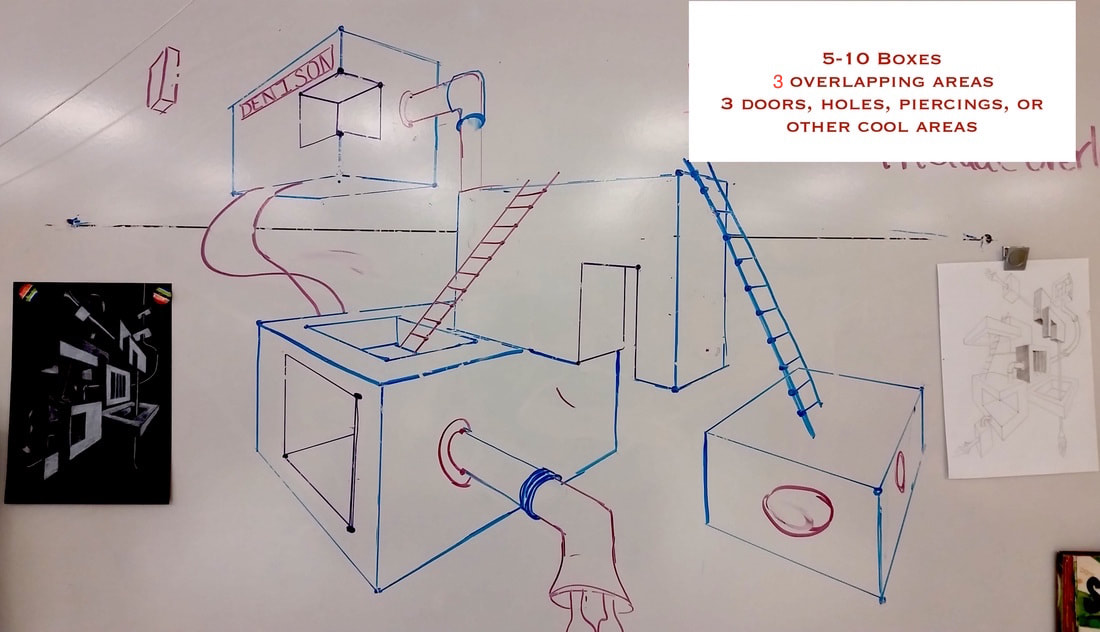 Step 3: Students will then create a background on their altered book that creates the optical illusion of moving space. 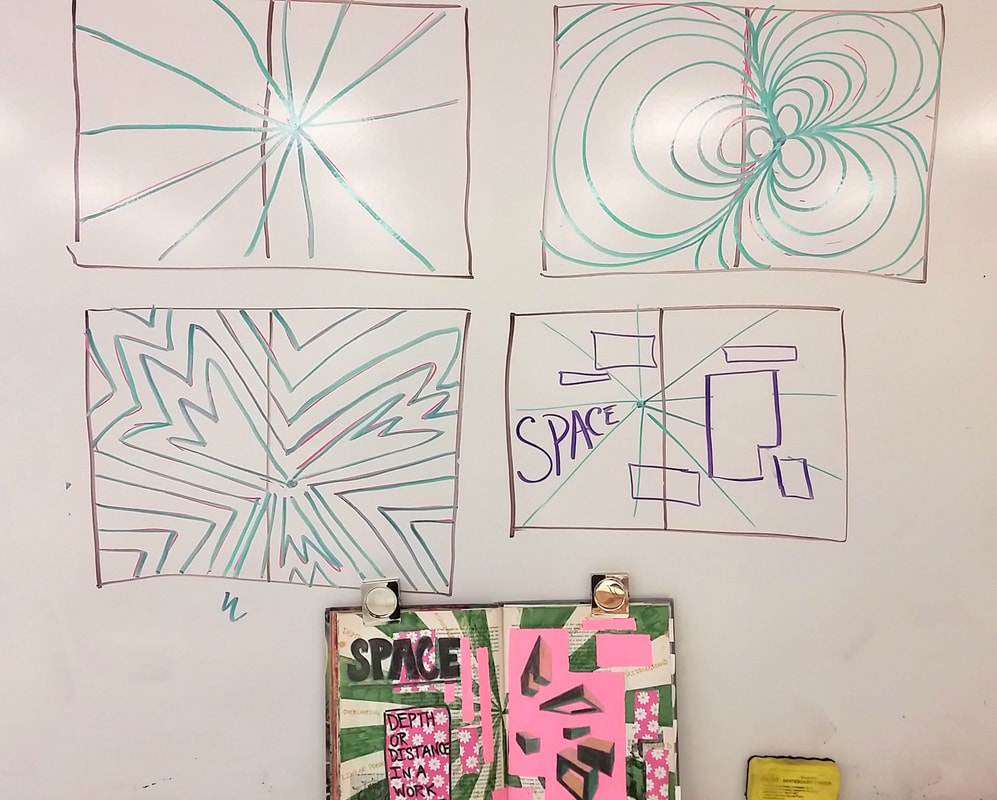 Step 4: Trim some of the negative space away from your 2 point perspective drawing. Then collage your small 2 point perspective design onto the background along with what you trimmed and other collaged papers that match with their chosen color scheme. Step 5: Add the title and the definition.
Today are working on creating drawings in 2 point perspective. These are great for doing things like cool, science fiction landscapes! These will be a part of our SPACE page on our altered books.
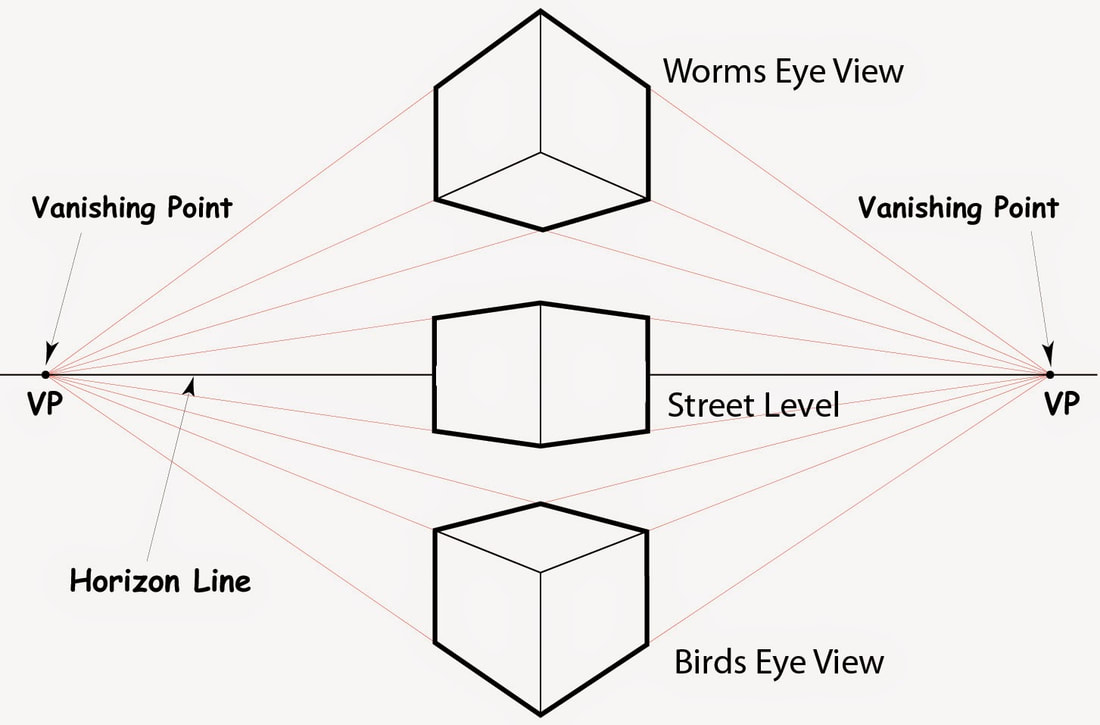
Students will work on a rough draft using two point perspective. They will need to have at least 7 boxes with at least 2 spots of overlapping. Once they draw their boxes, they will add, windows, doors, niches, etc. They may also embellish the boxes with pipes, ladders, winding sidewalks, etc.

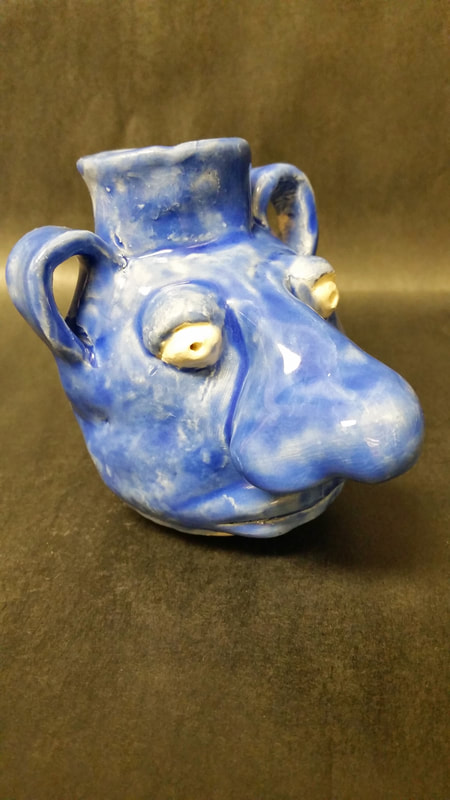
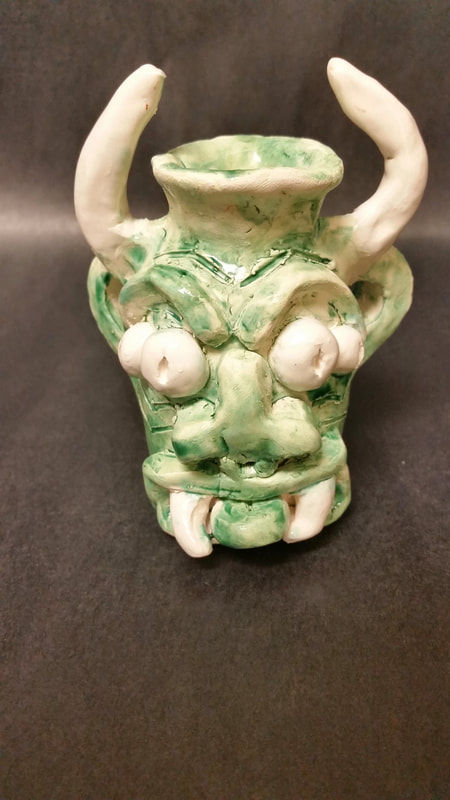
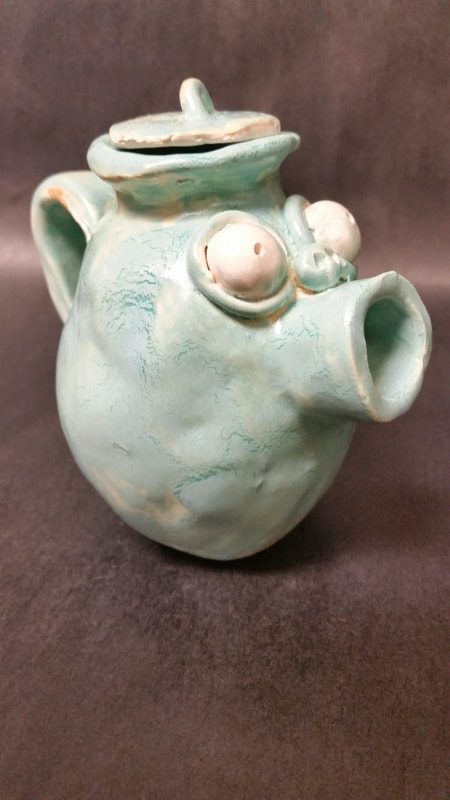
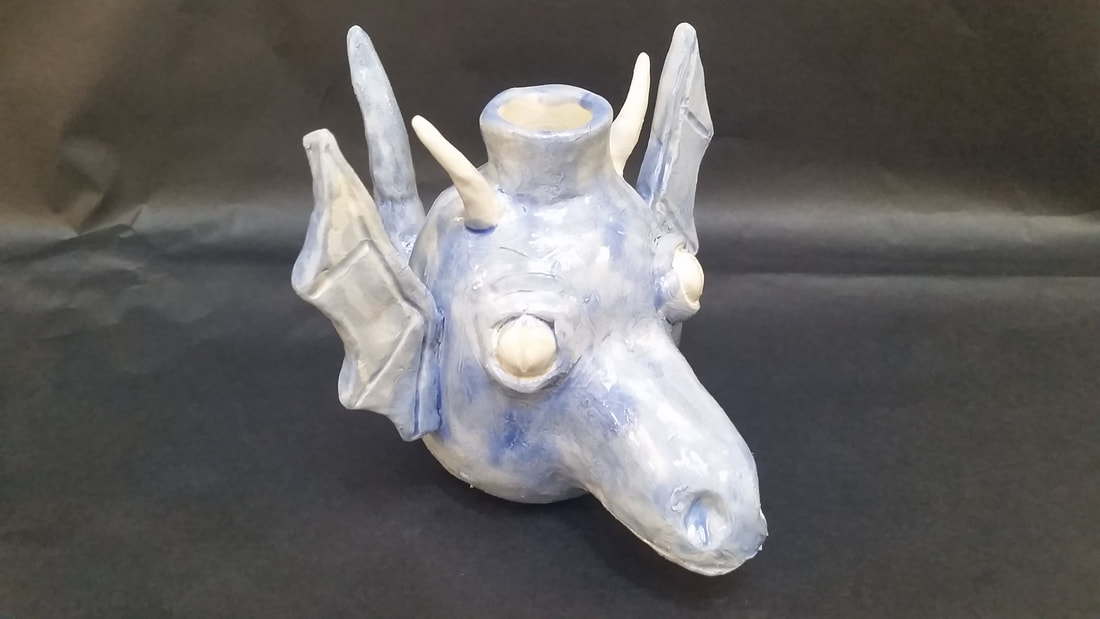
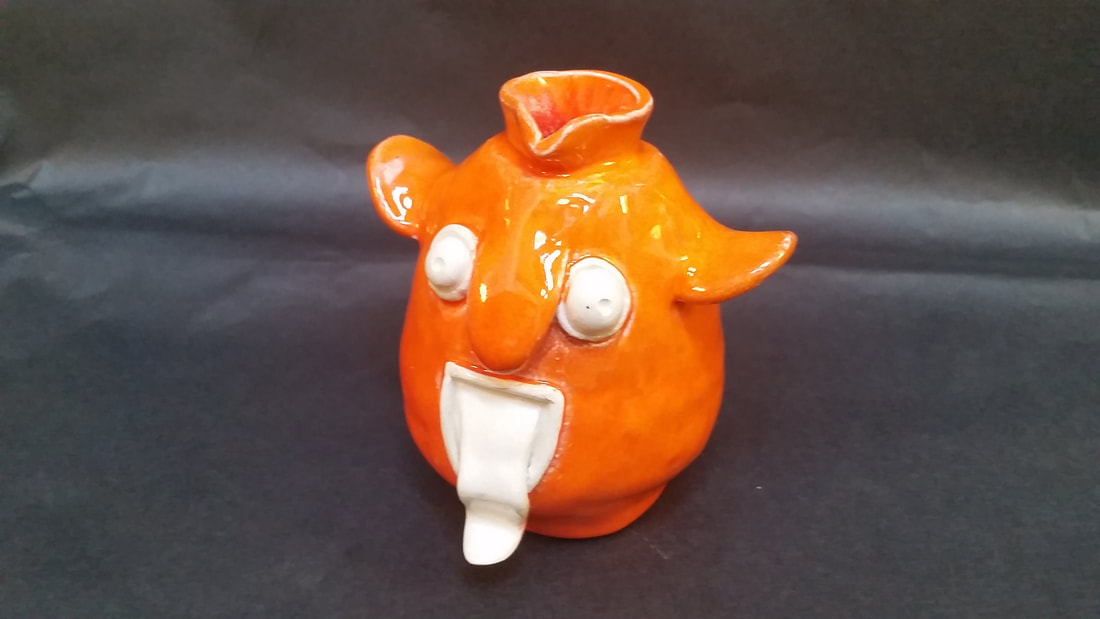
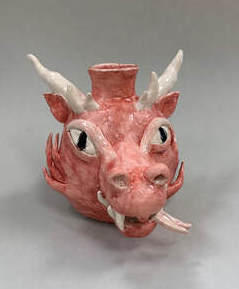
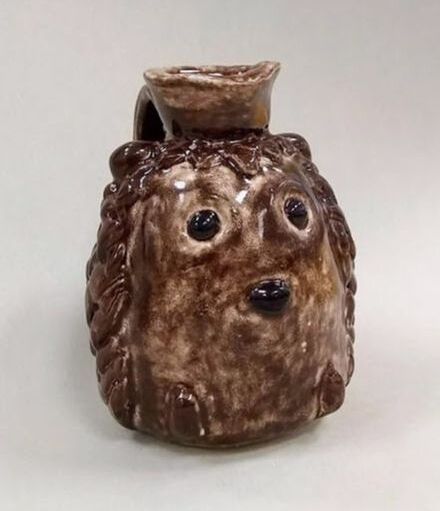
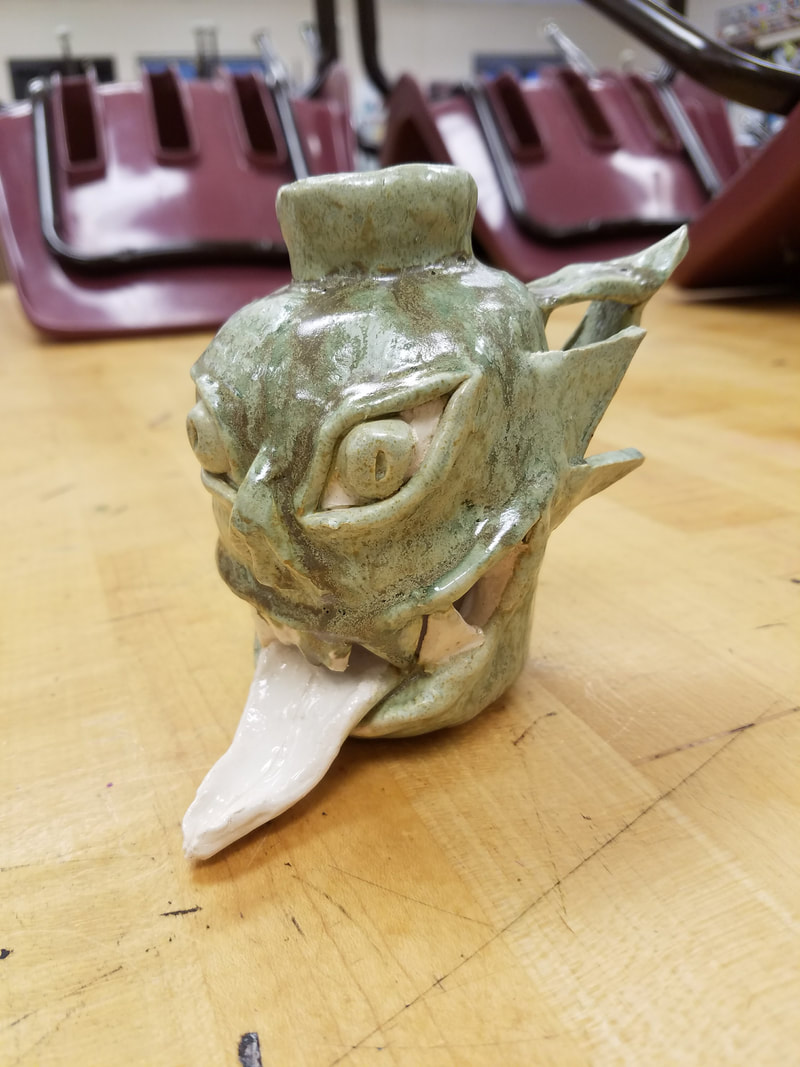
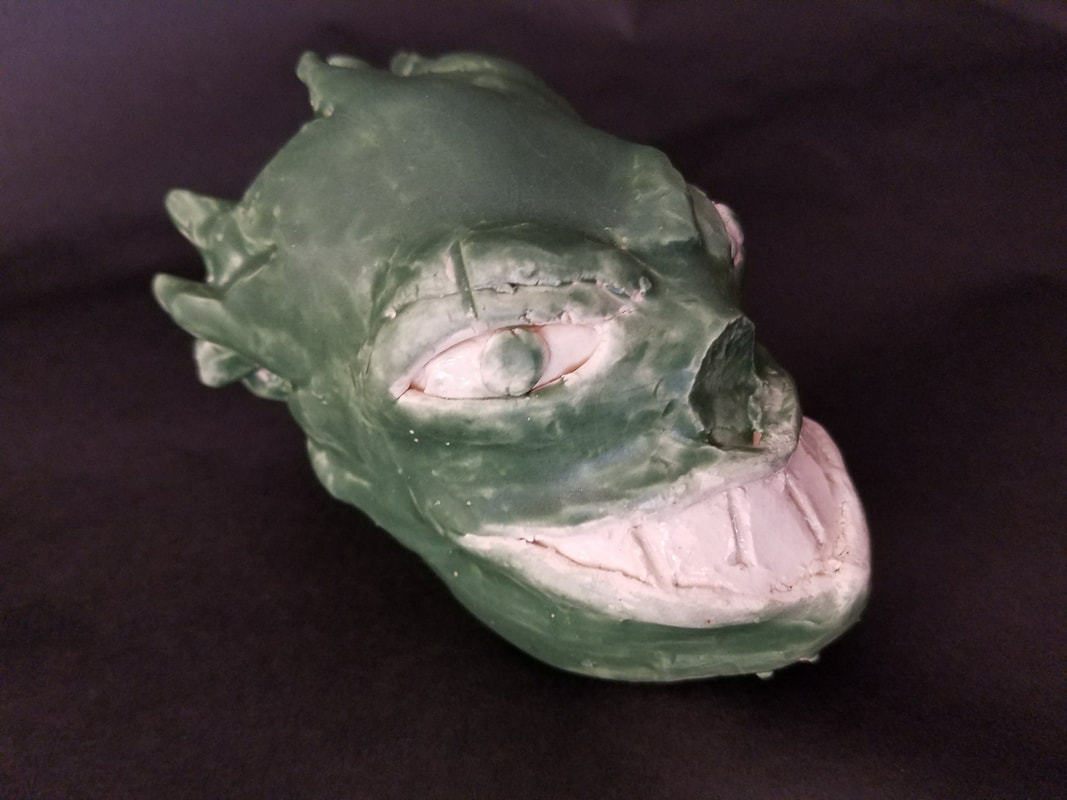
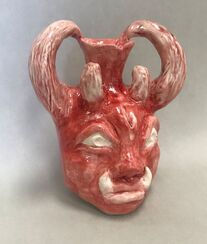
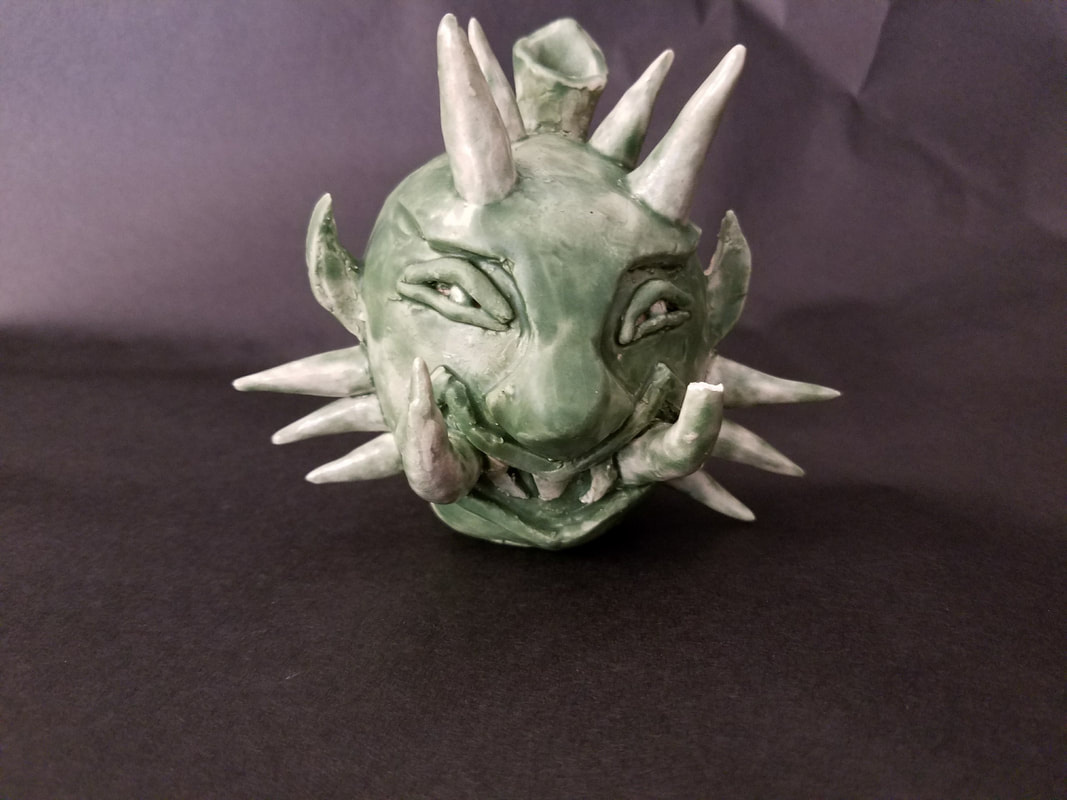
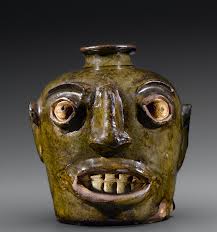
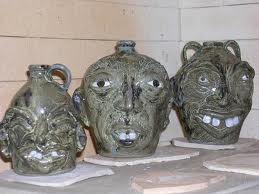
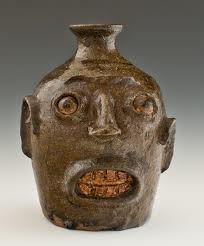
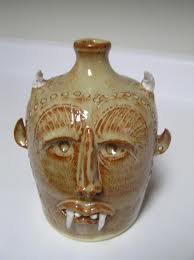
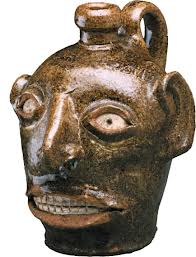
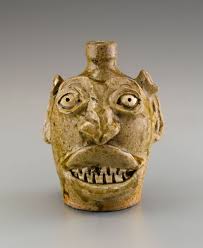
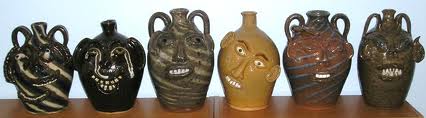
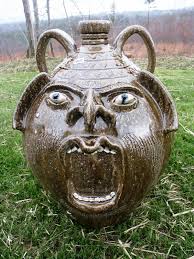
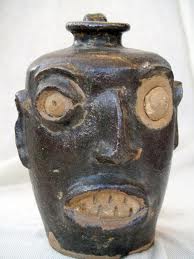
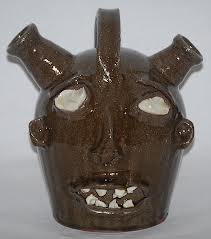
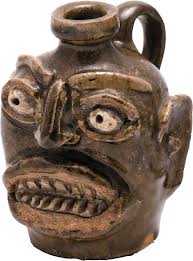
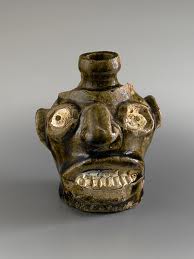
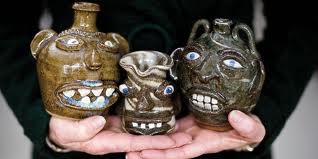
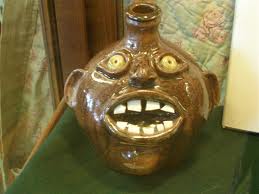
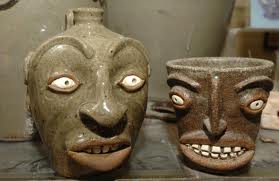
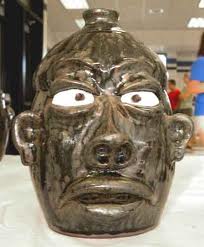
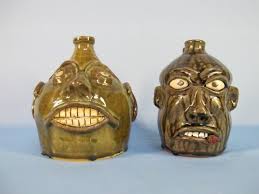
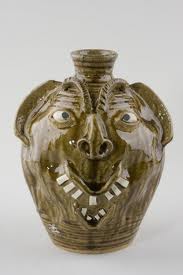
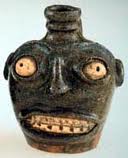
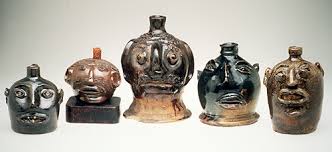
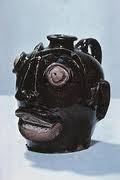
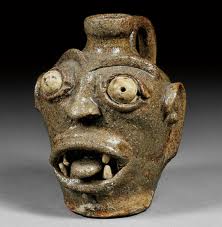
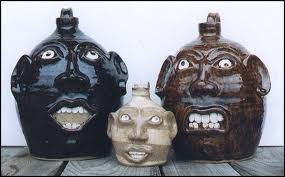
Students will begin designing their face vessels today!! Below are some past student inspiration! Face Vessel Summative Grade!
We will then be introducing Face vessels based on the tradition of face jugs in Edgefield, South Carolina. We will watch a clip from the History Detectives show about Face Jugs and trace the historical tradition as well as connect it to the way artists work and get ideas today. http://www.pbs.org/opb/historydetectives/educators/lessonplan/face-jug/ We will then design our own face vessels to begin building out of clay tomorrow! Below are some ideas to get you thinking!
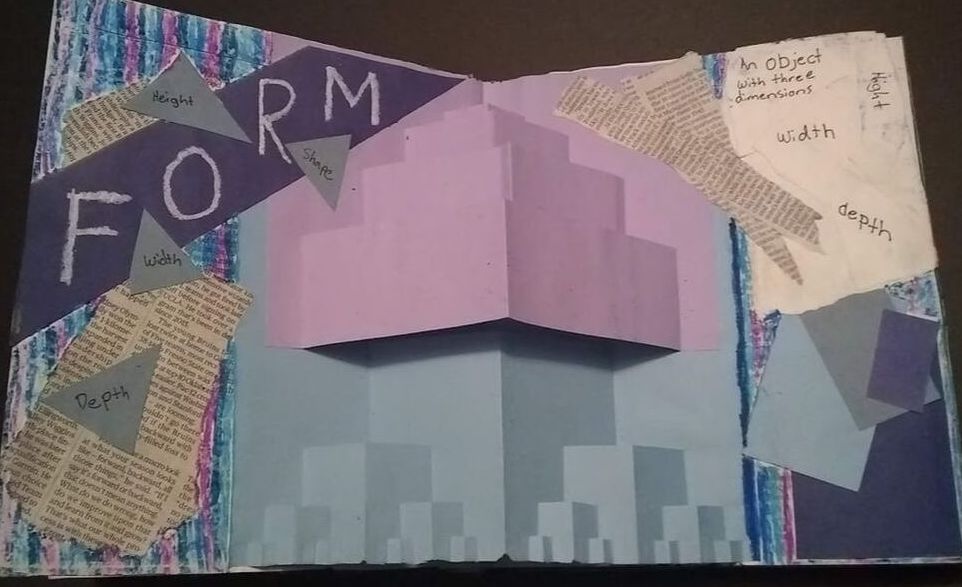
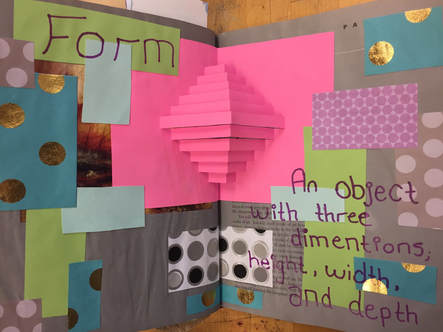
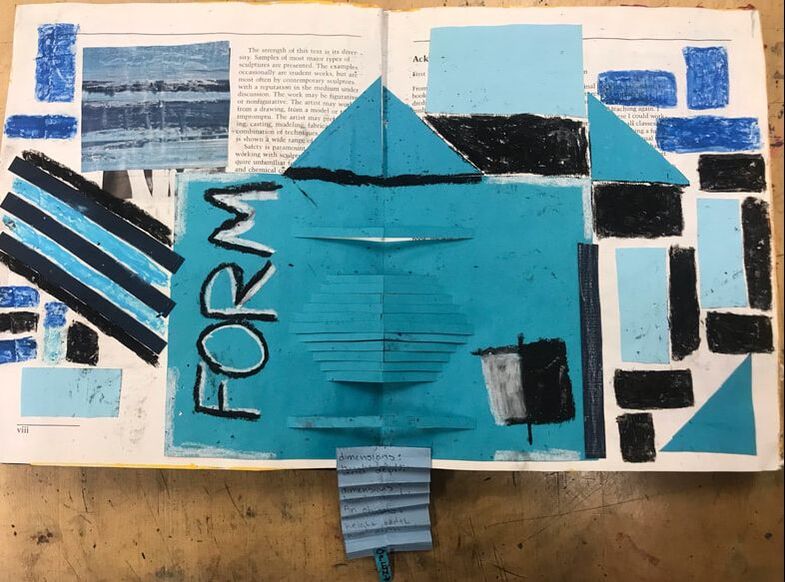
Students are going to focus on the element of FORM, so we will create a 2-page spread featuring a pop up. In the background students will add collaged papers to fill the negative space. They also included will have a title and definition for the page.
For this assignment you need to do the following: 1. Create a "pop up" element. 2. Add collaged papers to fill the space that help to unify your pop up colored paper. 3. Add more designs with oil pastels. 4. Title: FORM 5. Definition: An object with three dimensions; height, width, and depth. 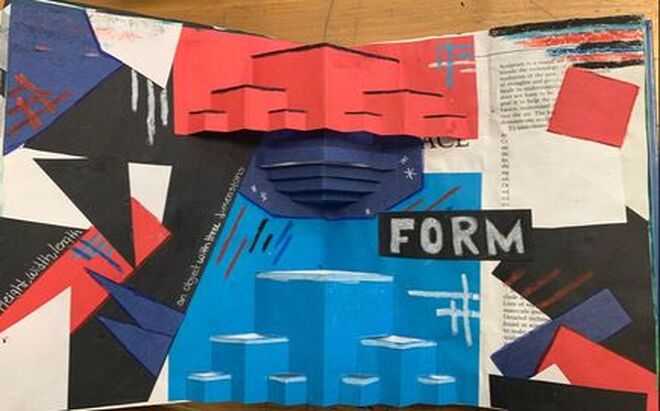
How to create a Pop UP for your altered book:
After you create the pop up, glue into the book and add collaged shapes to fill the space.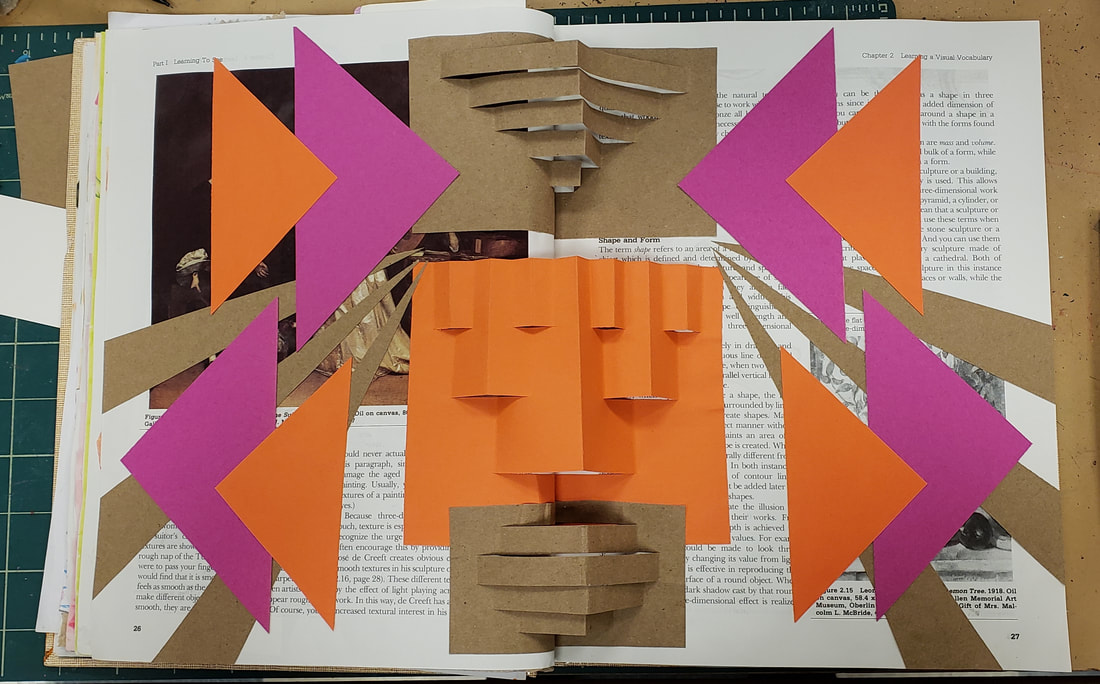
Then add oil pastel designs, title, and definition:
Part 1:
Hello Students!
TODAY, we will be taking photos and uploading images onto our Weebly Blogs. If you don't have your new page on your blog yet, be sure to include that first! Next, begin uploading photos onto your weebly blog. See how in the steps below: Things to think about when taking photos: Be sure you have good quality photos, they are completely strait (not at an angle), they are cropped with no extra space around the edges. (see good vs. bad quality photos below)
How to upload photos to the blog AND blog edits video Fall 2021:
Below, you can see a video demo of how to add images to your weebly blog. For a full-screen version, click on this link!!
How to upload images from your device using a cord:
1. click on the search bar at the bottom left of your screen.
2. Type in "This PC" 3. The finder window will come up and you can look under devices and drives. 4. Find your device and click on it. (if you have an apple iPhone, you will have to click "allow" on your device. 5. Search for your images. 6. Click and drag your images to your student ID number on the left side of the window. |
fun SitesMarilyn Maker
Silk- Interactive Art Tessellate Jackson Pollock (splatter painter) Build Your Wild Self Mondrimat Mr. Picassohead Mandala Maker Art Games Bomomo Art Pad The Color Test Getty Games Archives
April 2024
Categories
All
|
|||||||||||||


 RSS Feed
