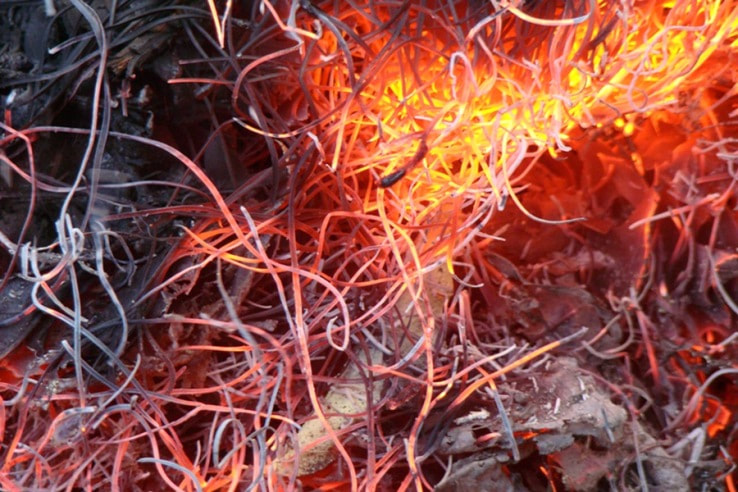
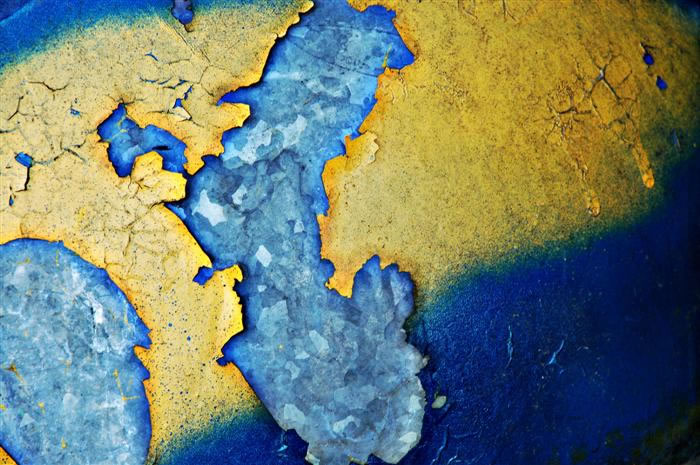
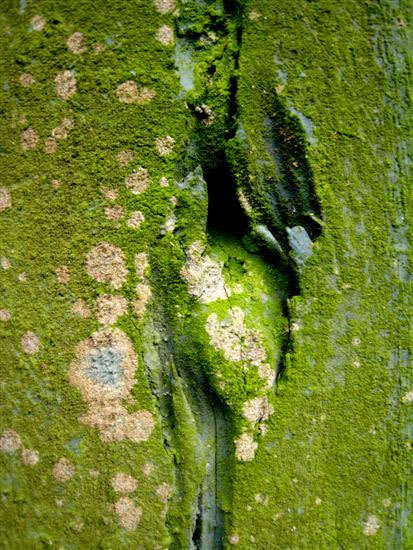
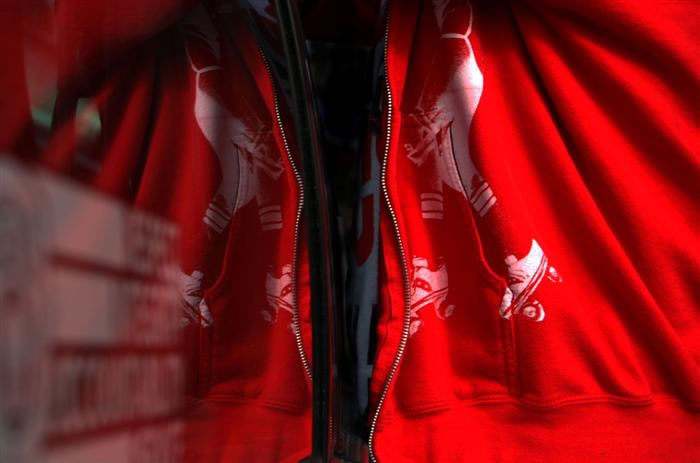
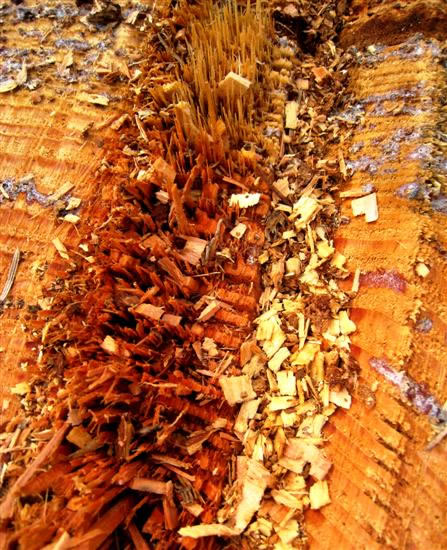
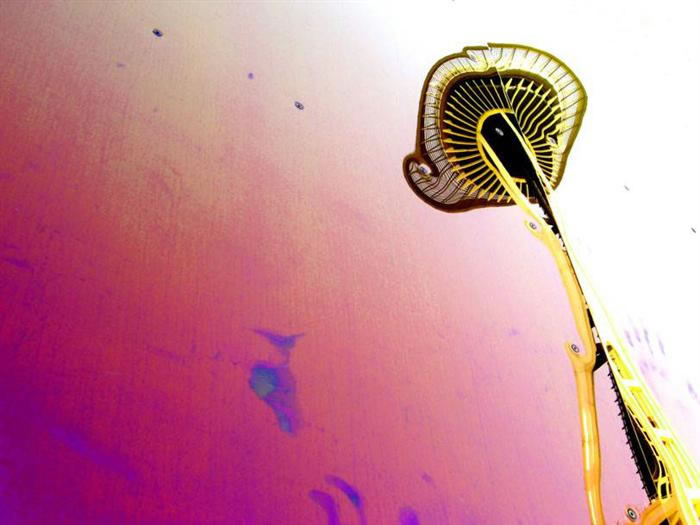
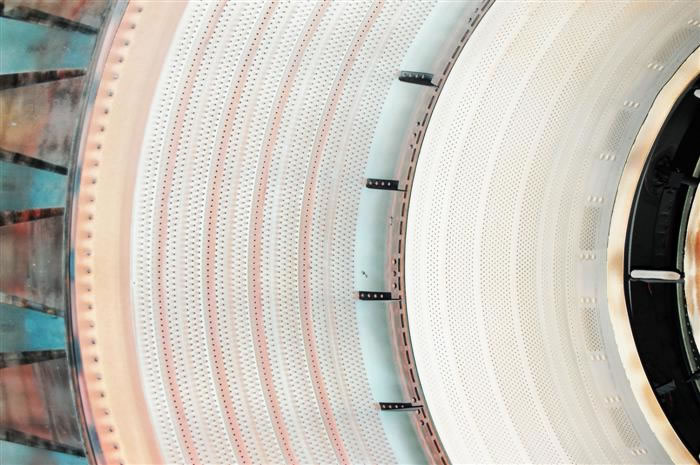
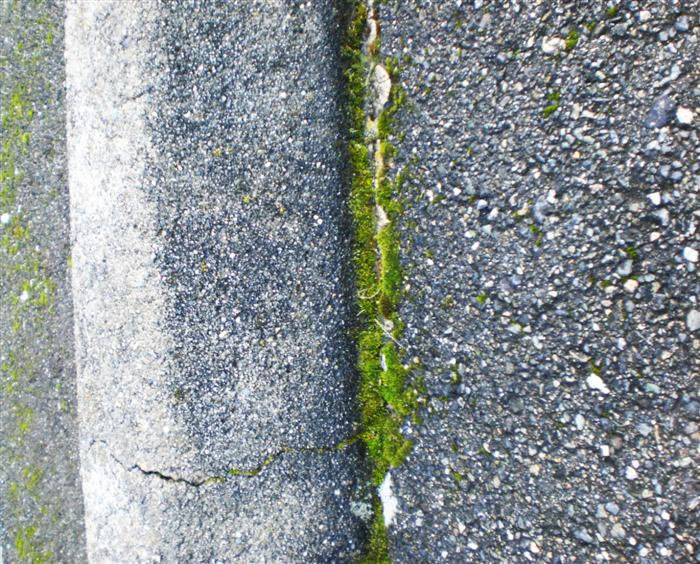
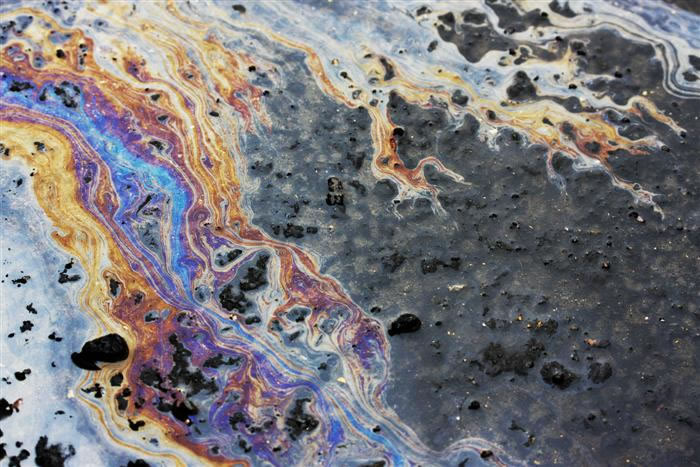
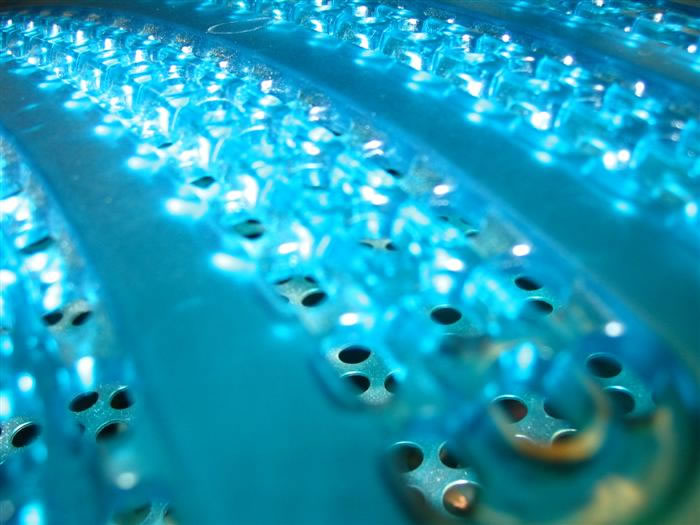
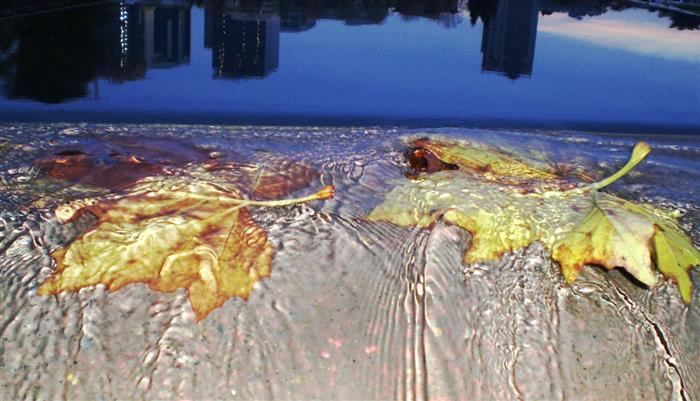
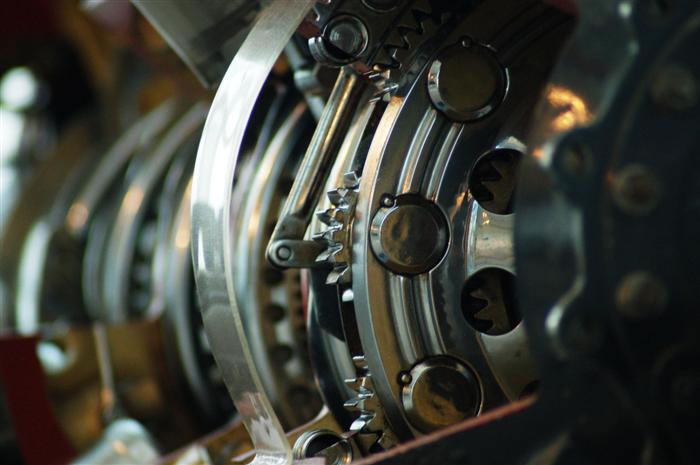
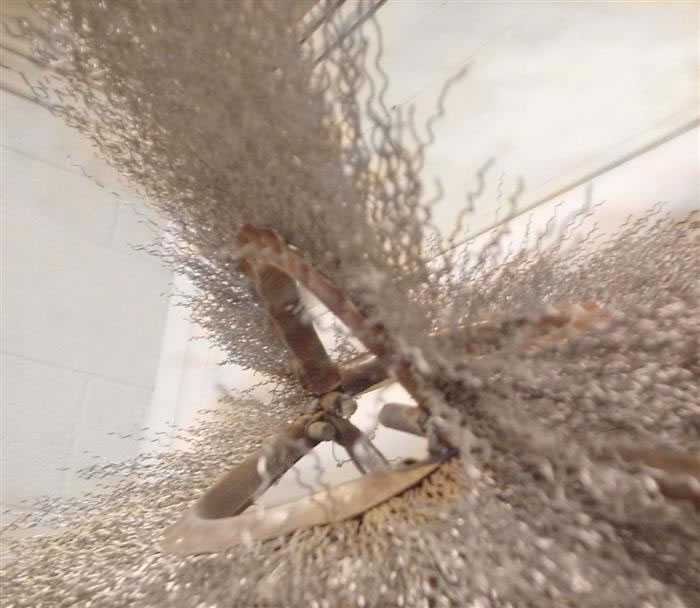
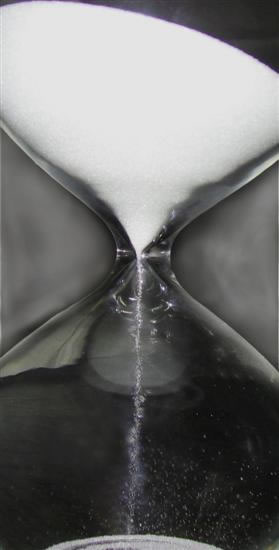
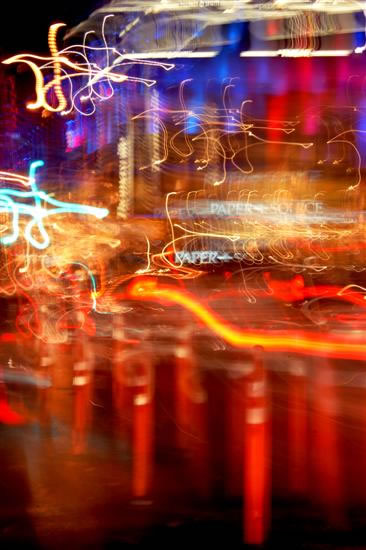
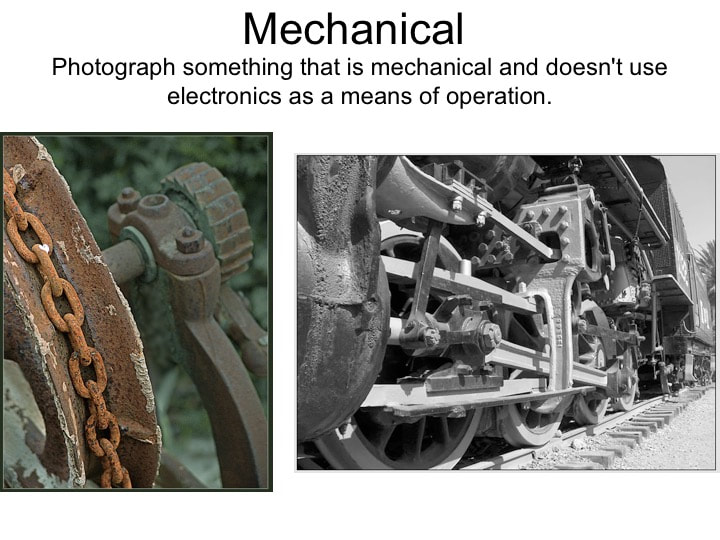
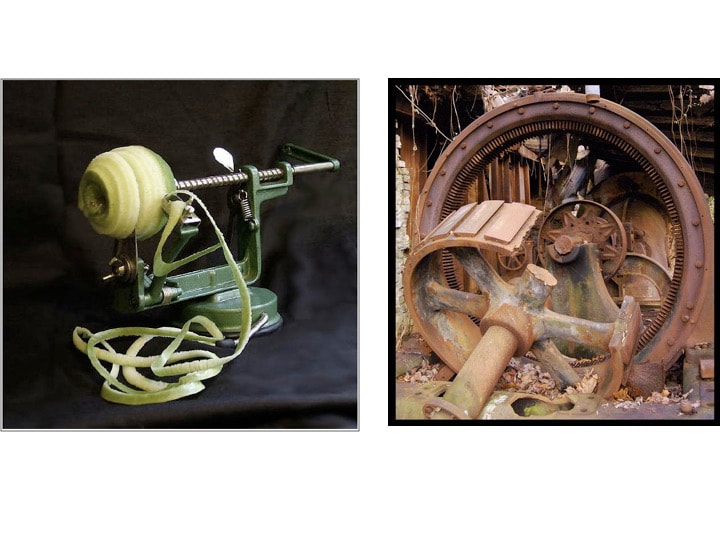
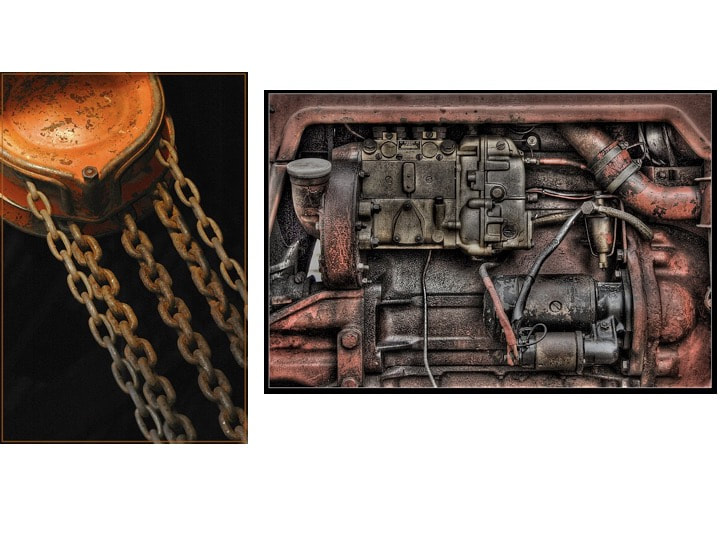
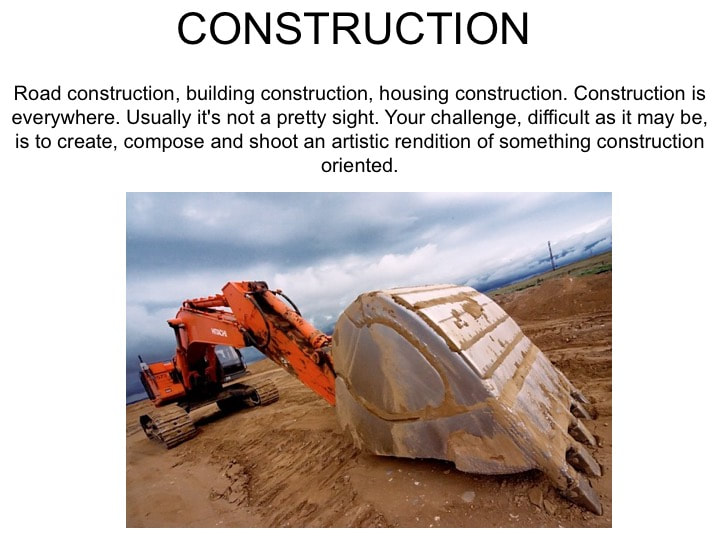
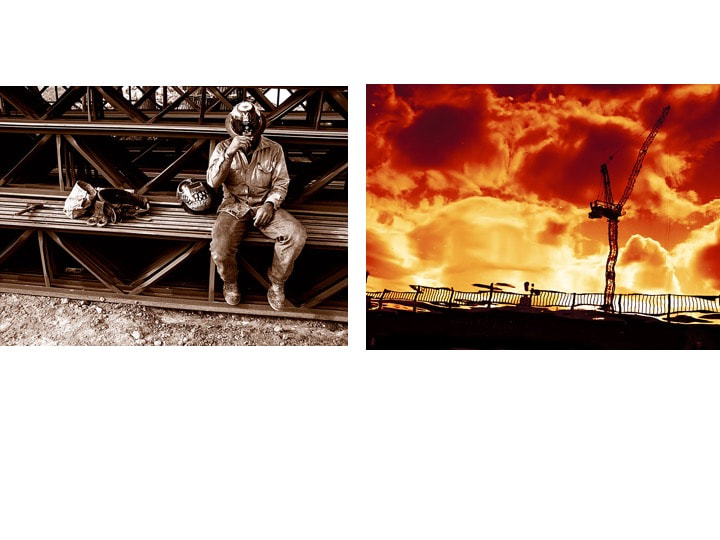
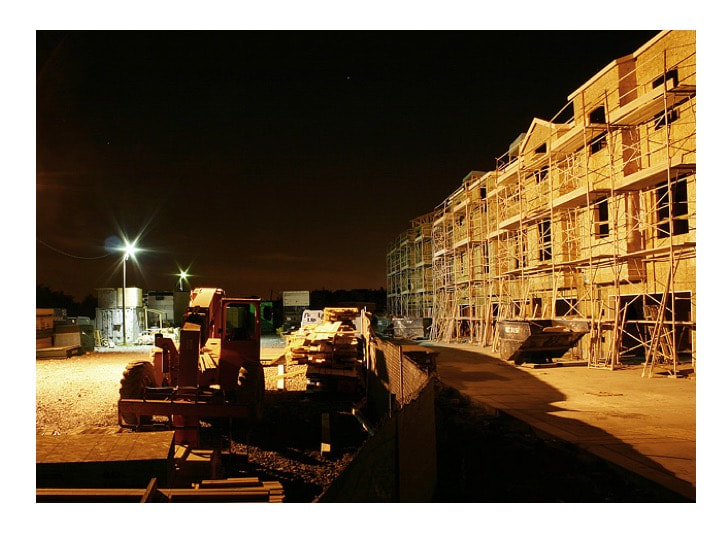
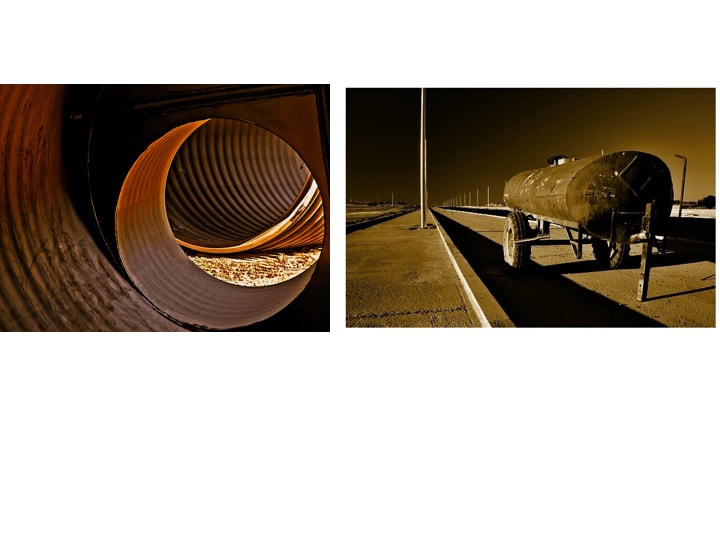
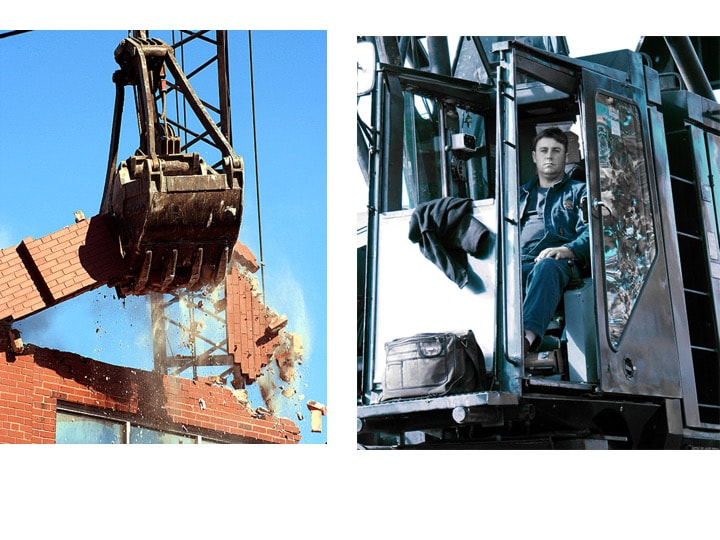
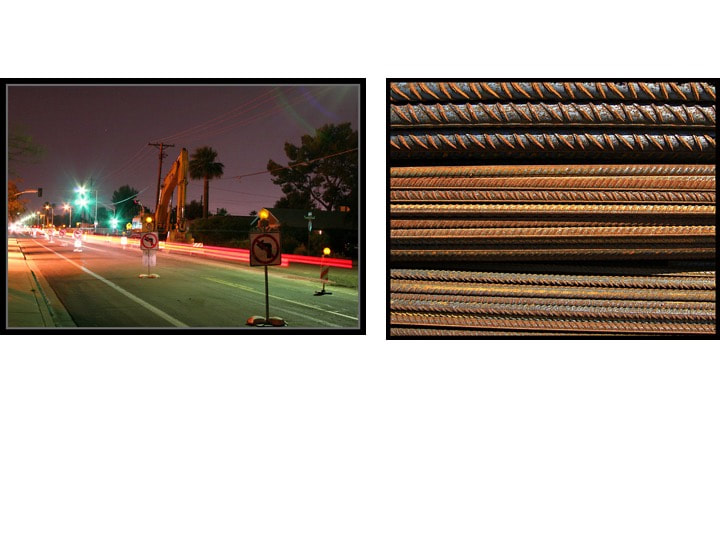
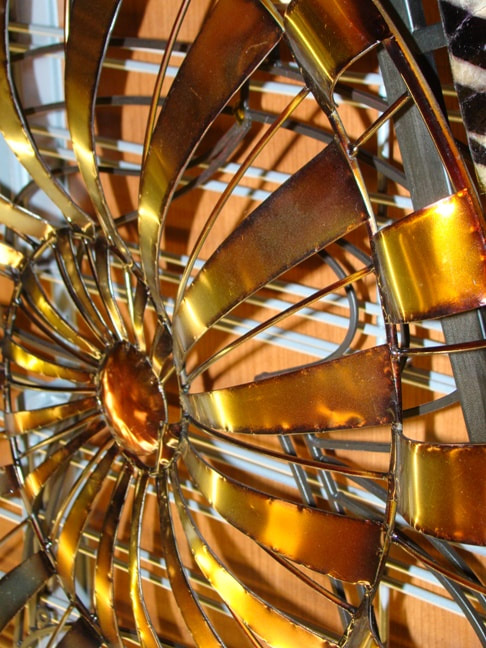
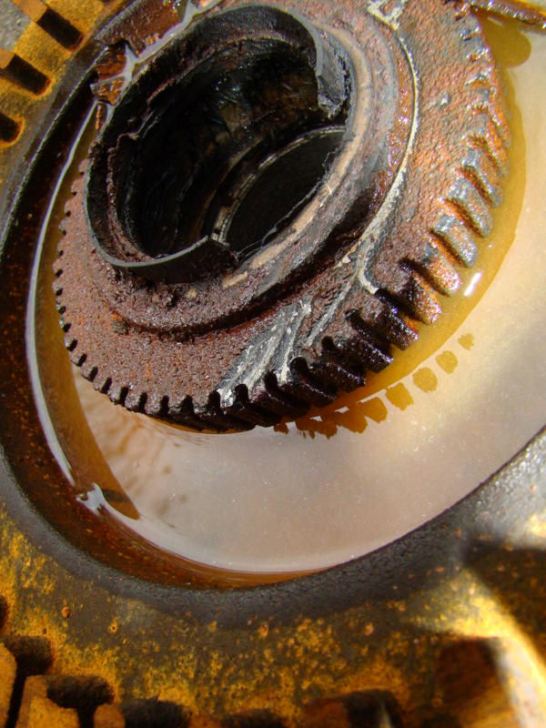
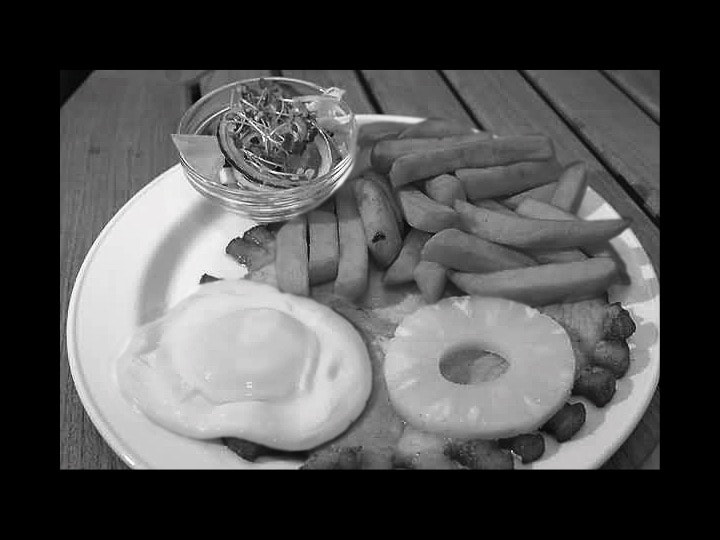
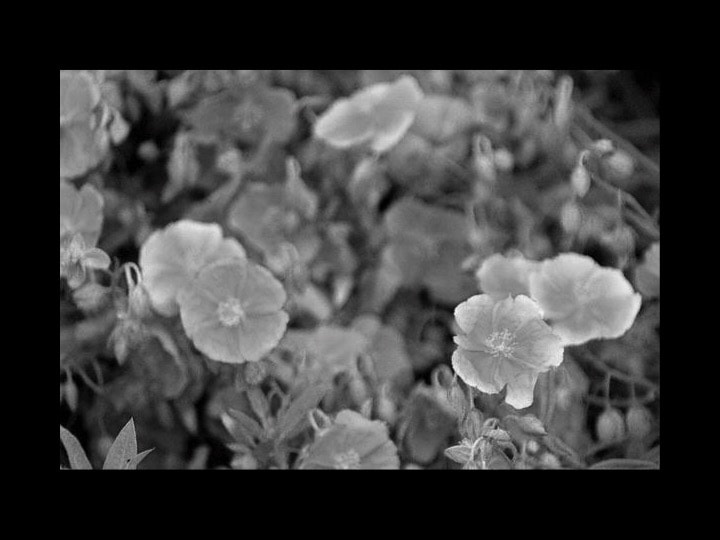
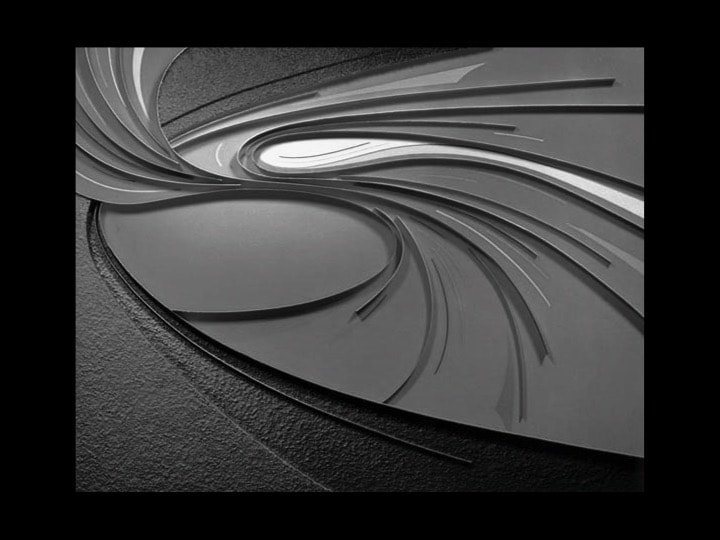
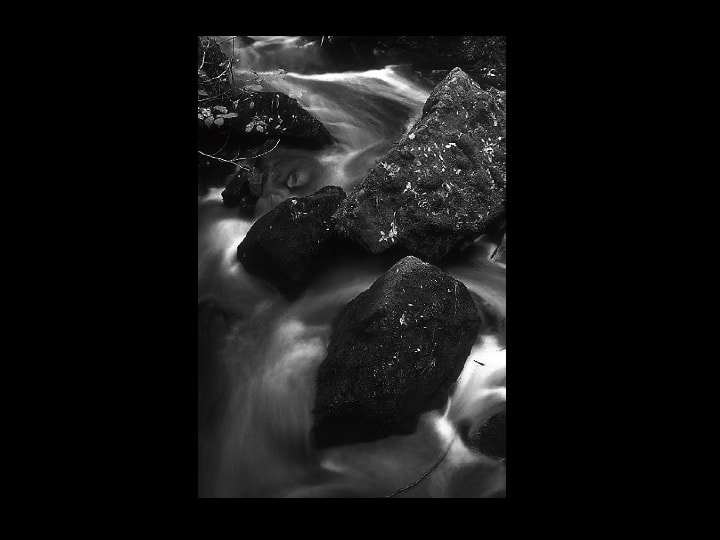
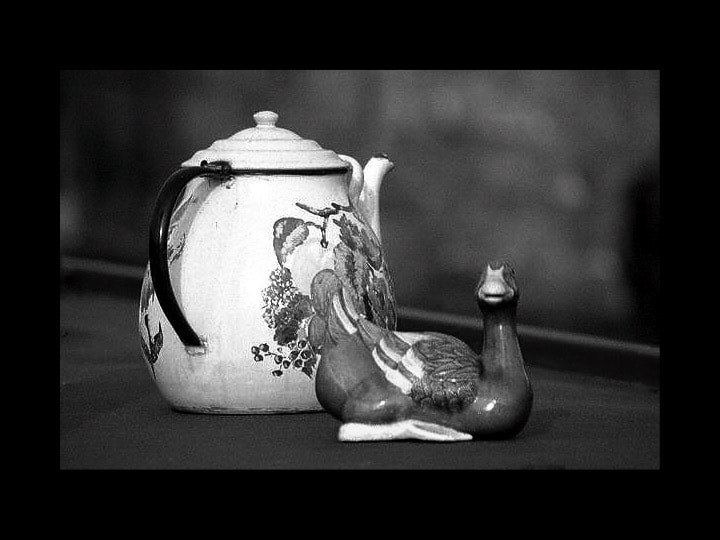
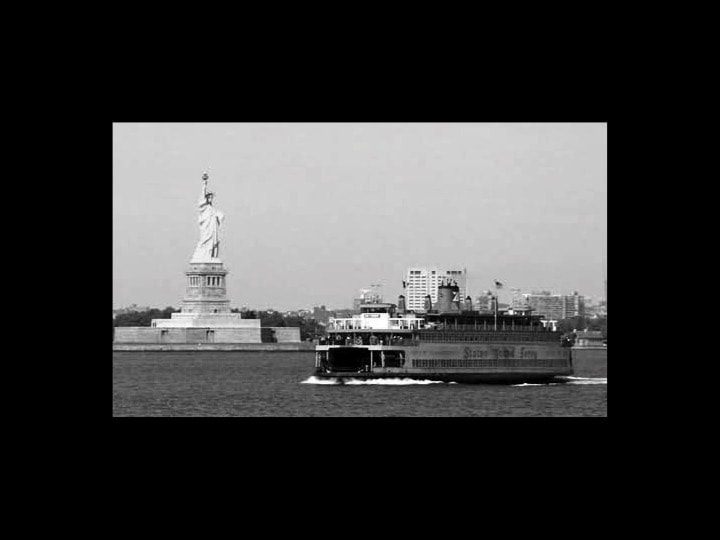
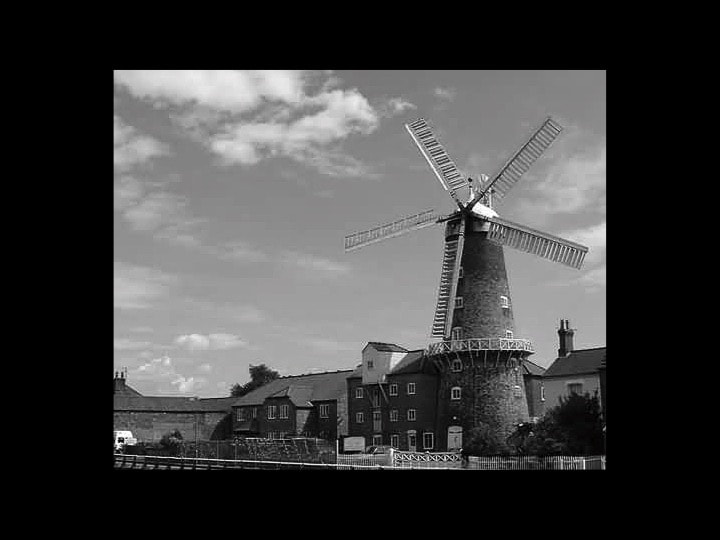
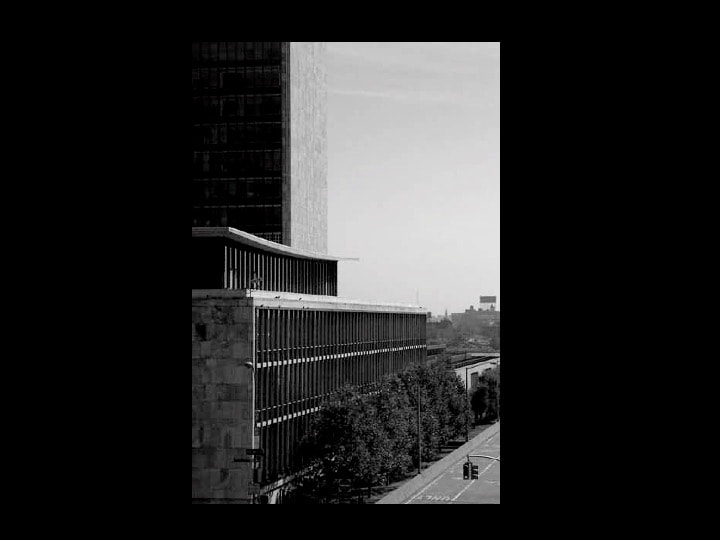
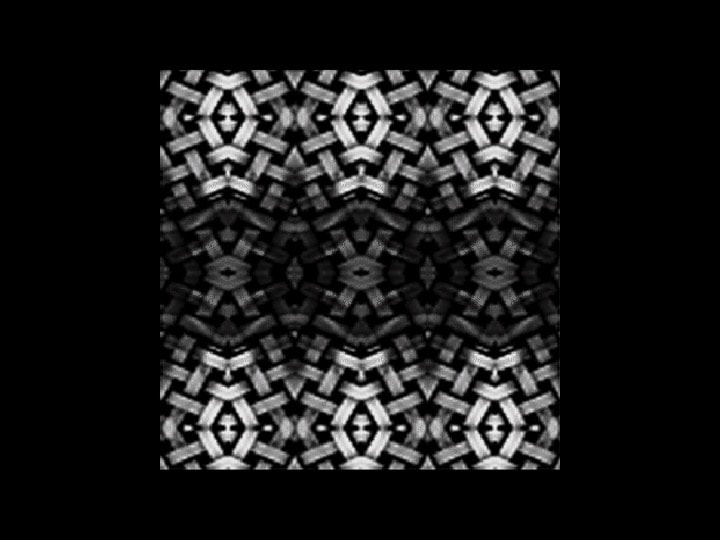
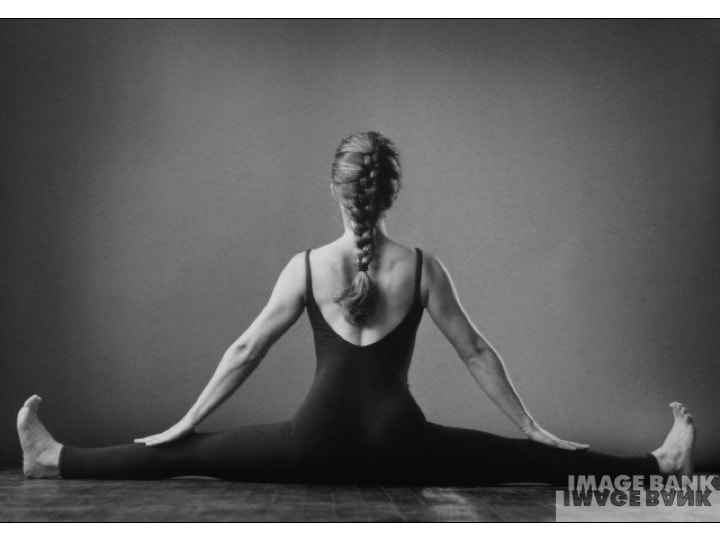
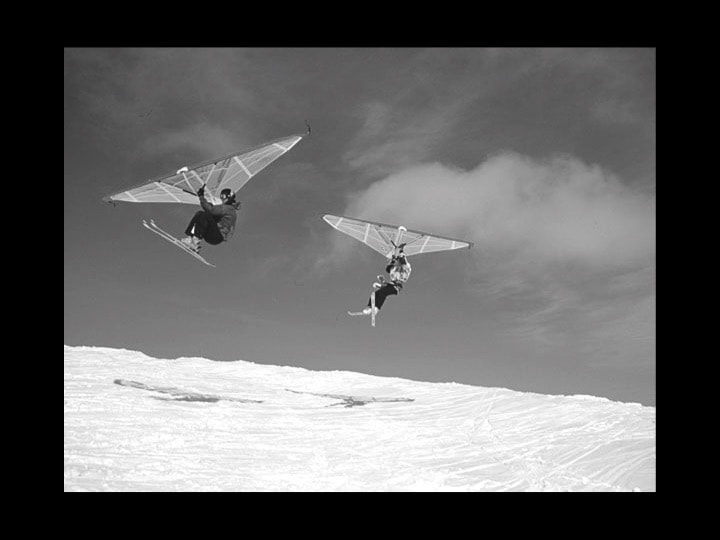
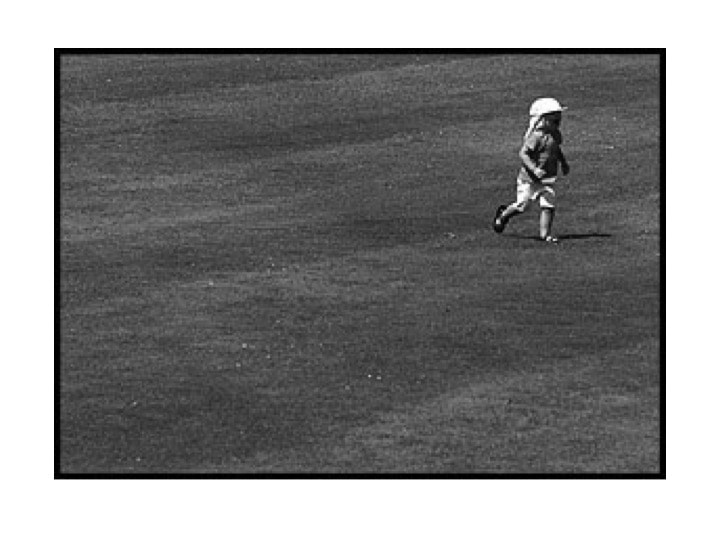
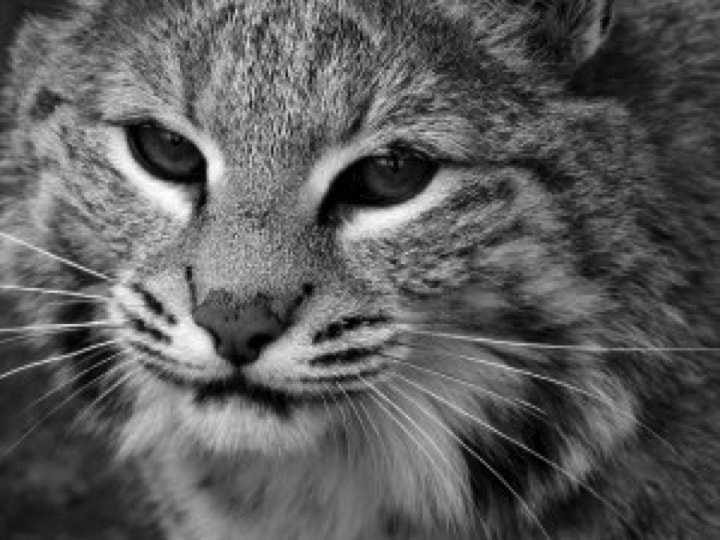
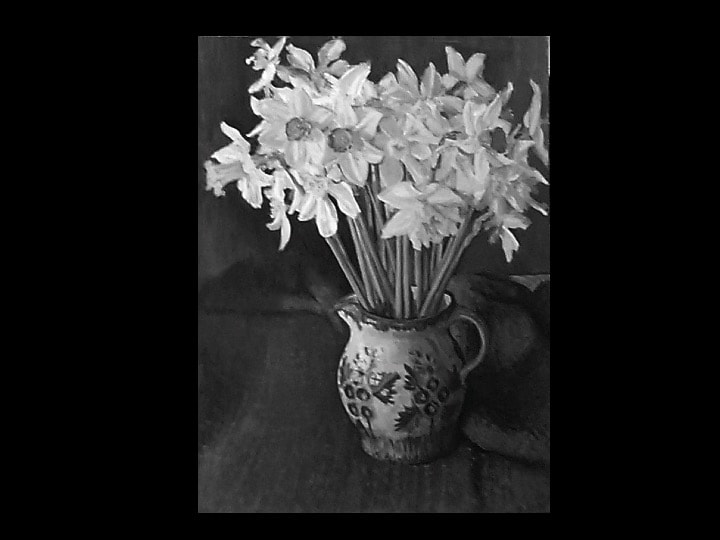
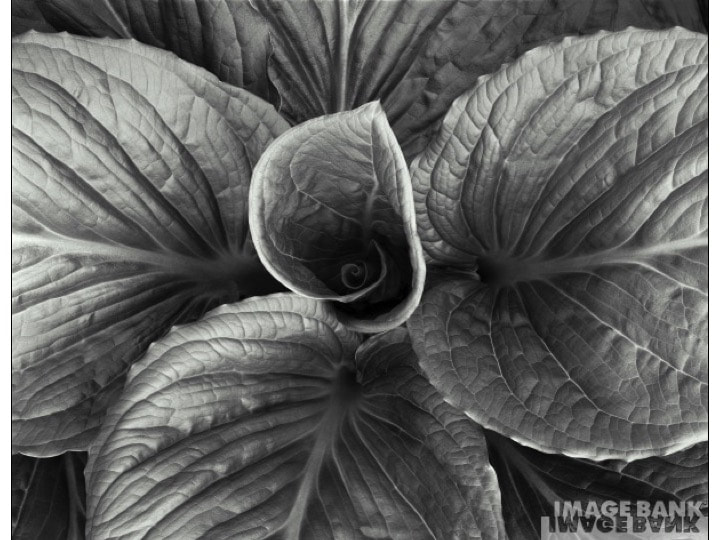
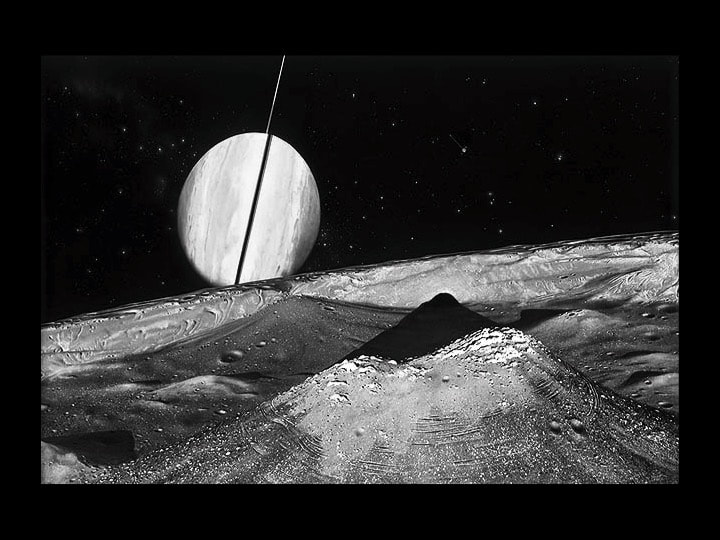
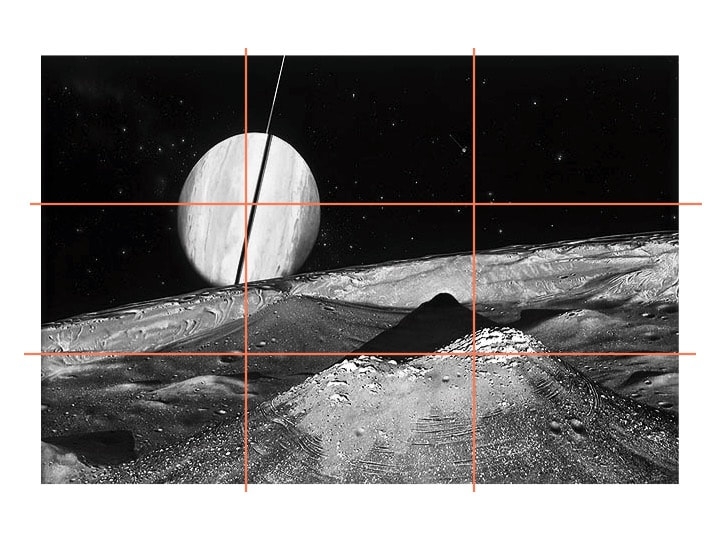
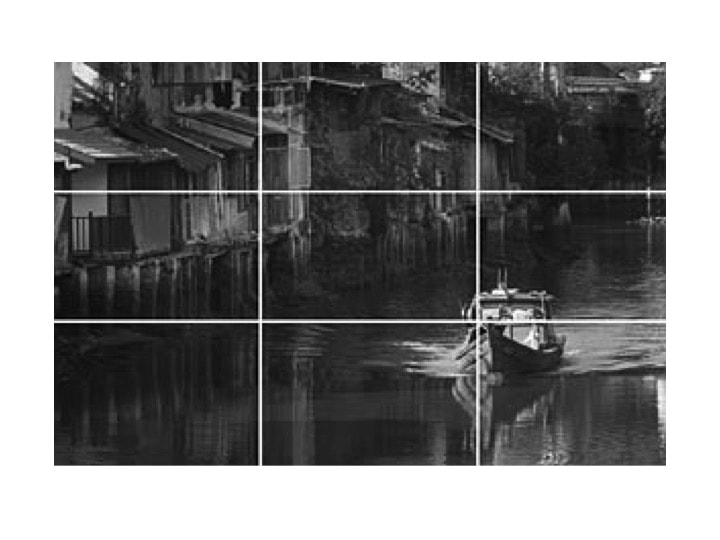
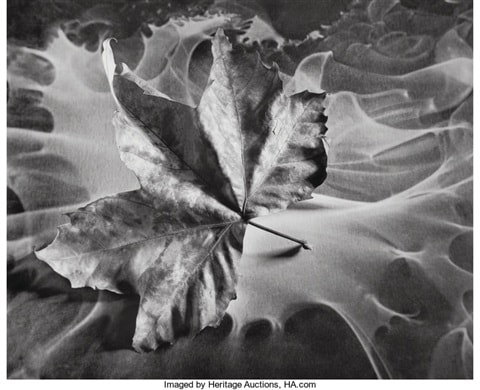
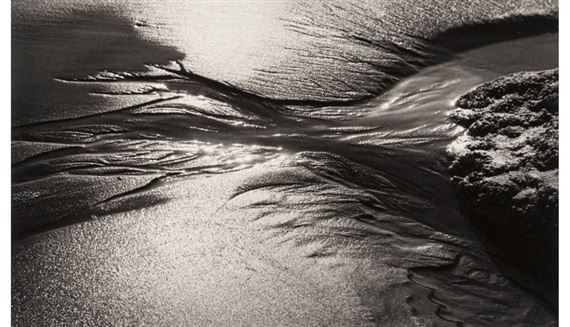
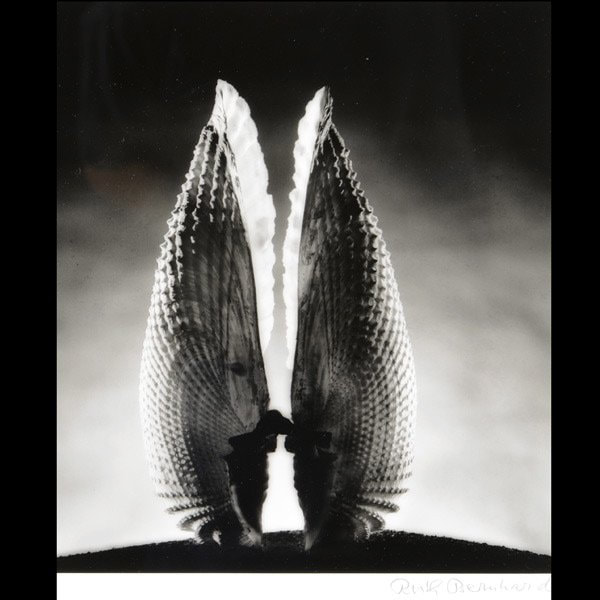
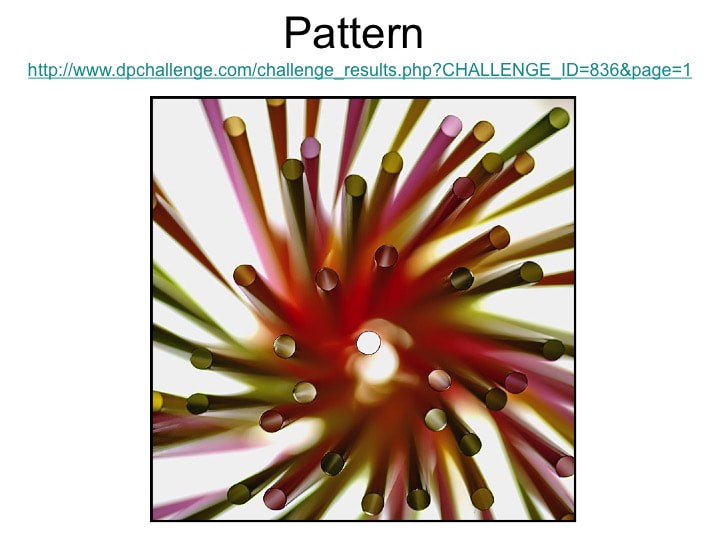
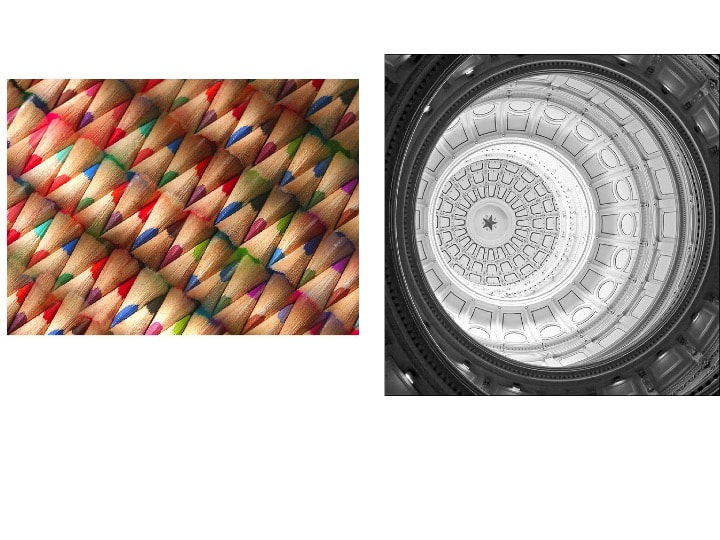
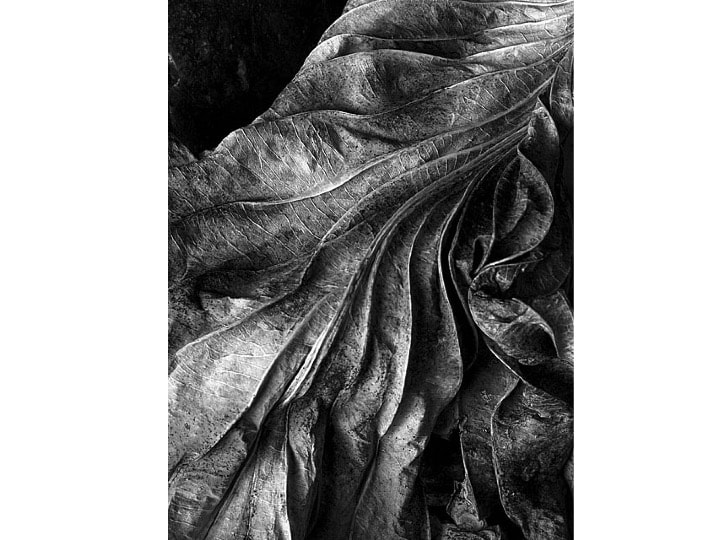
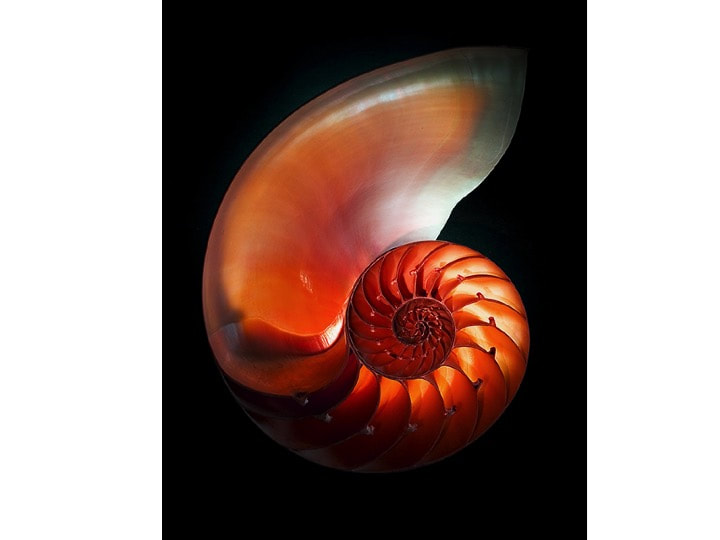
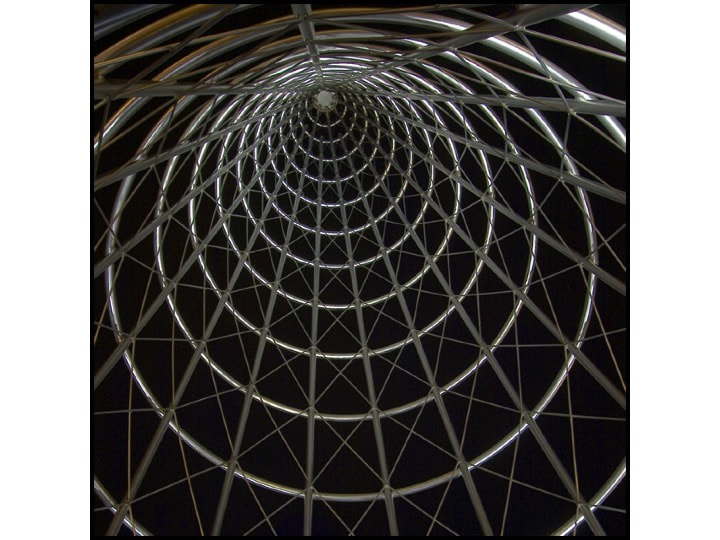
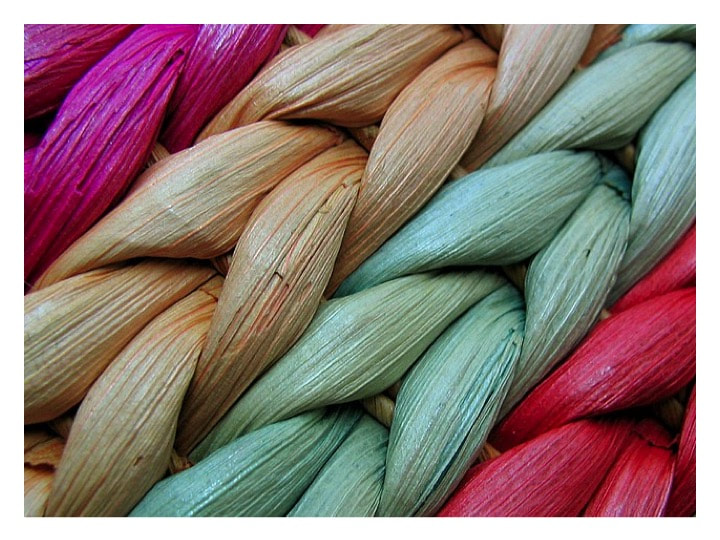
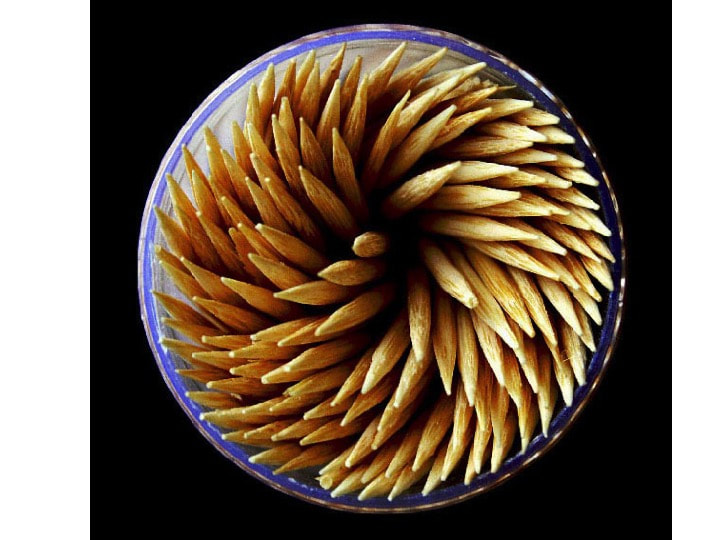
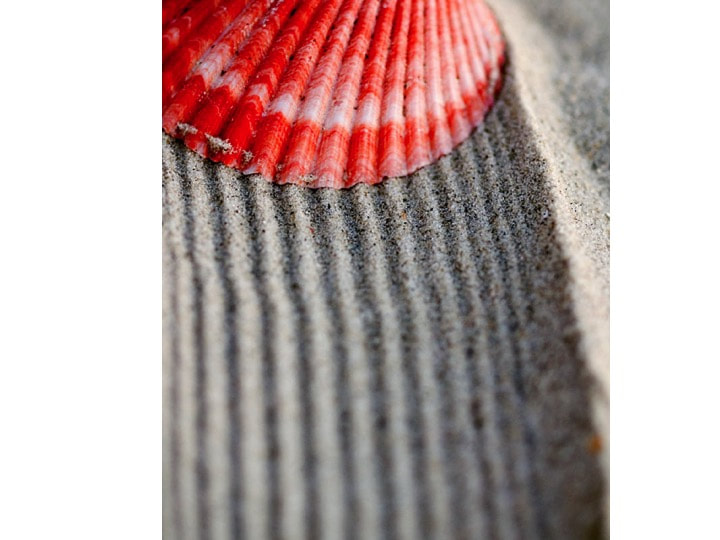
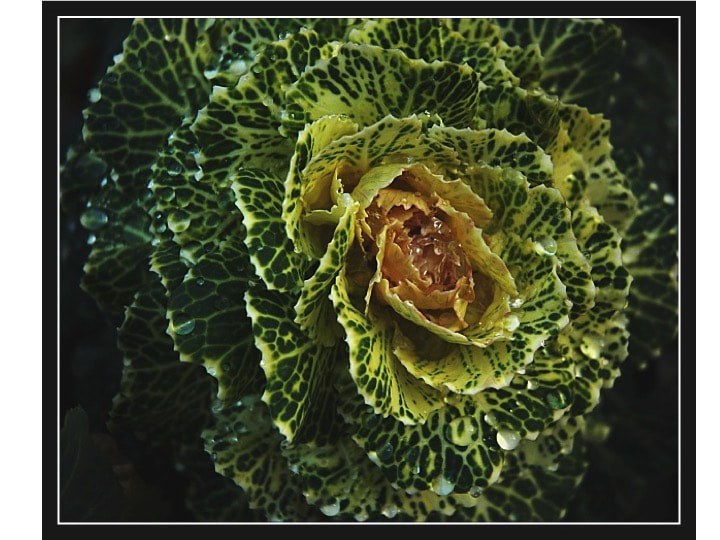
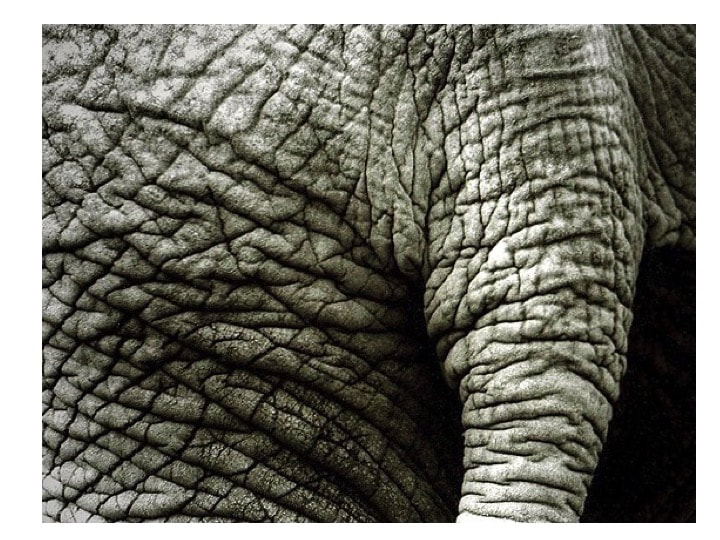
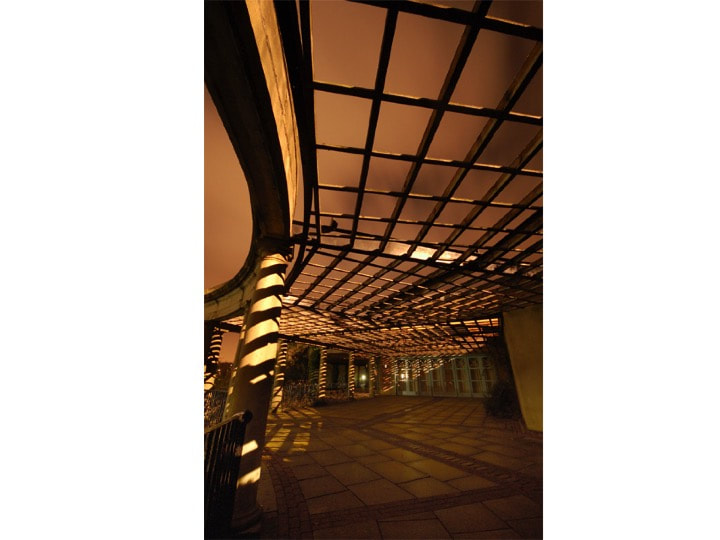
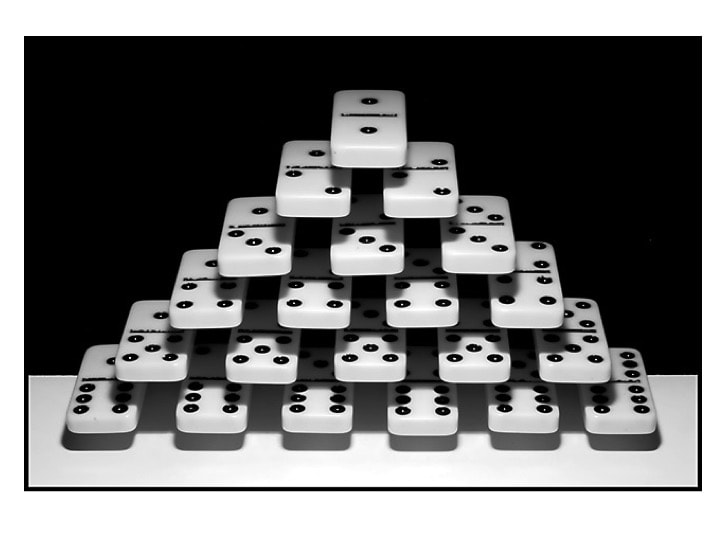
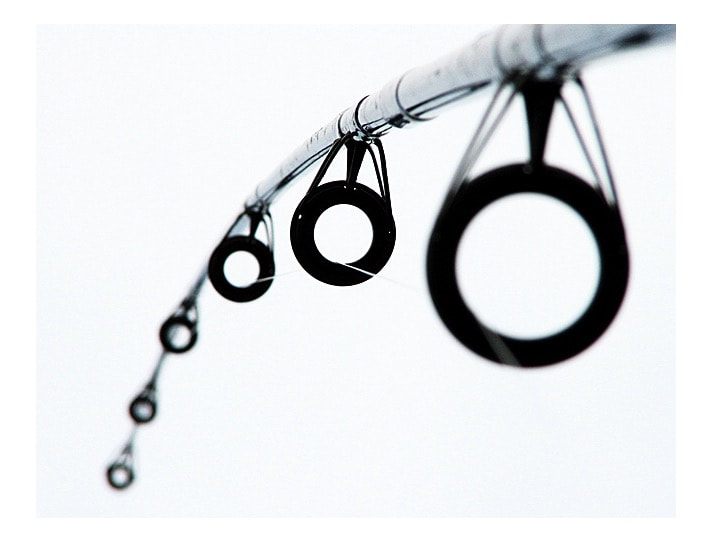
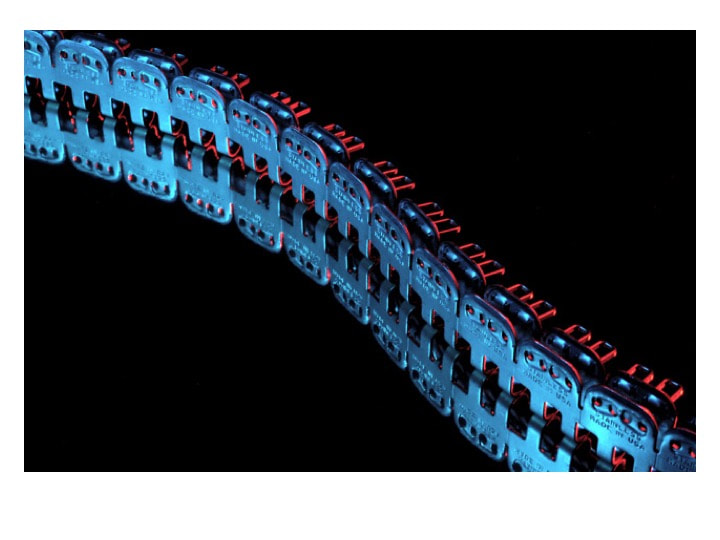
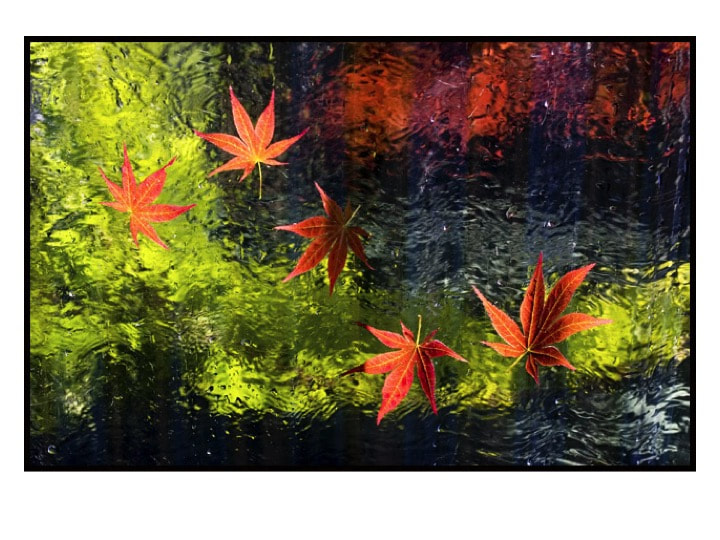
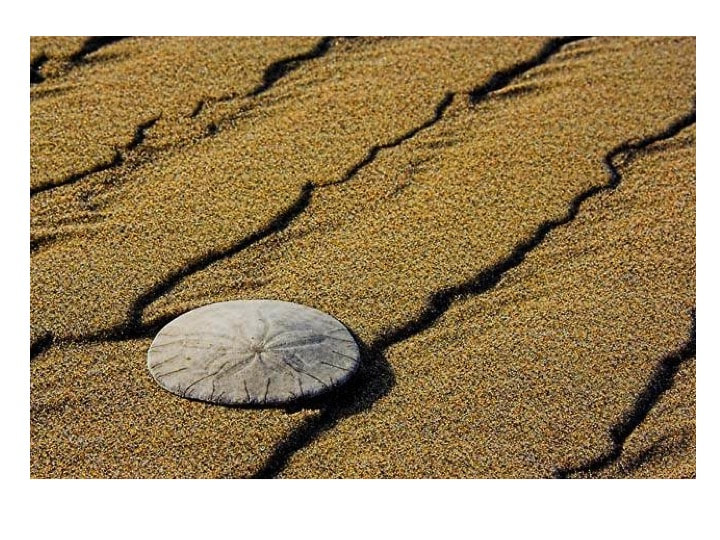
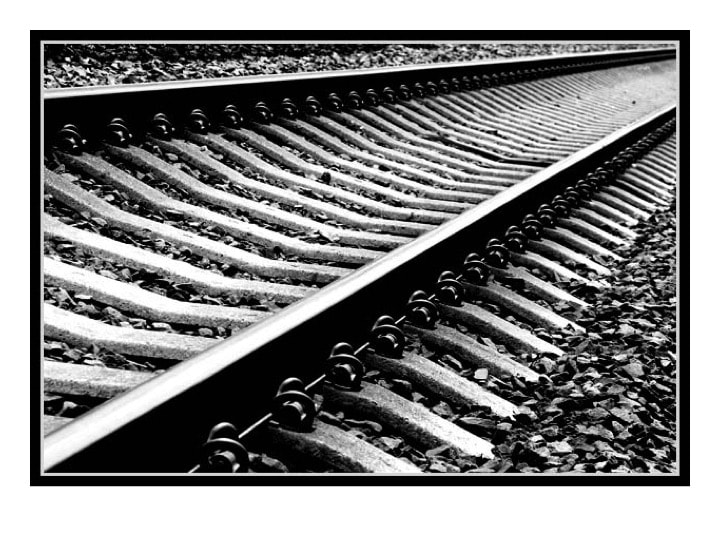
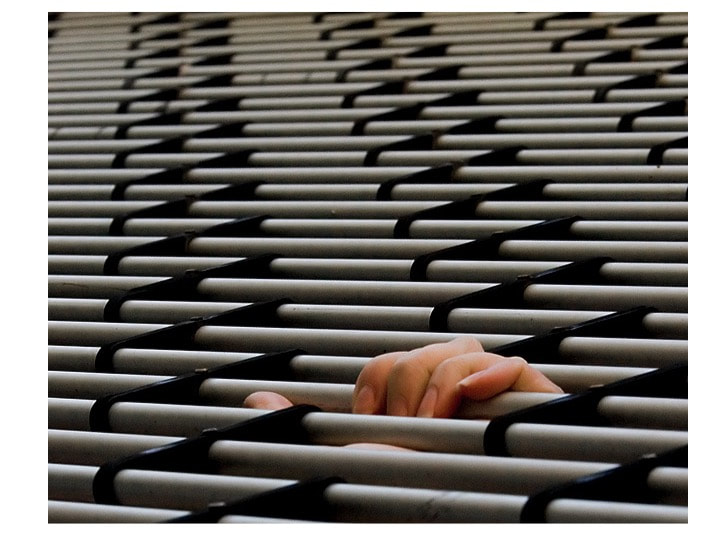
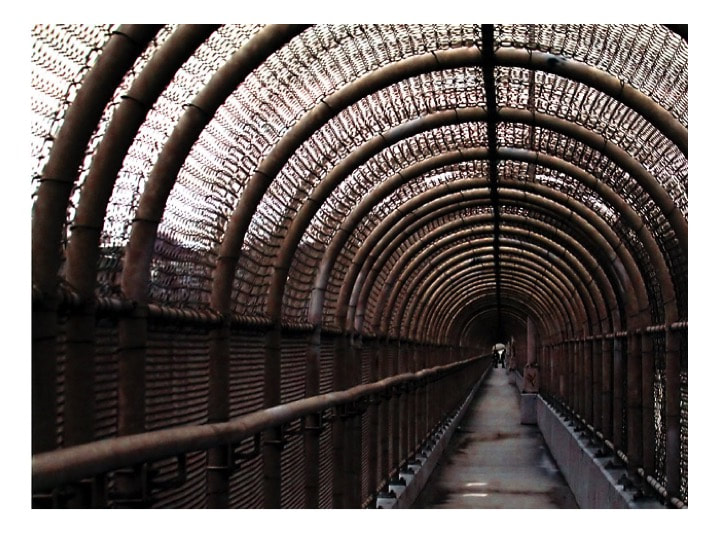
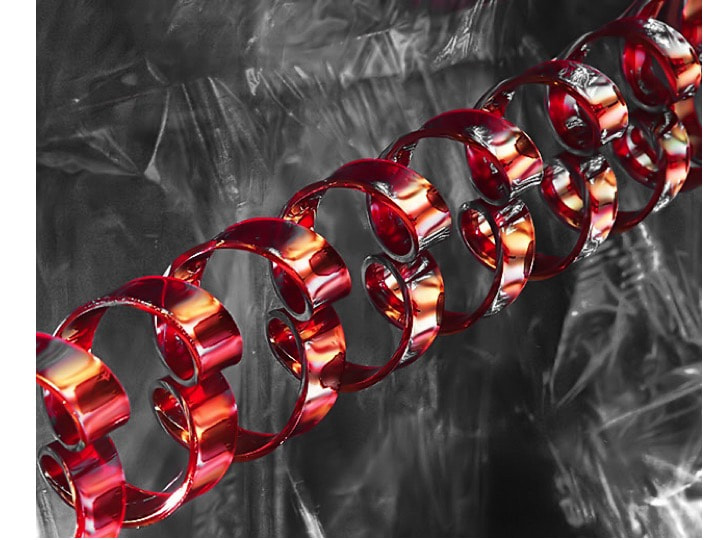
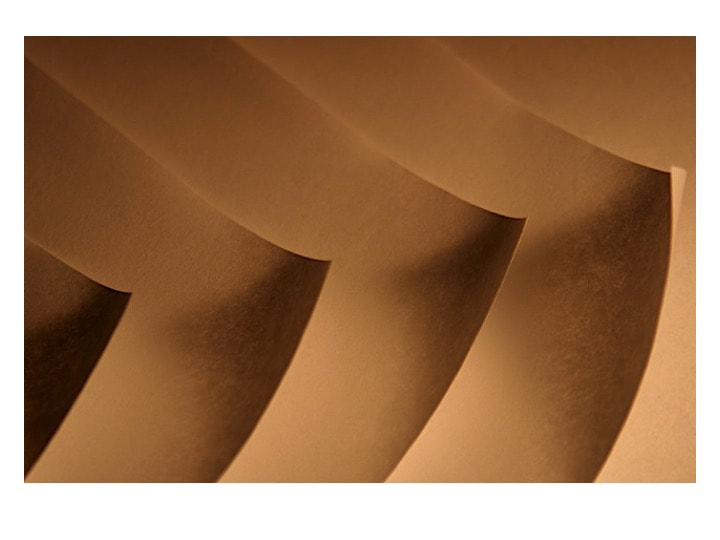
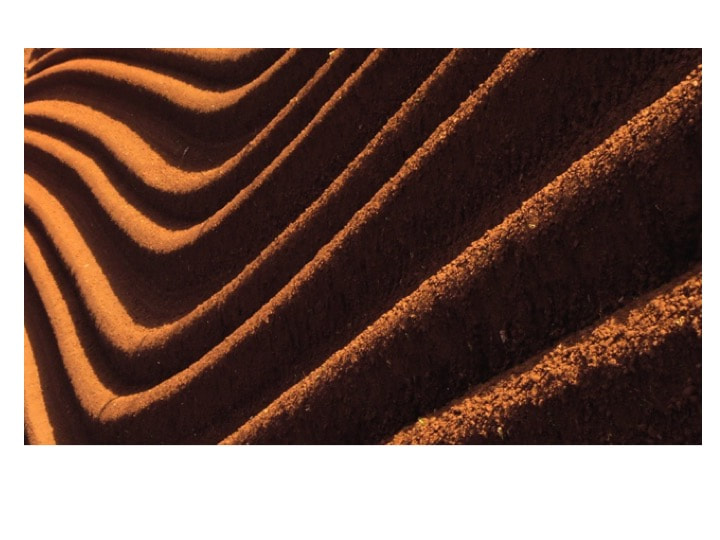
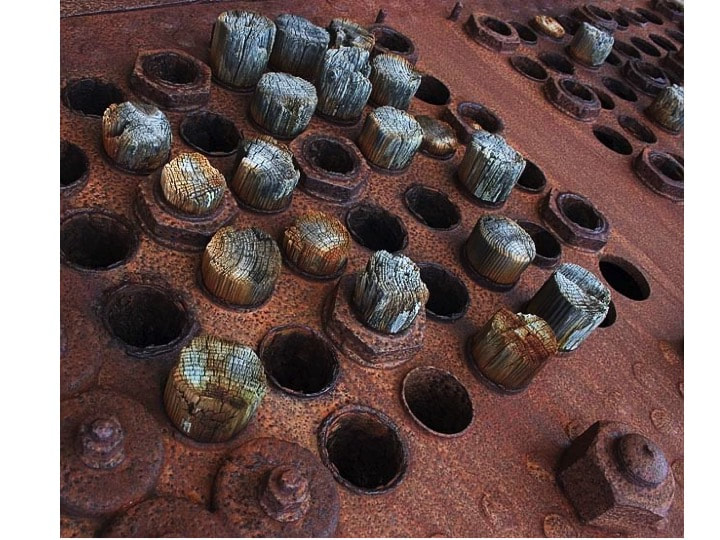
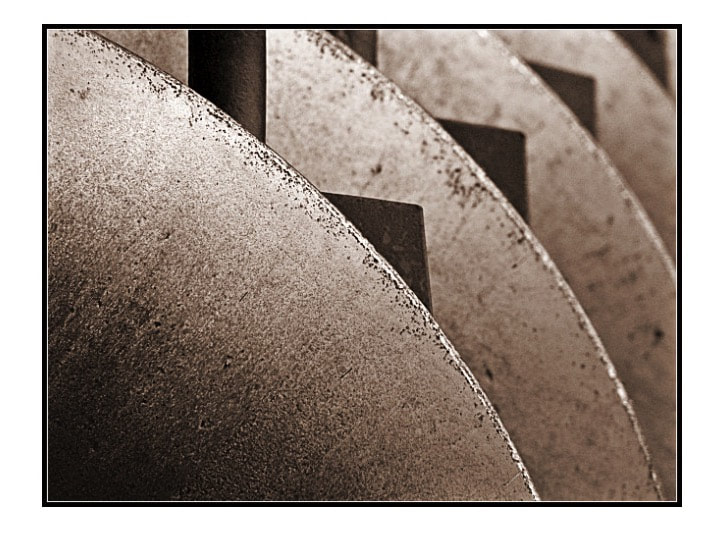
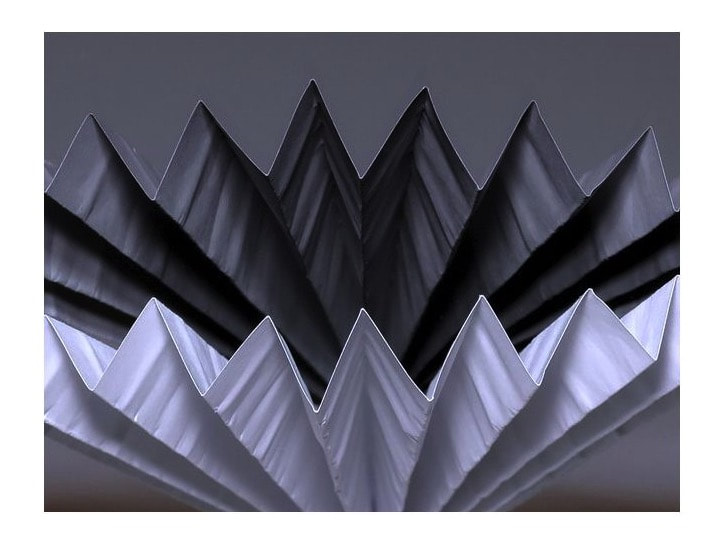
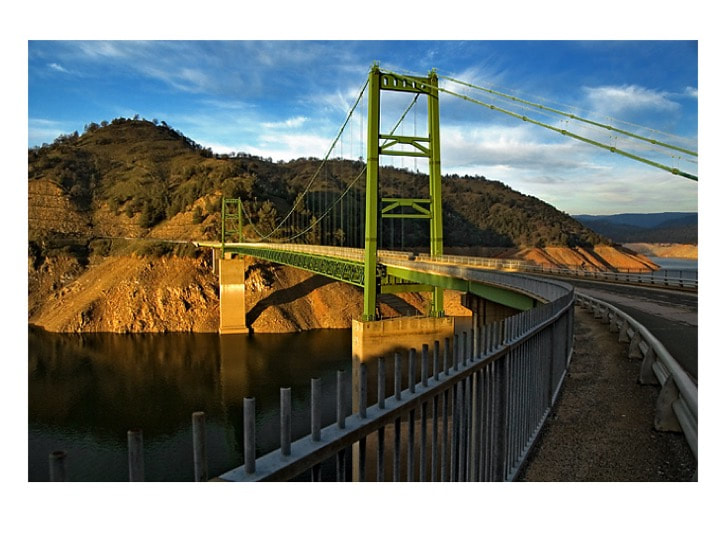
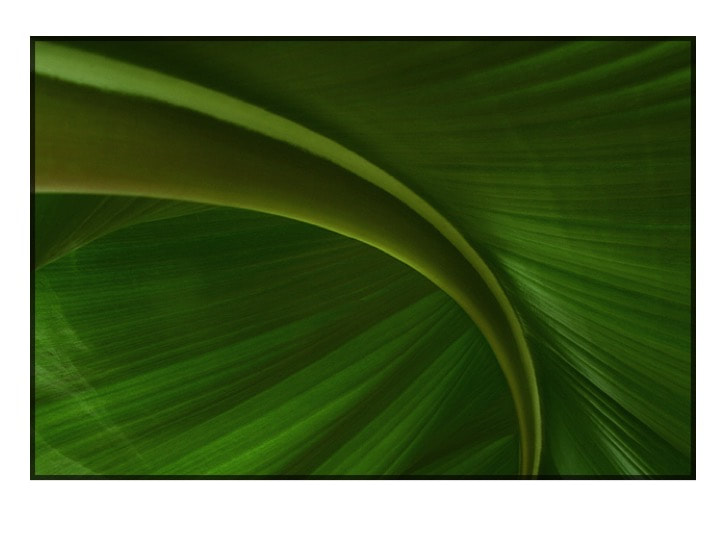
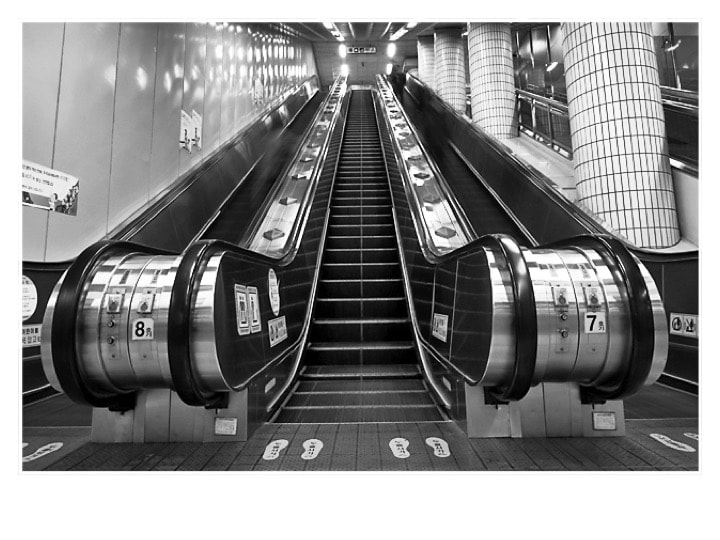
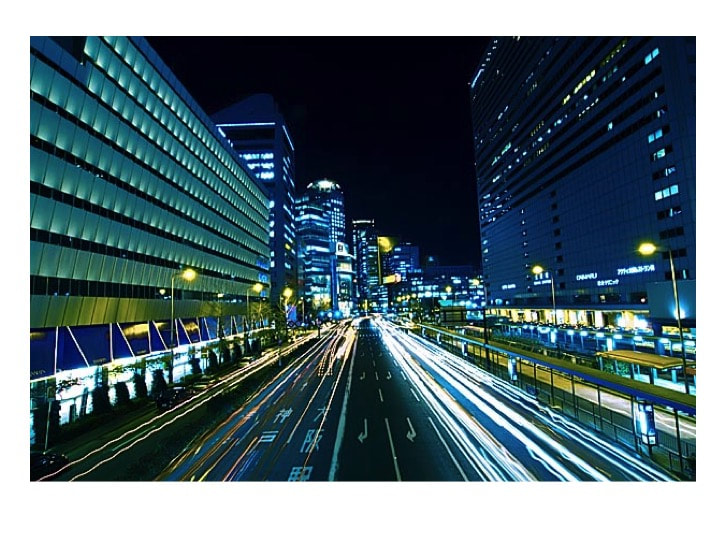
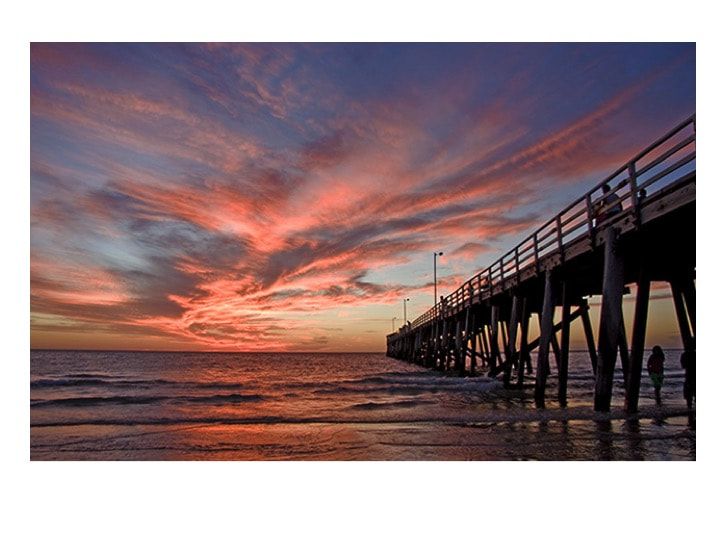
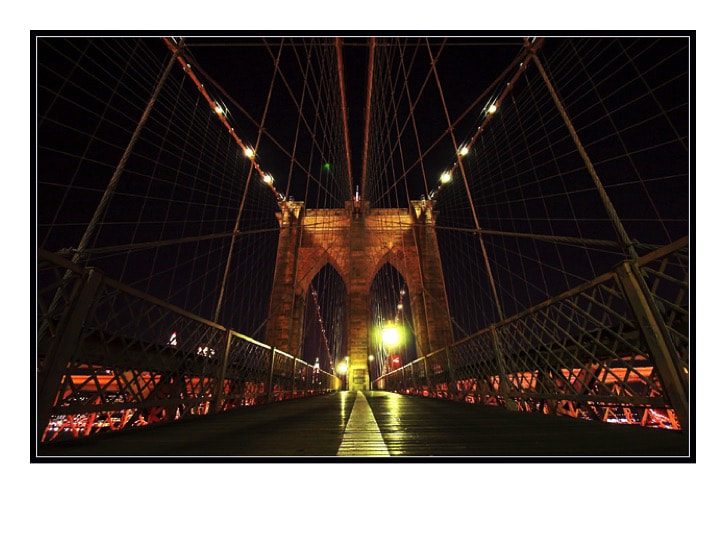
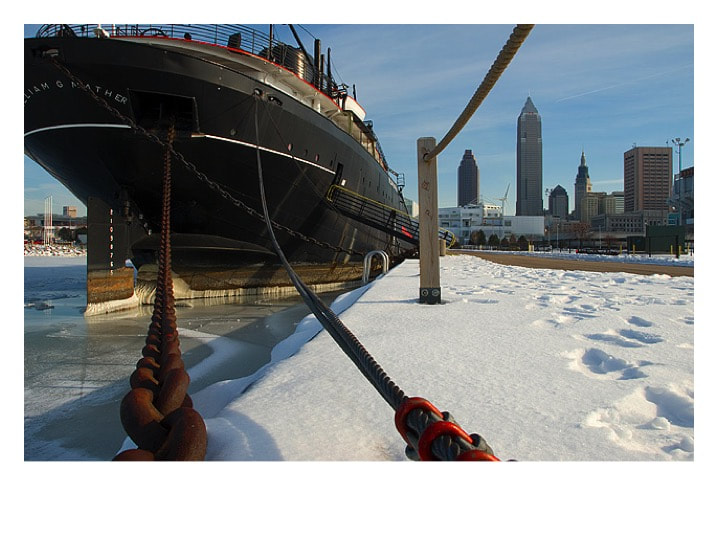
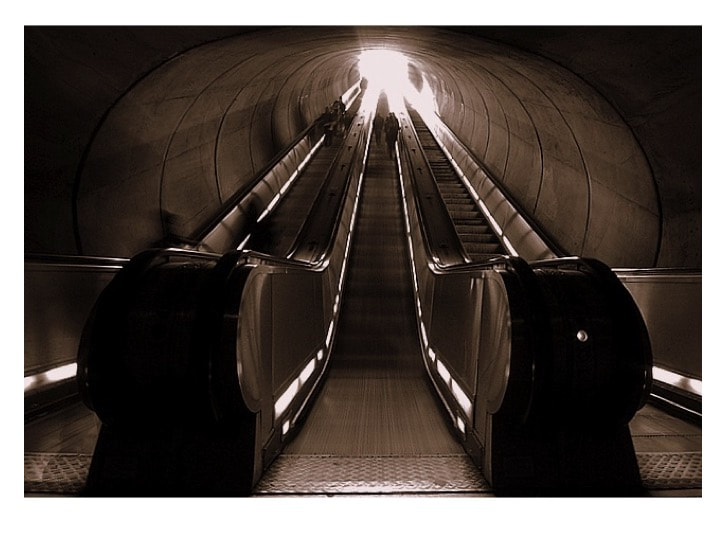
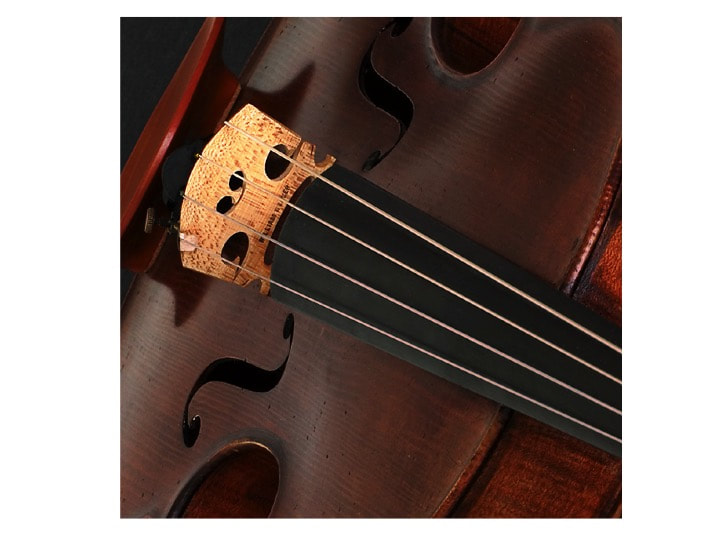
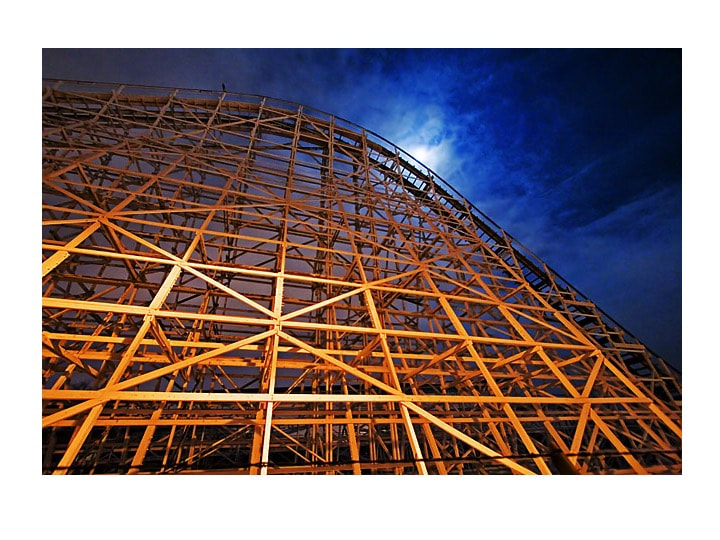
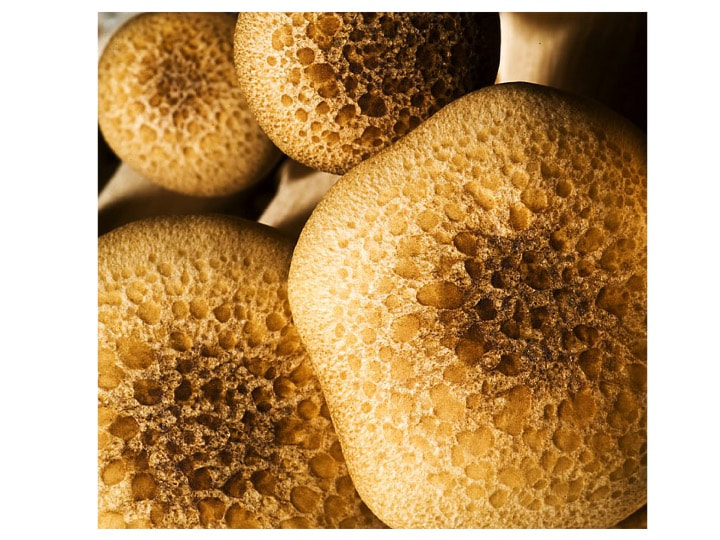
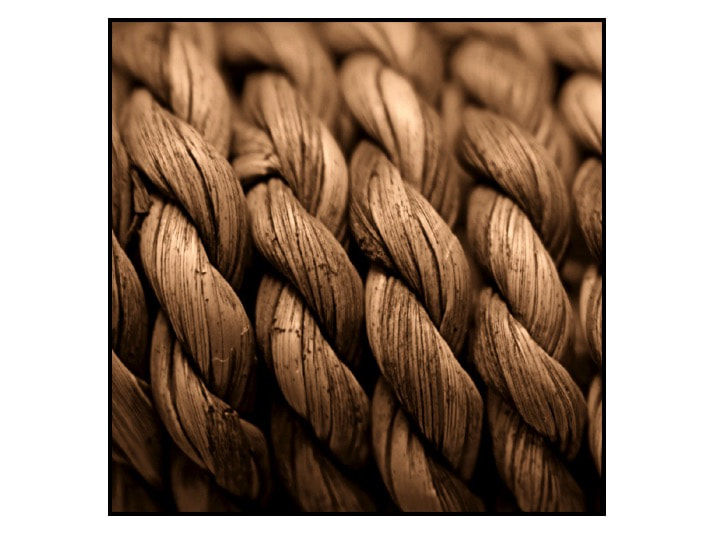
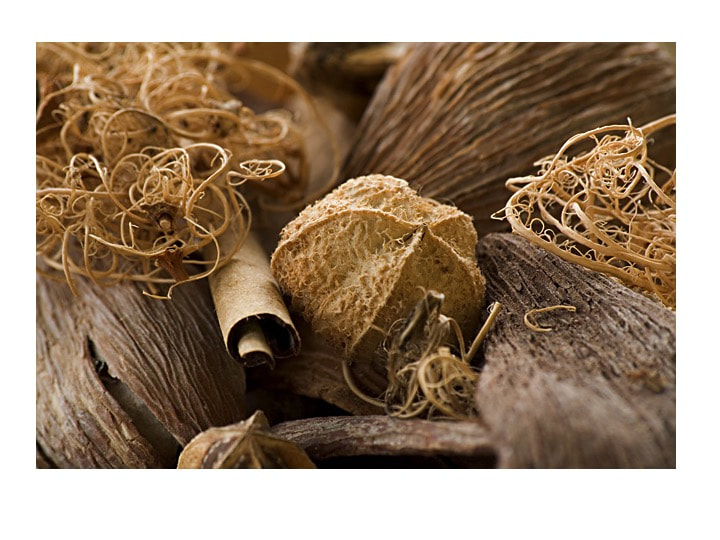
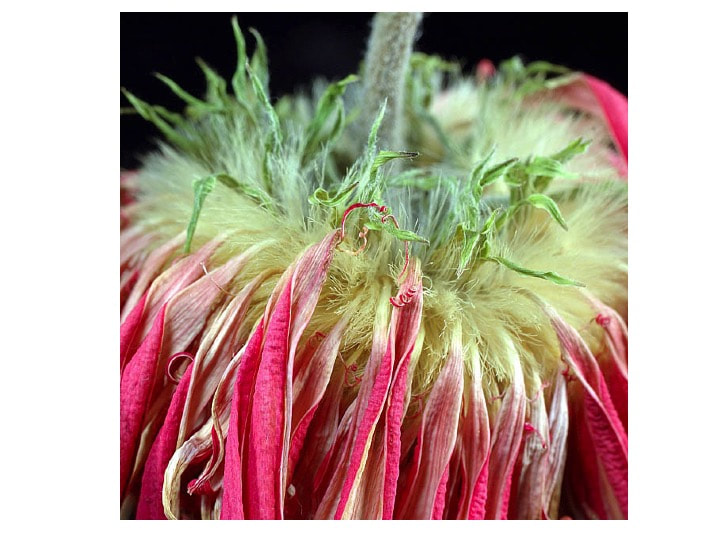
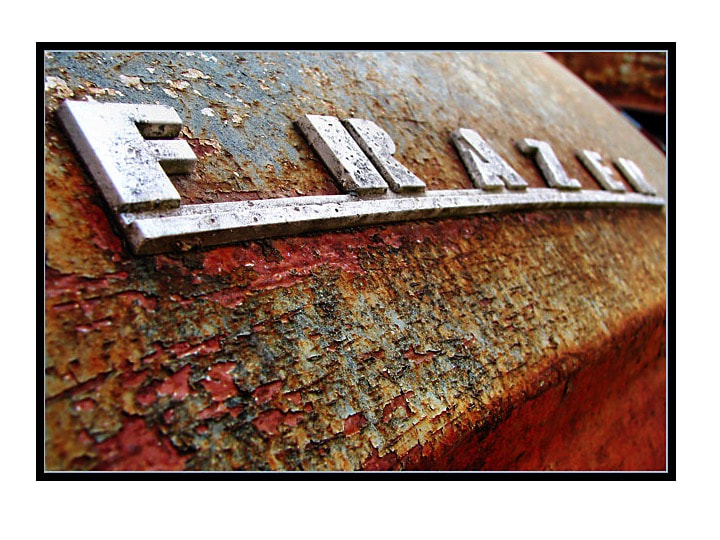
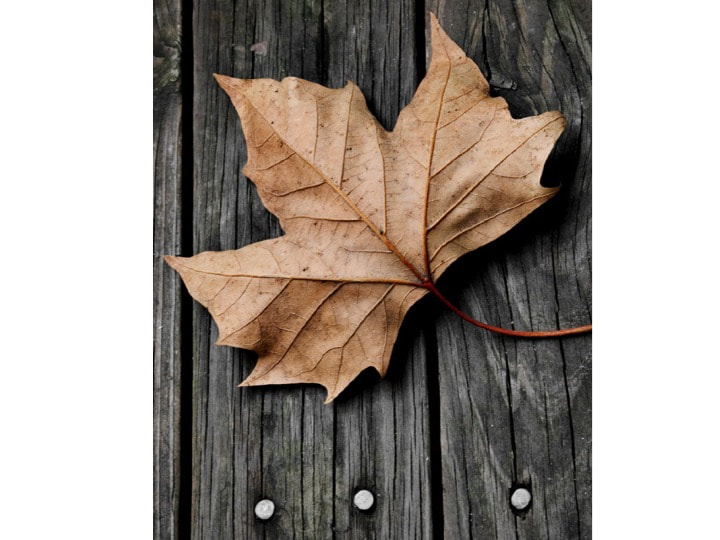
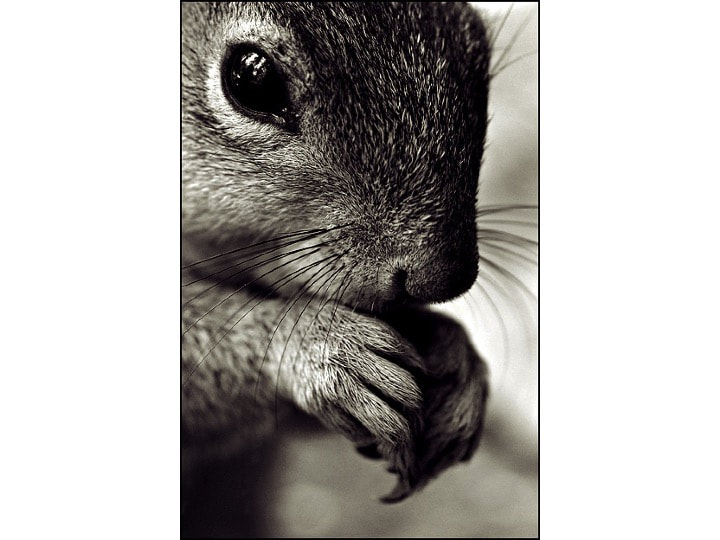
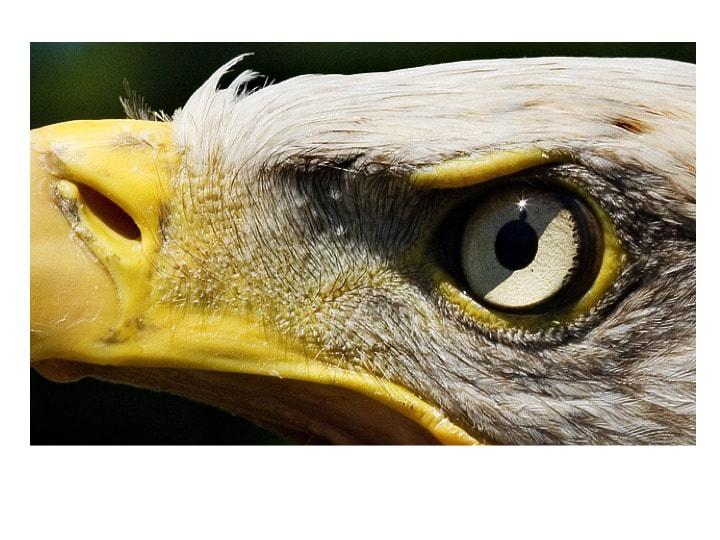
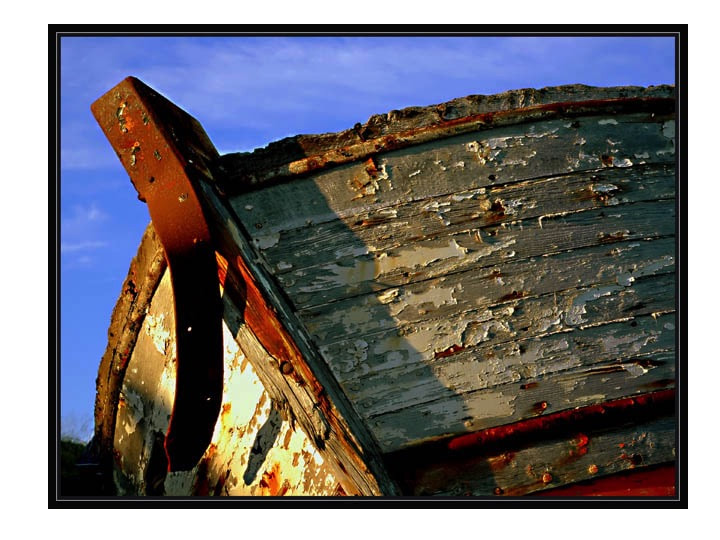
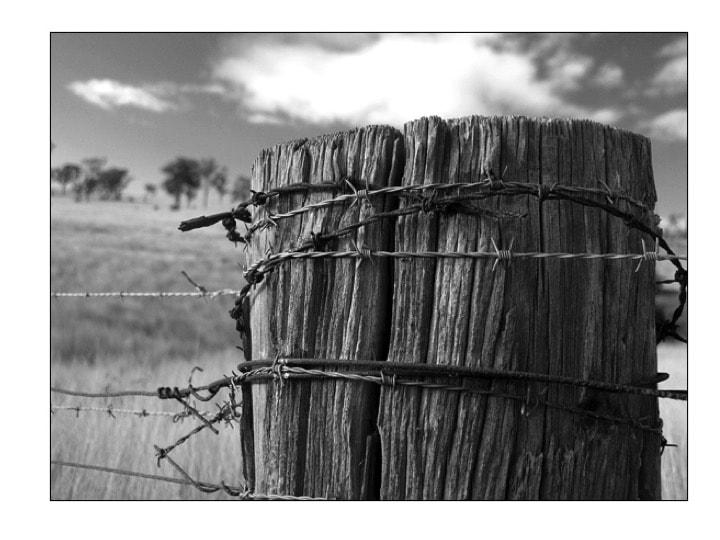
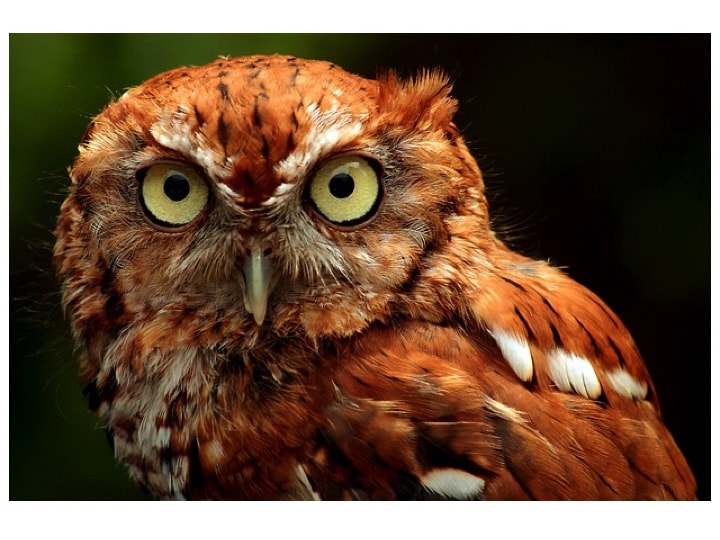
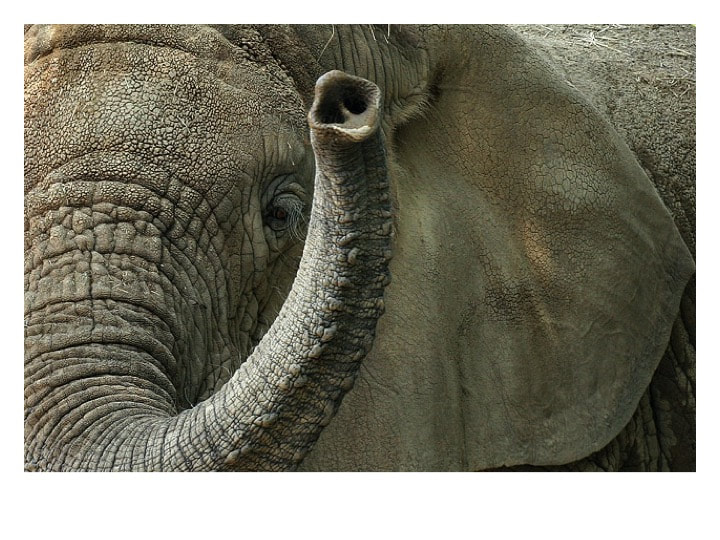
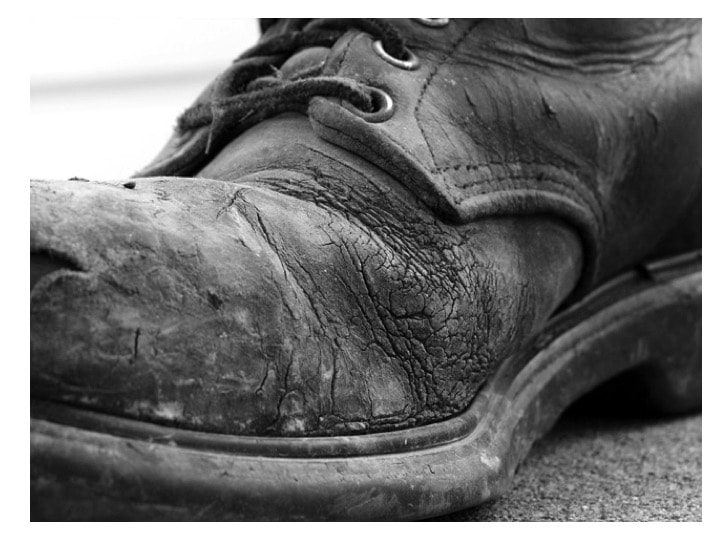
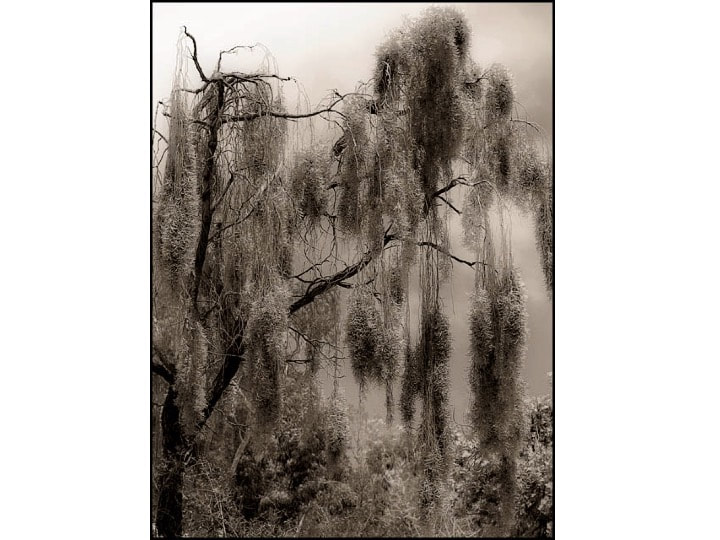
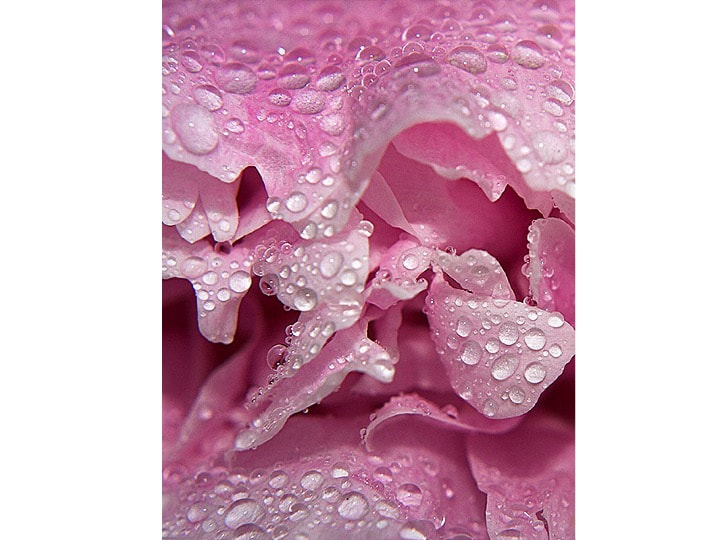
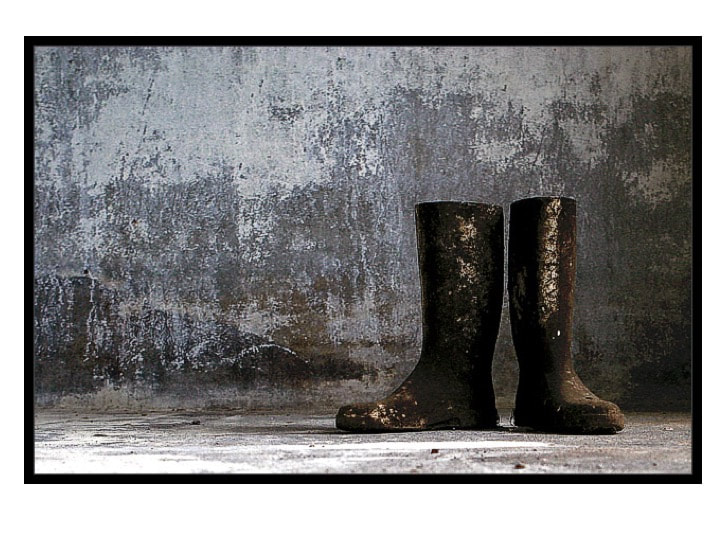
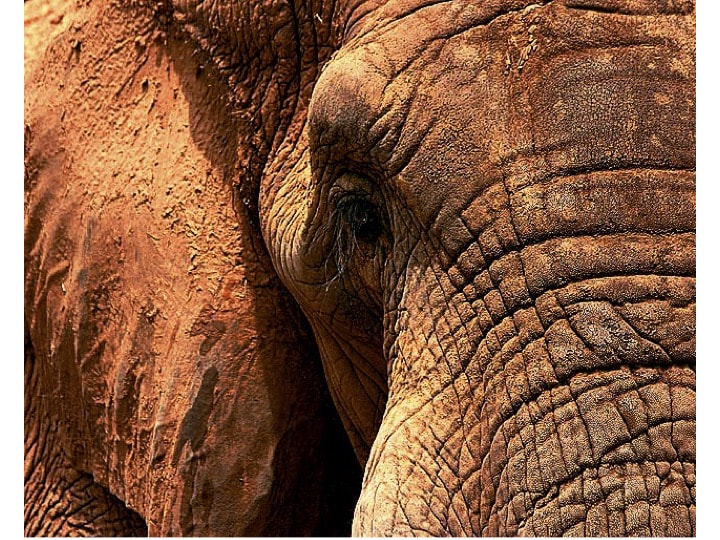
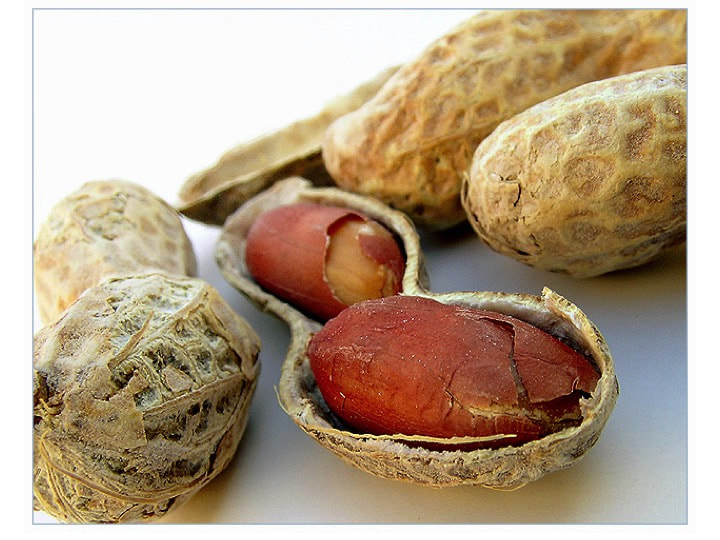
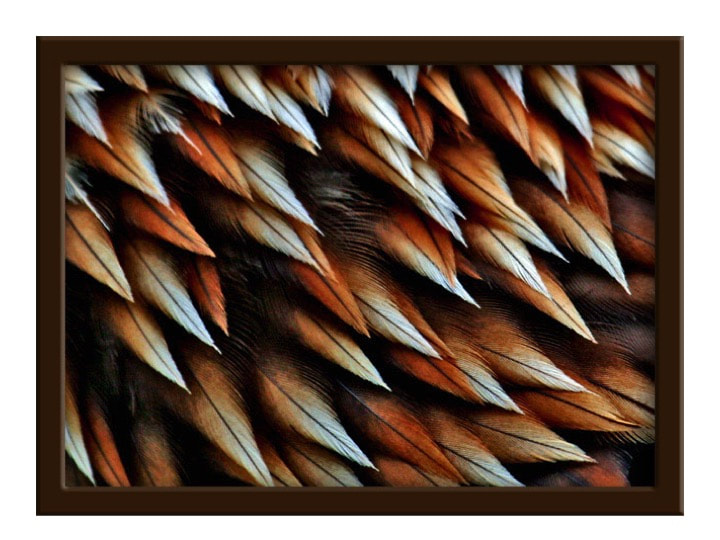
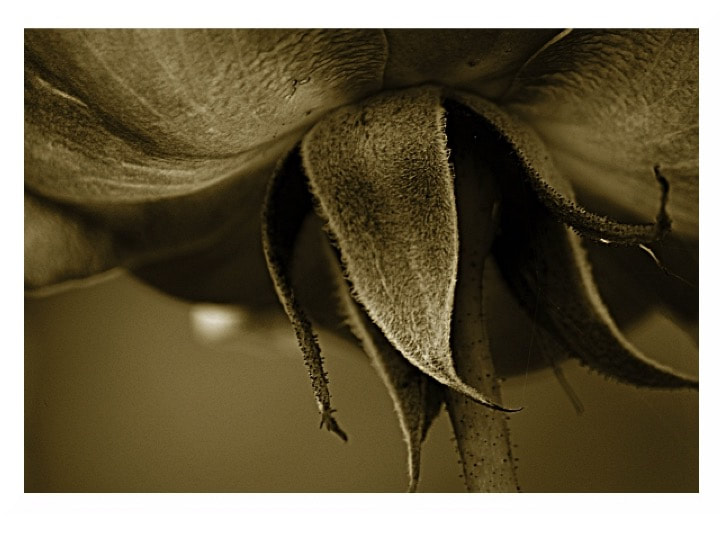
For the photo Friday assignment, you will crop in so close to the subject that it becomes completely abstracted. You should only be able to read lines, shapes, values, NOT the subject matter. Below are some examples!
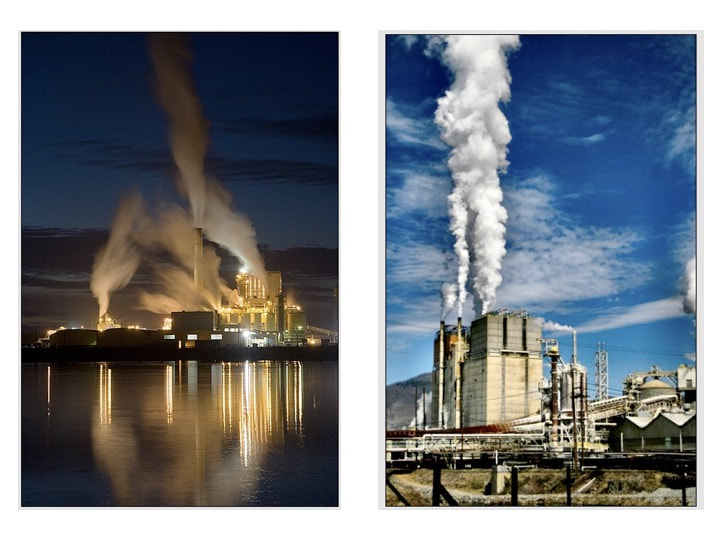
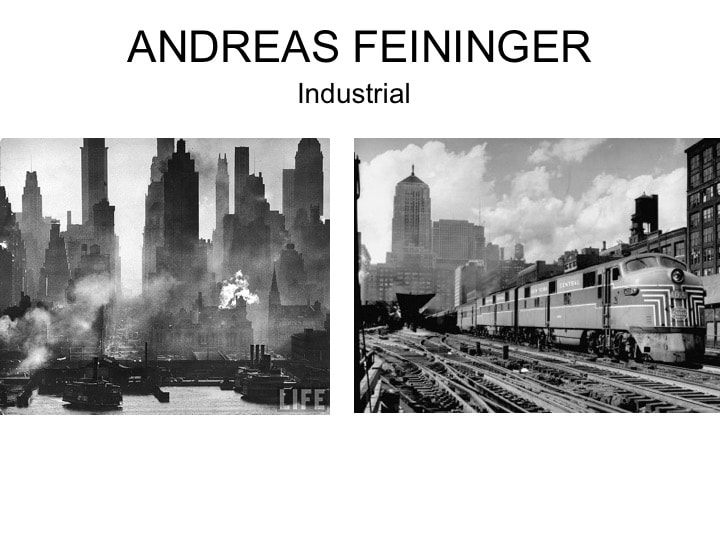
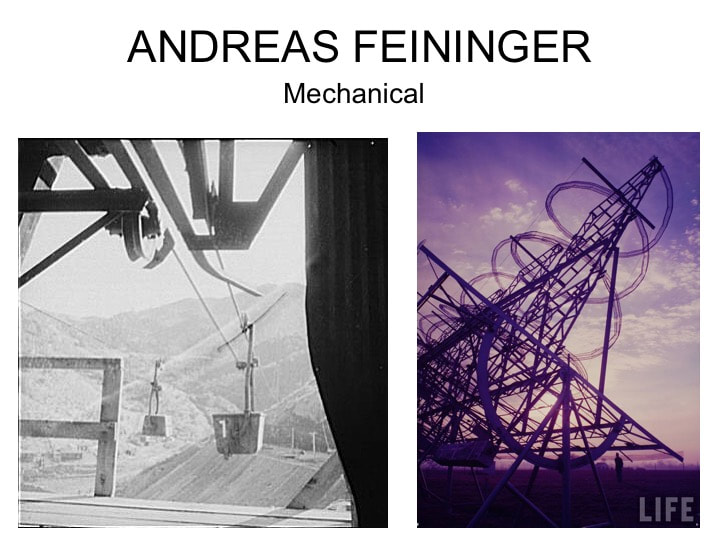
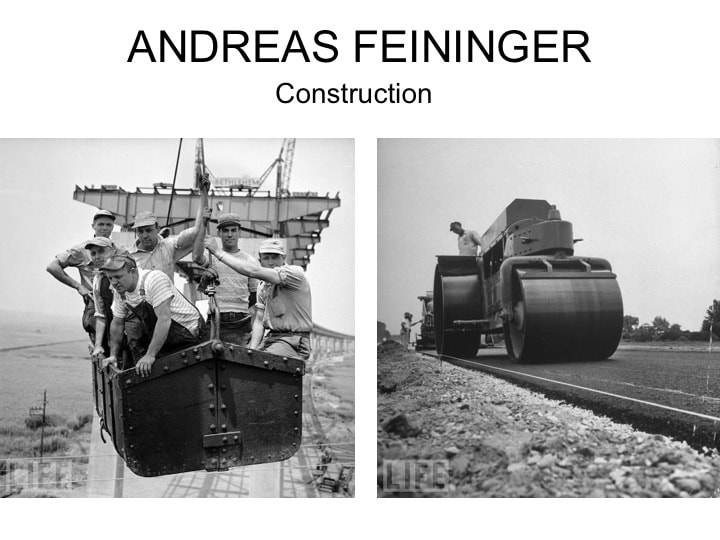
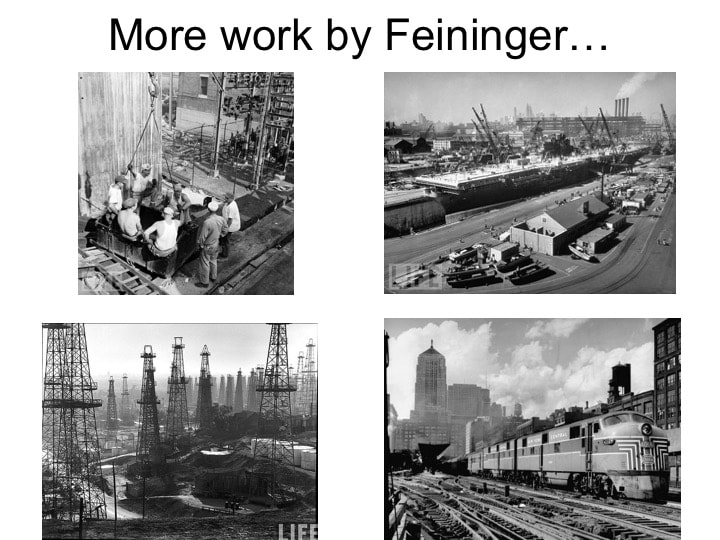
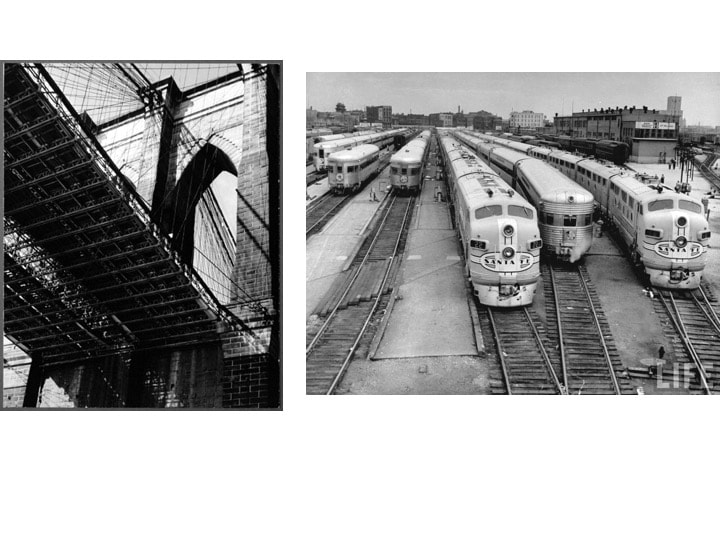
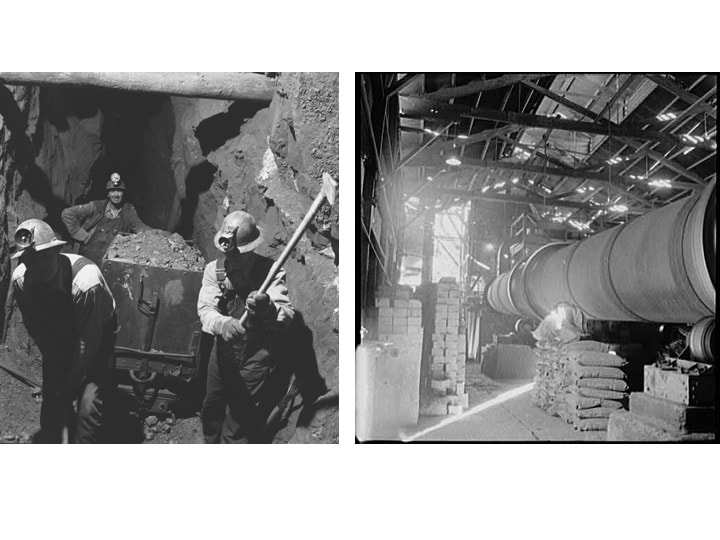
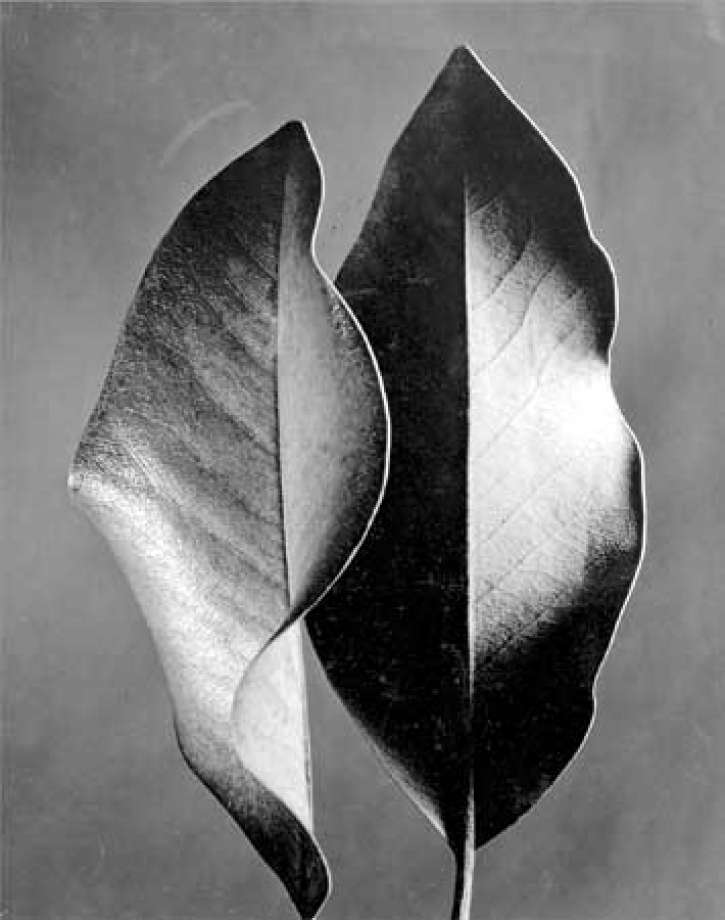
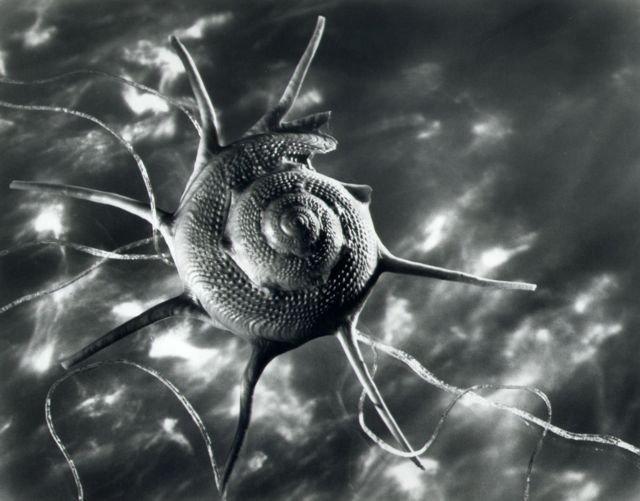
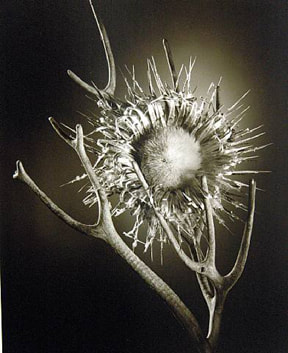
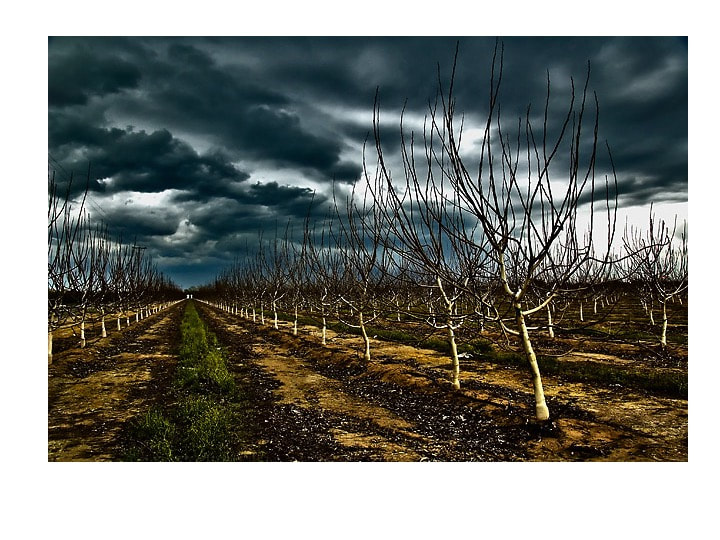
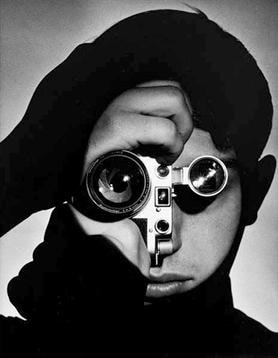 The Photojournalist, showing the photojournalist Dennis Stock, may be Feininger's best-known photograph; he took it for Life in 1951. The Photojournalist, showing the photojournalist Dennis Stock, may be Feininger's best-known photograph; he took it for Life in 1951. Andreas Feininger Biography One of the world's most prolific photographers, Feininger was a pioneer both visually and technically. Born in Paris, son of the painter Lyonel Feininger, Andreas was educated in German public schools and at the Weimar Bauhaus. His interest in photography developed while he was studying architecture, and he worked as both architect and photographer in Germany for four years, until political circumstances made it impossible. He moved to Paris, where he worked in Le Corbusier's studio, and then to Stockholm. There he established his own photographic firm specializing in architectural and industrial photography. With the outbreak of war in 1939, Feininger moved to New York, where he was a freelance photographer for the Black Star Agency and then for the U.S. Office of War Information. After working on a retainer basis, he was a staff photographer at LIFE from 1943 to 1962, and there established his reputation. He subsequently concentrated on his personal work, exhibiting and publishing extensively. Feininger was renowned as a teacher via his publications that combine practical experience with clarity of presentation. Feininger's purpose in photography was documentation of the unity of natural things, their interdependence, and their similarity to constructed forms. His images emphasize design, deploying the principles of simplicity, clarity, and organization. In addition to natural forms, Feininger's subject matter included the city, machines, and sculpture. He built four customized telephoto lenses and three close-up cameras, which allowed him to represent landscapes and city scenes in a distortion-free monumental perspective, and to show small subjects in startling sizes, thereby revealing unknown aspects. He preferred black-and-white photography for the graphic control it allowed. Feininger received numerous awards; his photographic archive is held at the Center for Creative Photography in Tucson. For our next assignment, we will focus on cropping in close so that the subject matter crops out on each side of the photograph.
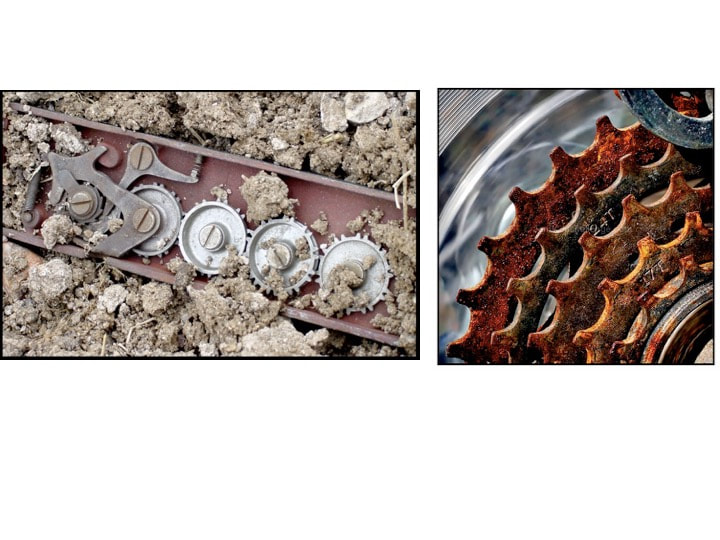
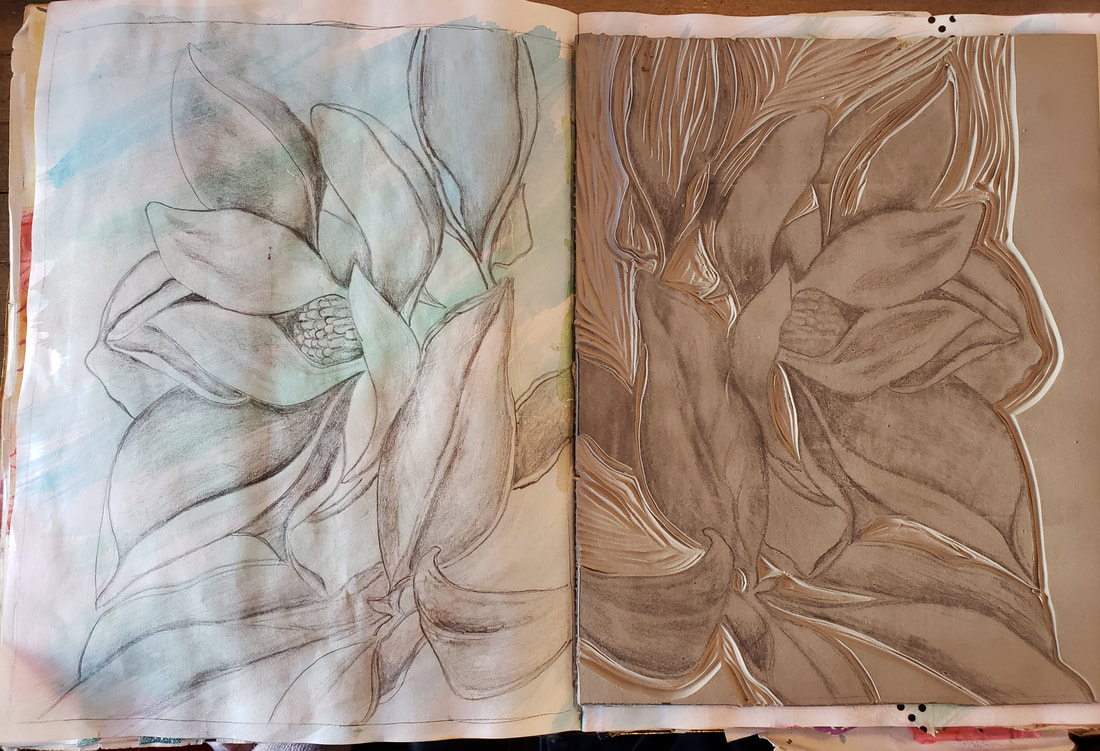
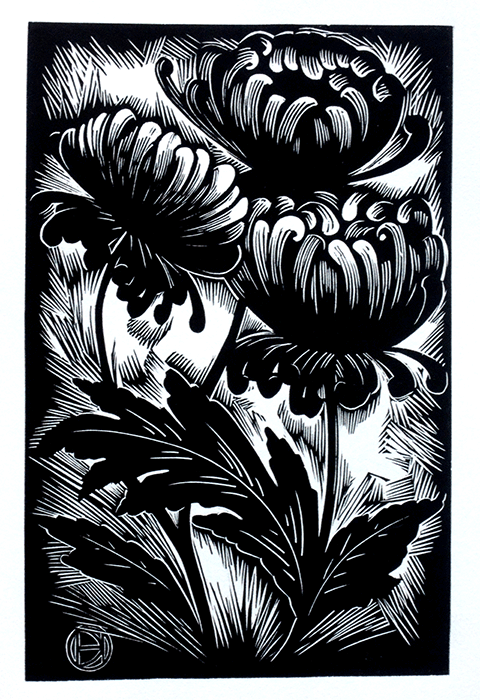
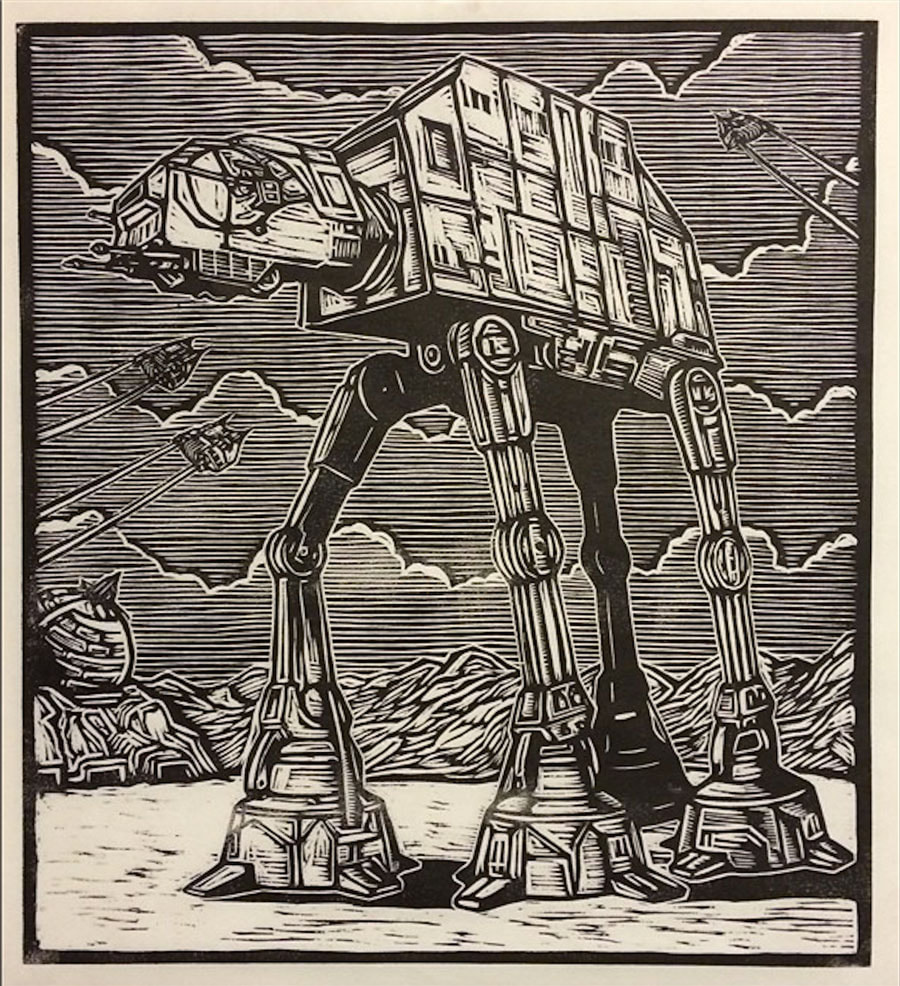
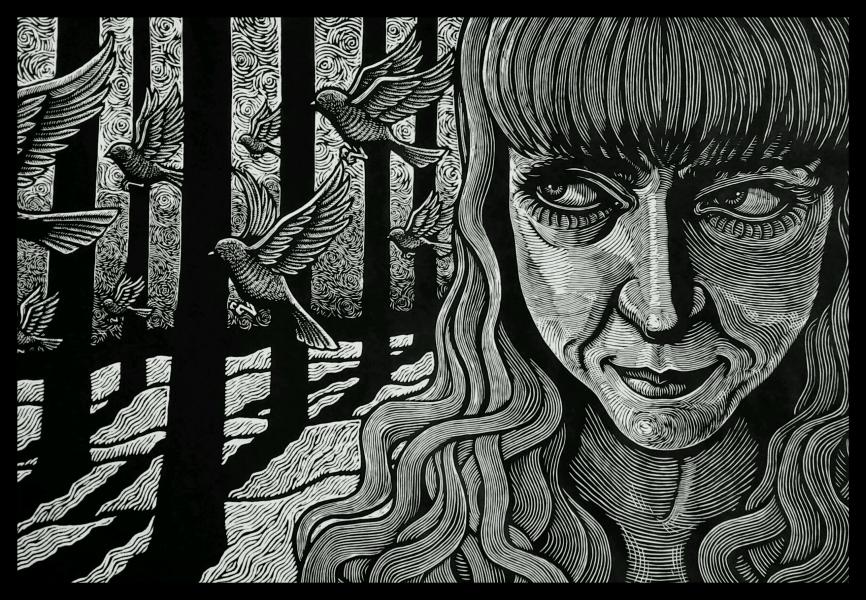
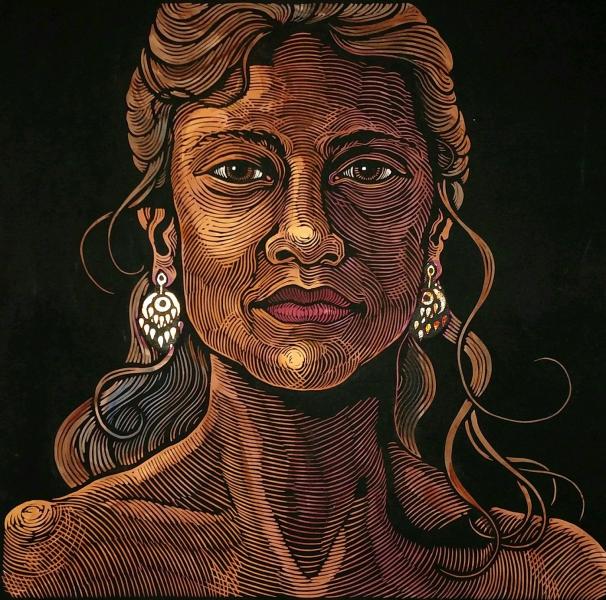
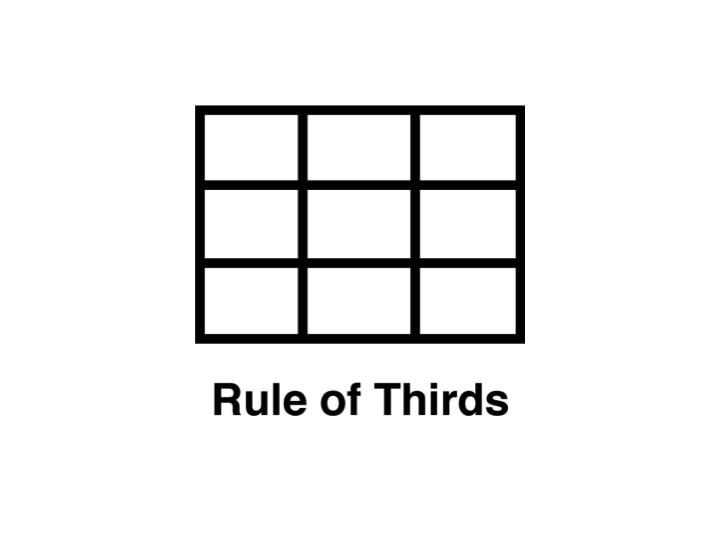
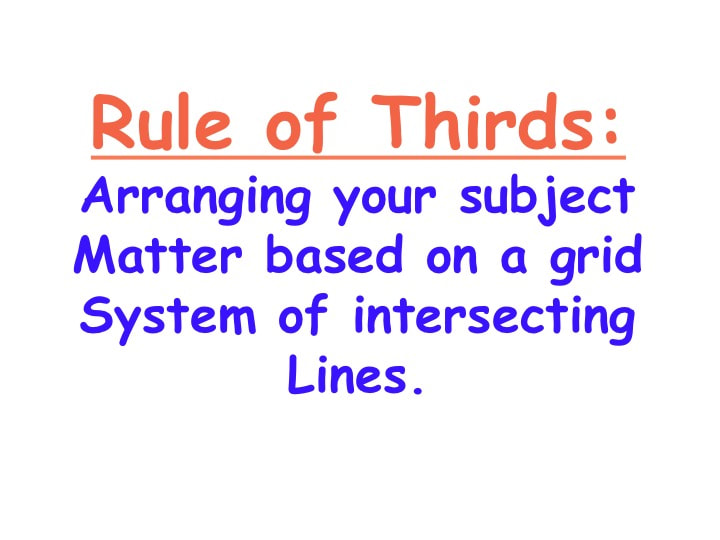
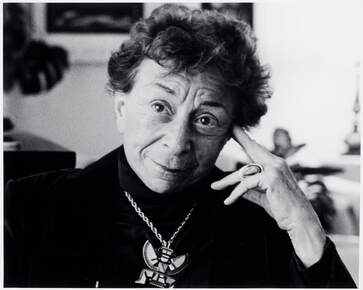
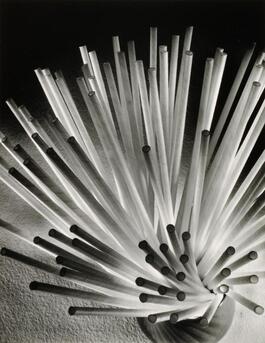
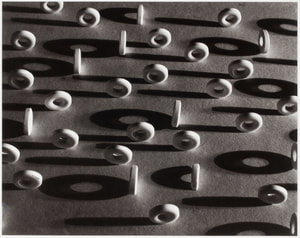
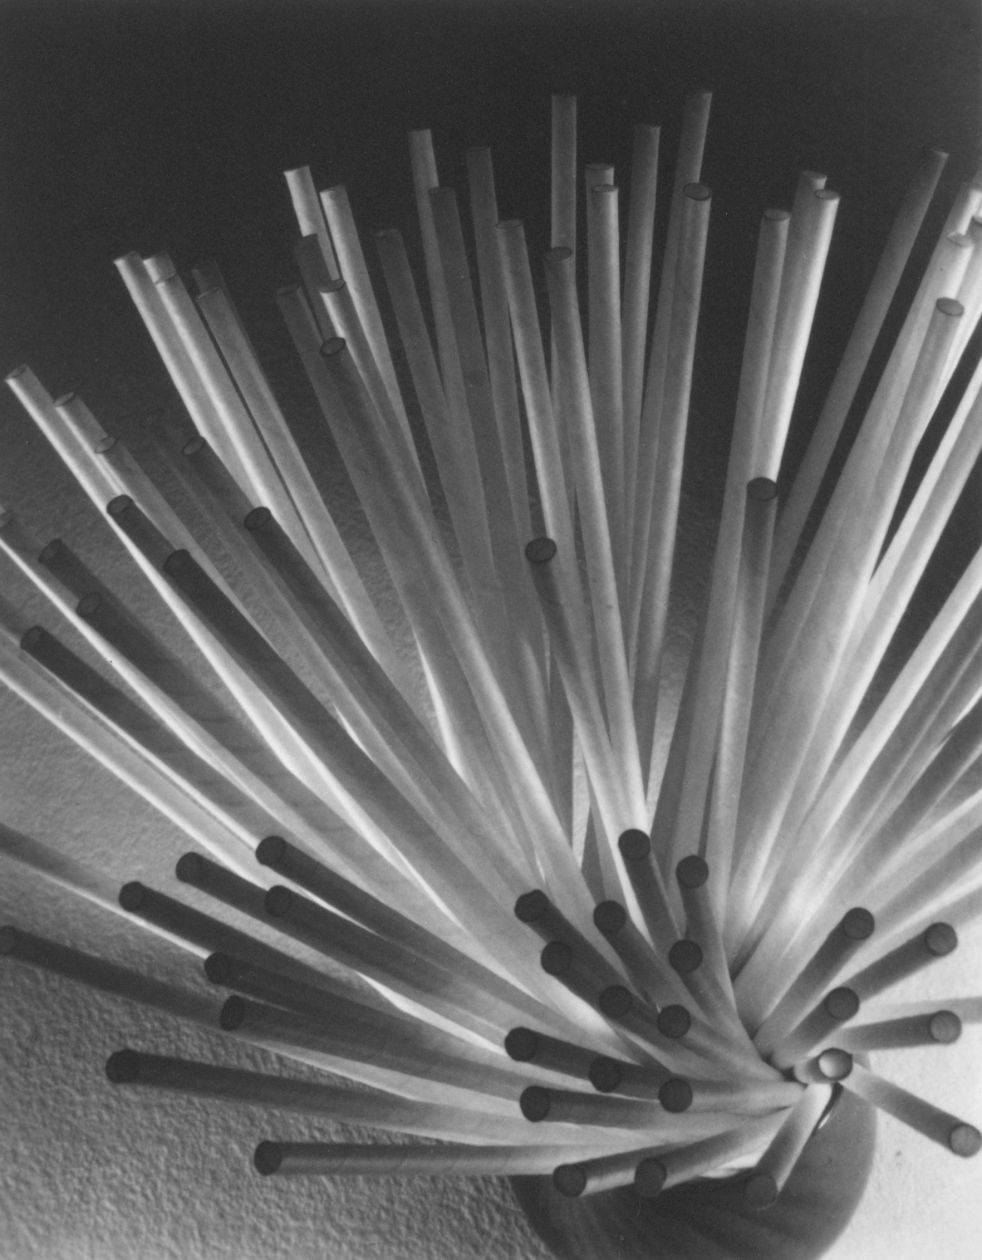
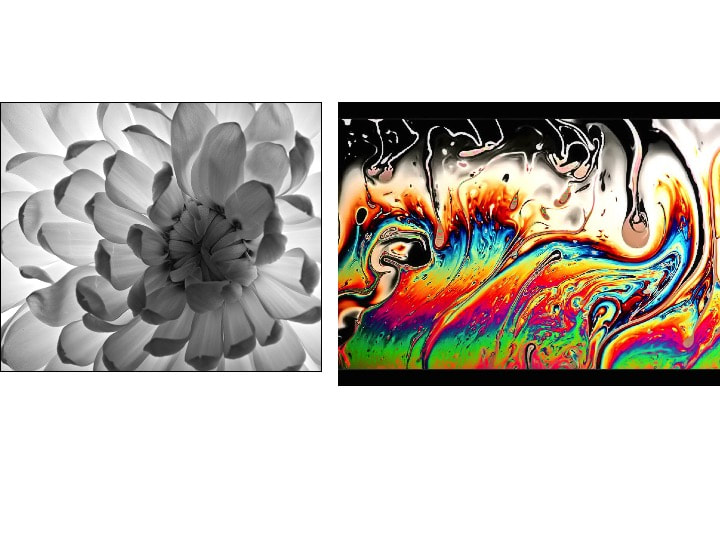
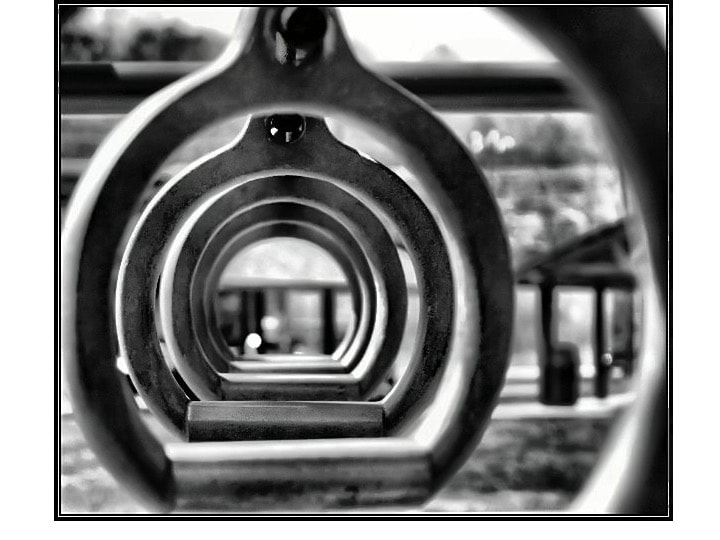
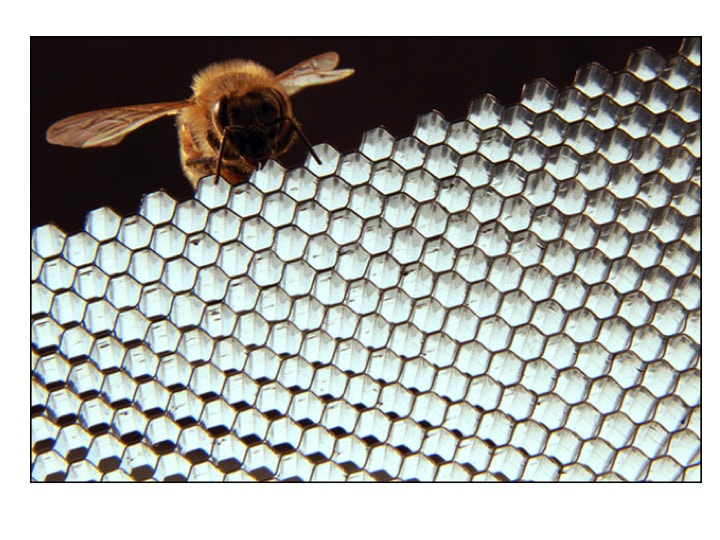
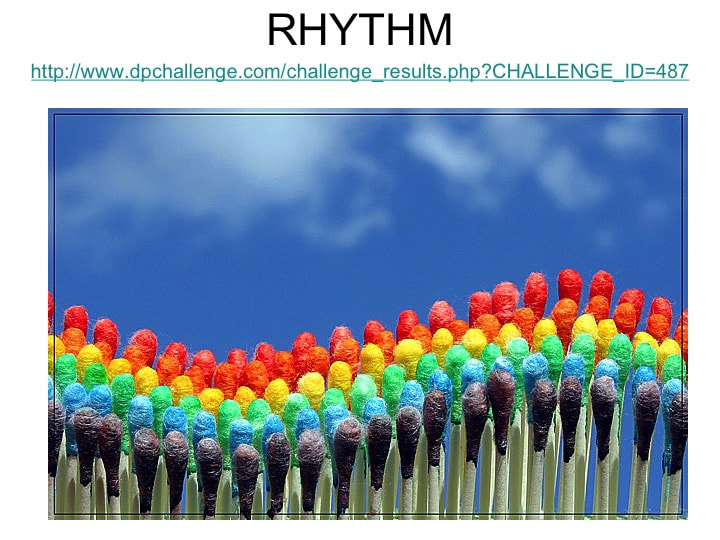
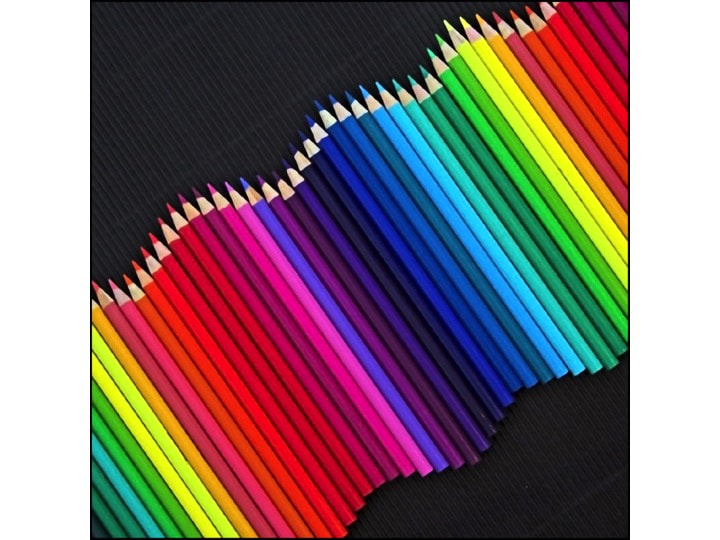
How to edit a photo for a print:I encourage you to use a photo reference for this next piece as a start. These can be landscapes, still life photos, abstracted photos, portraits, etc. You may edit and/or distort these photos before you begin. If you use a photo reference that is NOT your own, you MUST change it by at least 60%. Below are some good steps that I use to make it easier to print from a photograph. CompositionRuth BernhardRuth Bernhard was born in Germany and moved to America after studying at the Berlin Academy of art for 2 years. Her first serious photograph, "Lifesavers" is an excellent example of contrast and pattern in photography. She has MANY photographs that use either Rhythm or Pattern as the main principle of design. Check out some of the samples I found below!
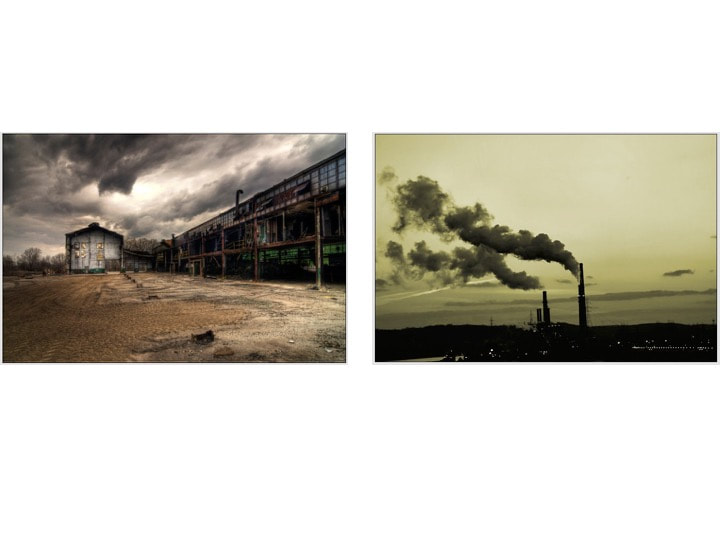
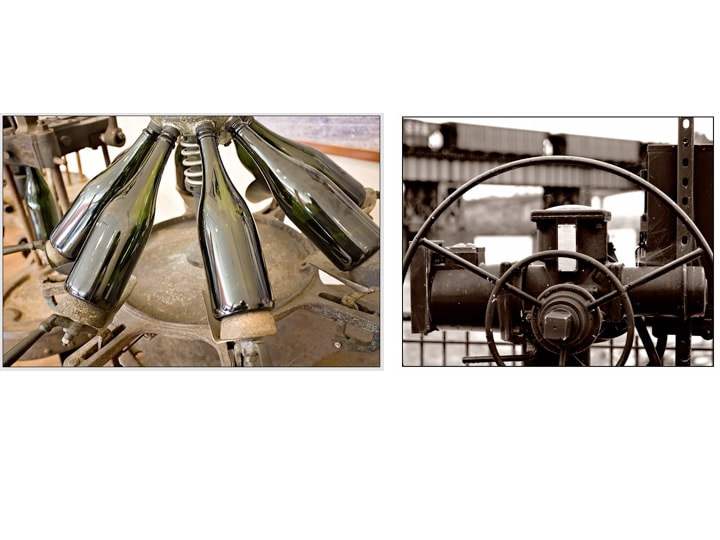
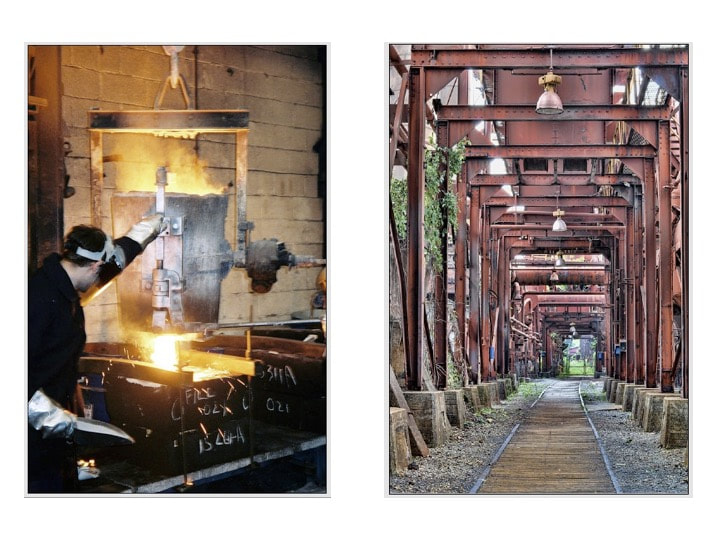
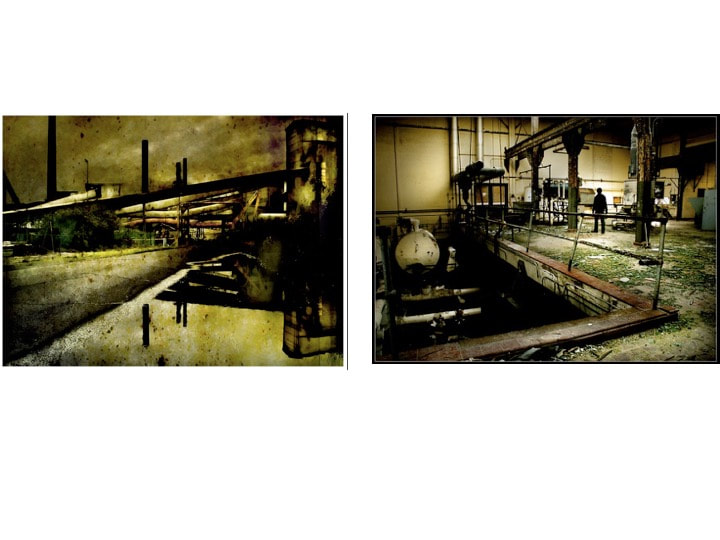
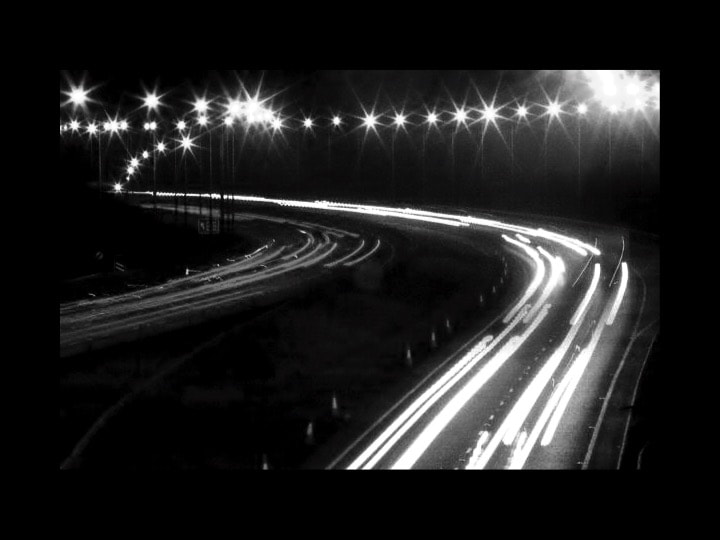
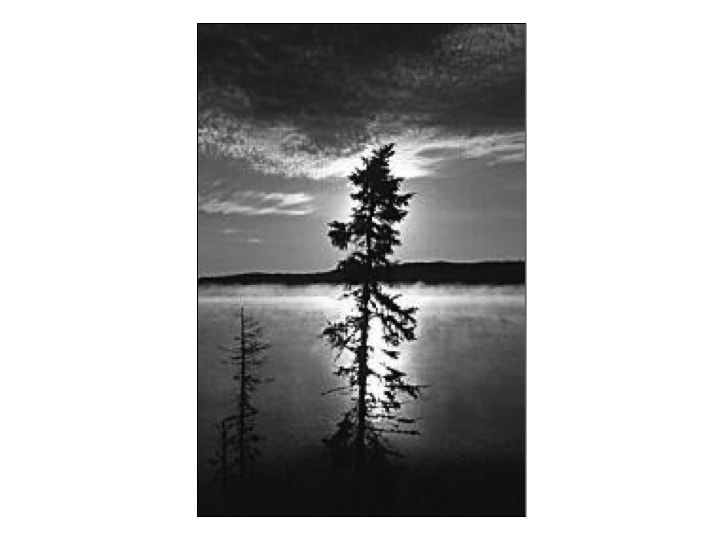
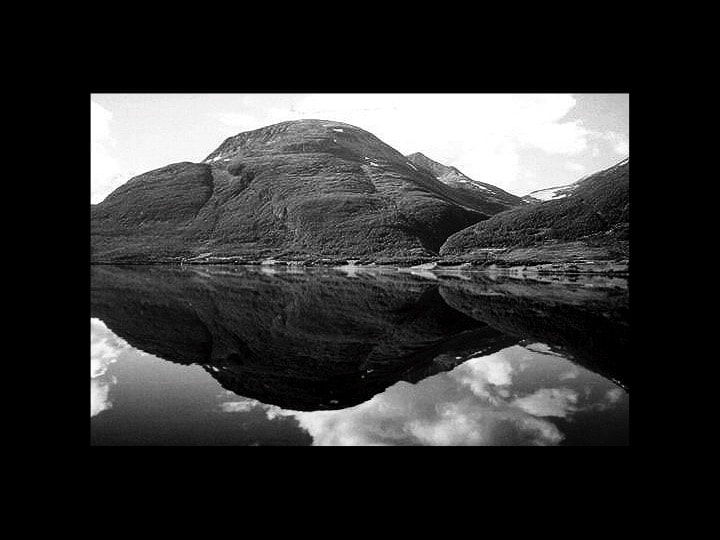
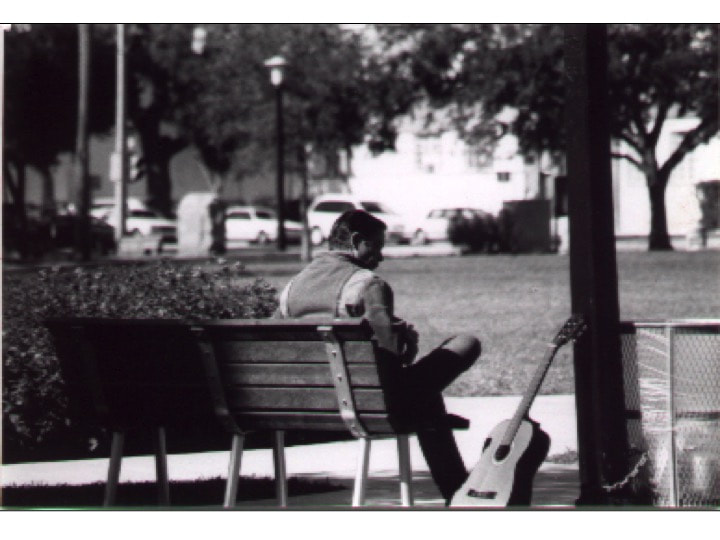
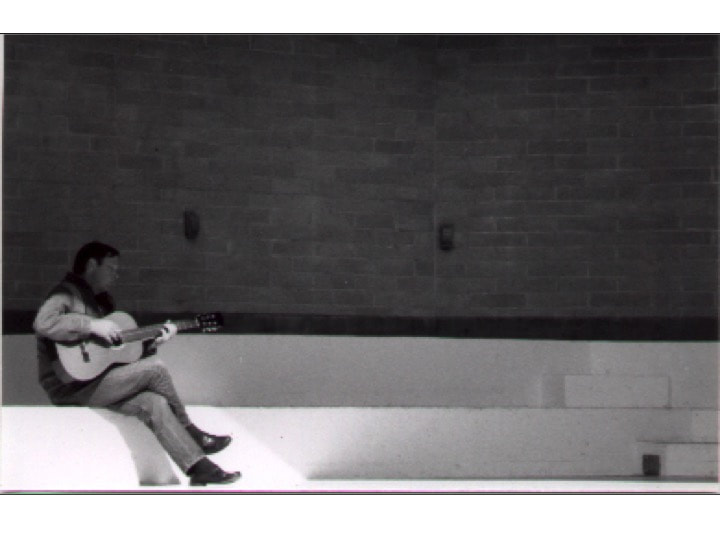
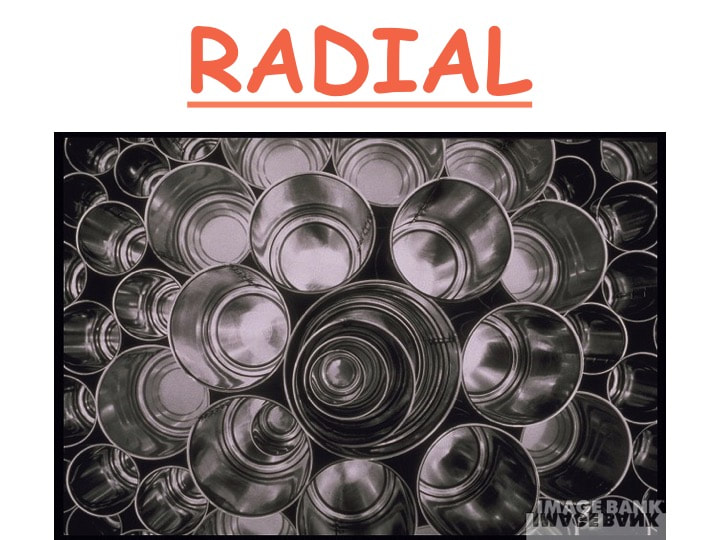
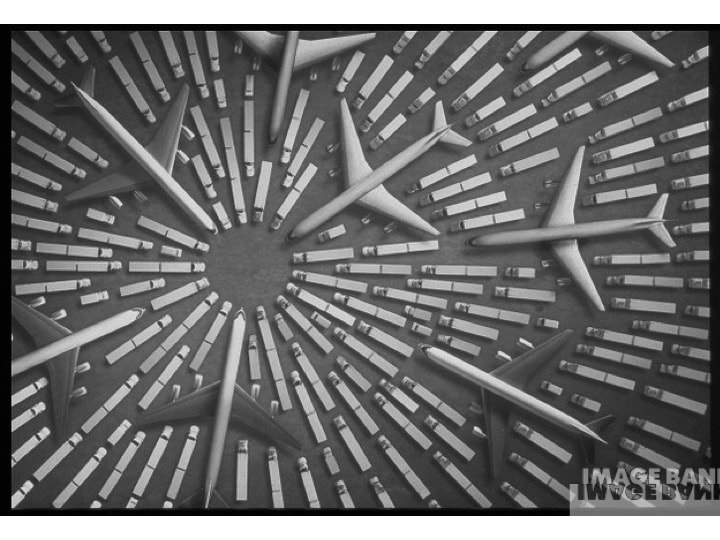
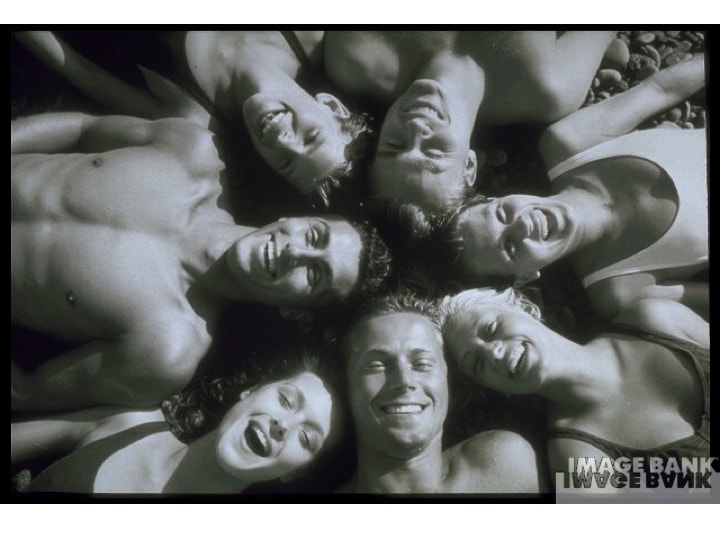
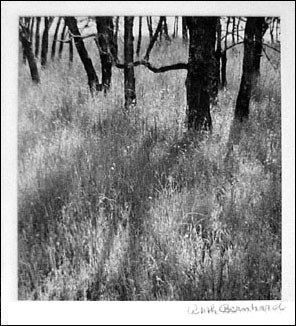
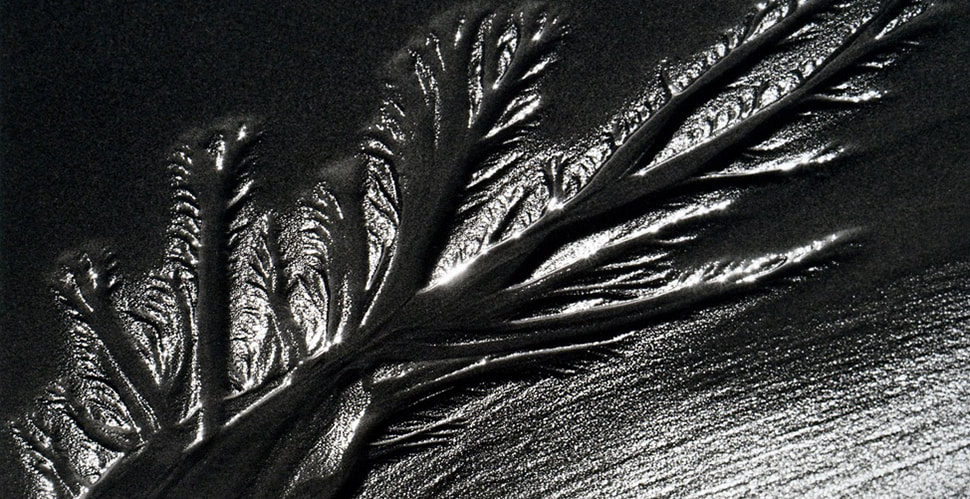
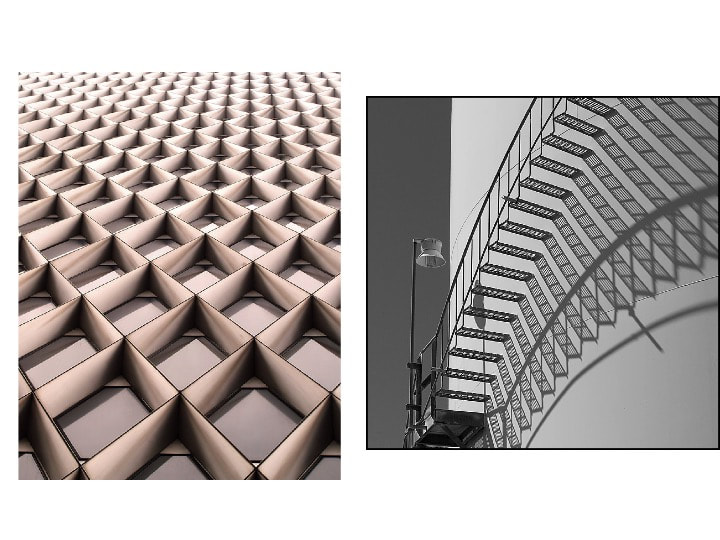
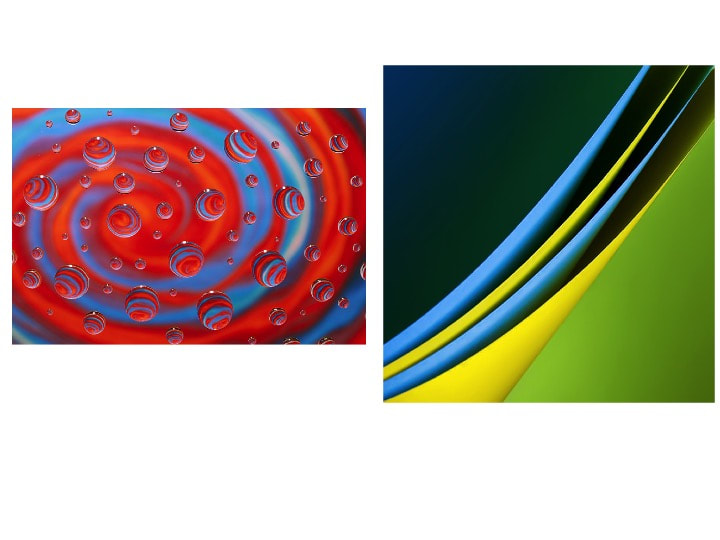
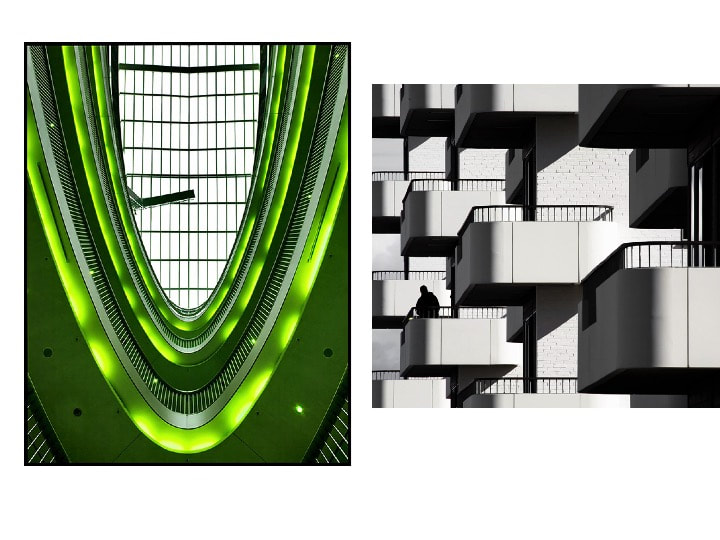
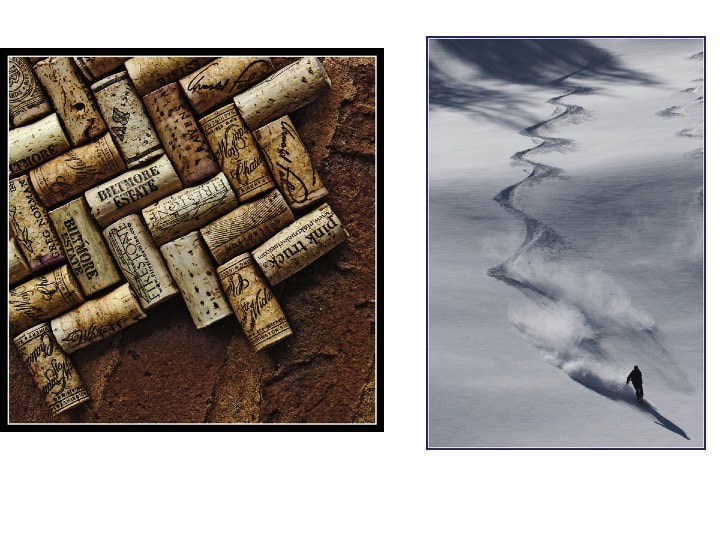
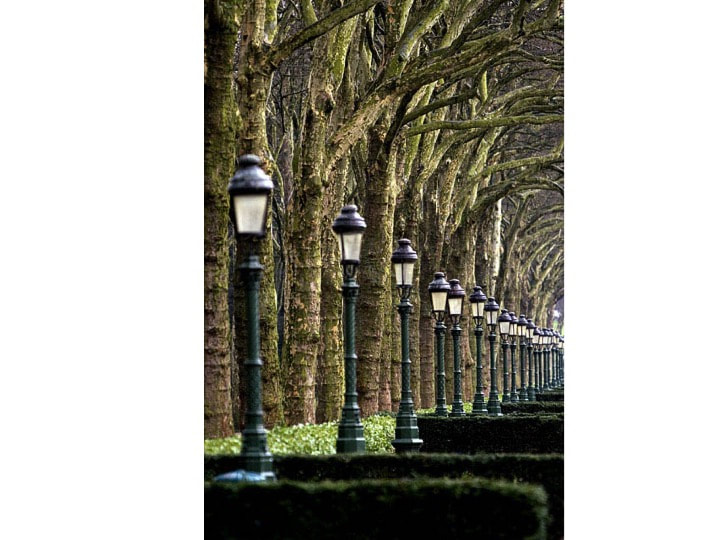
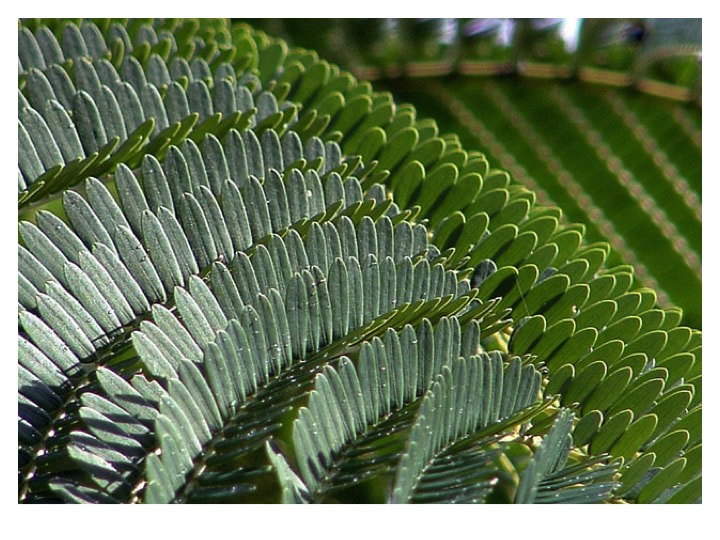
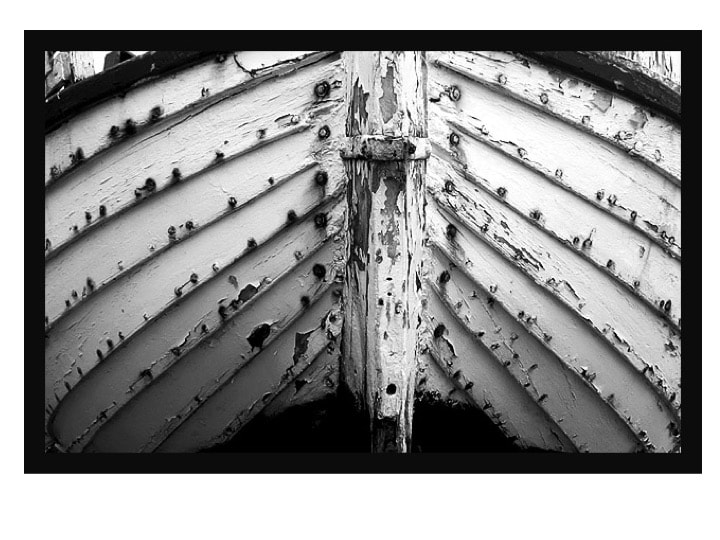
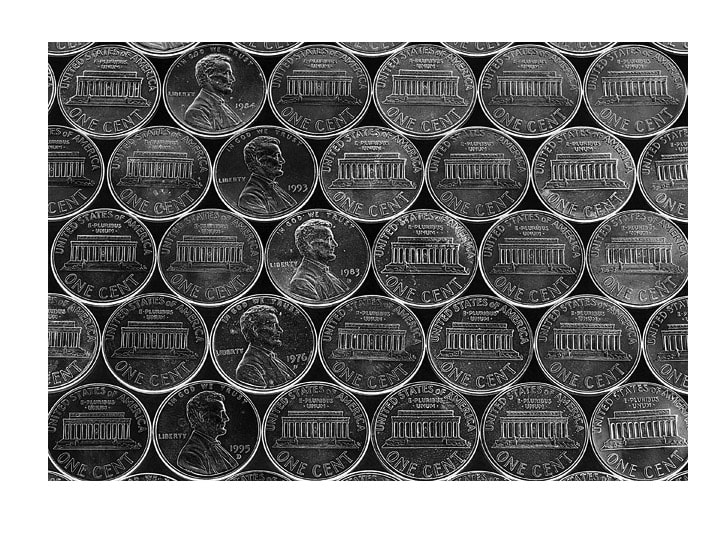
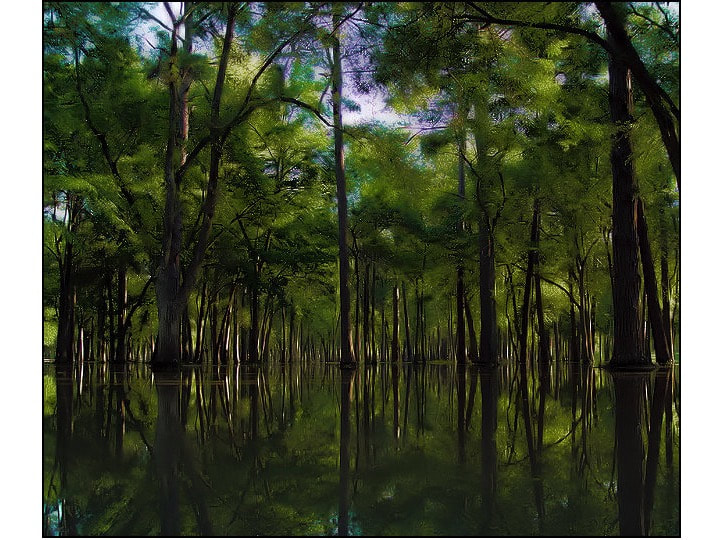
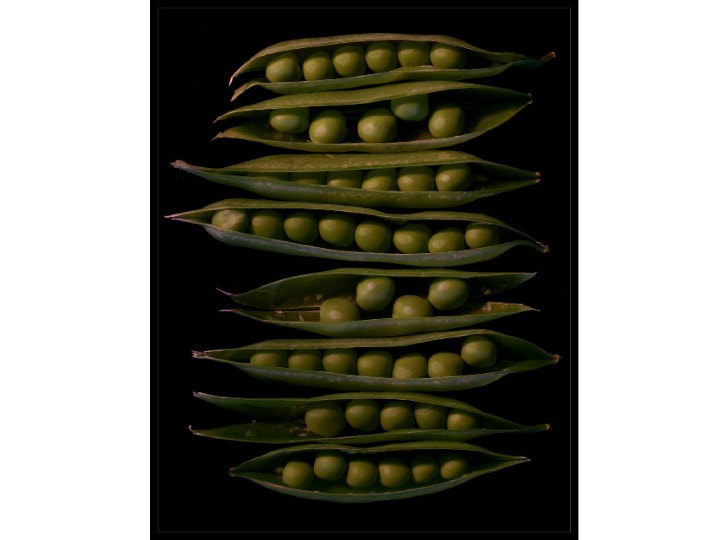
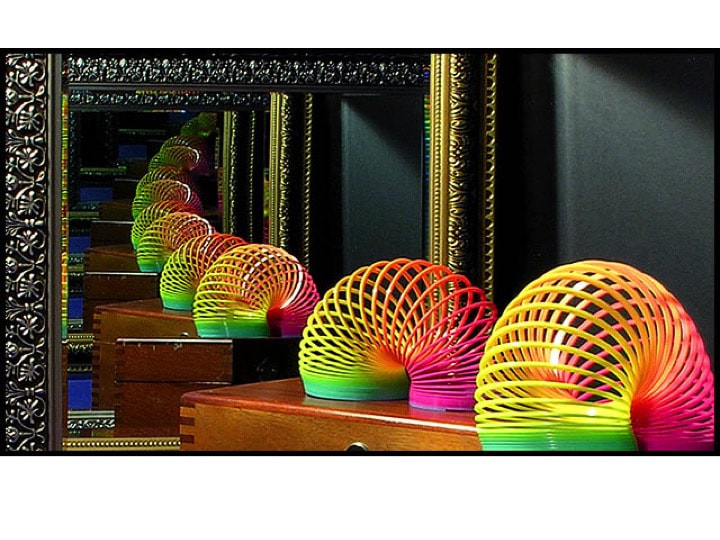
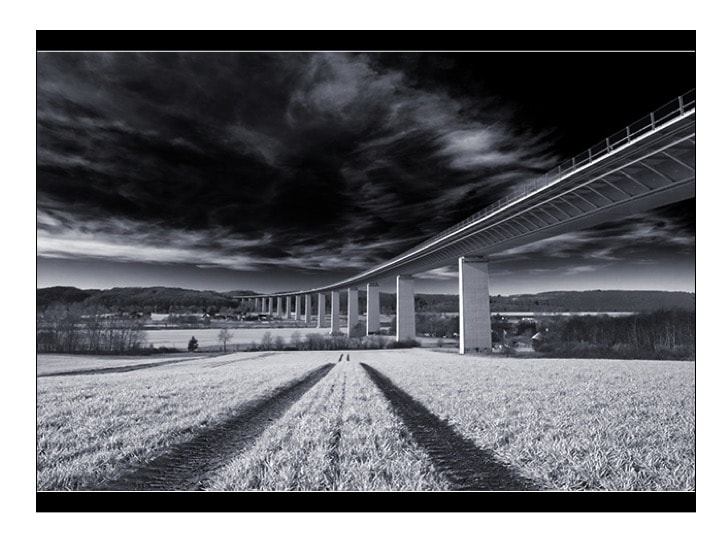
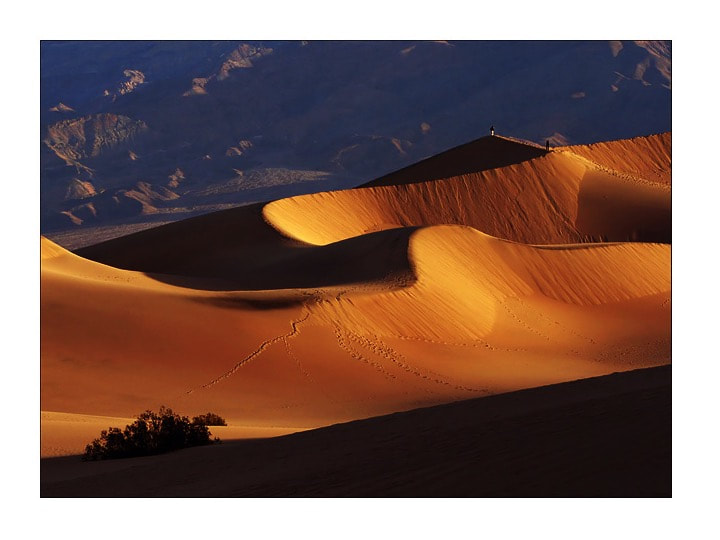
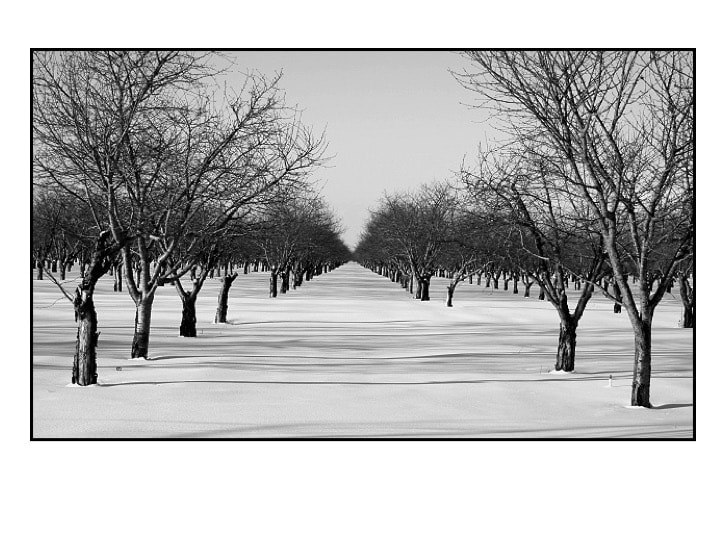
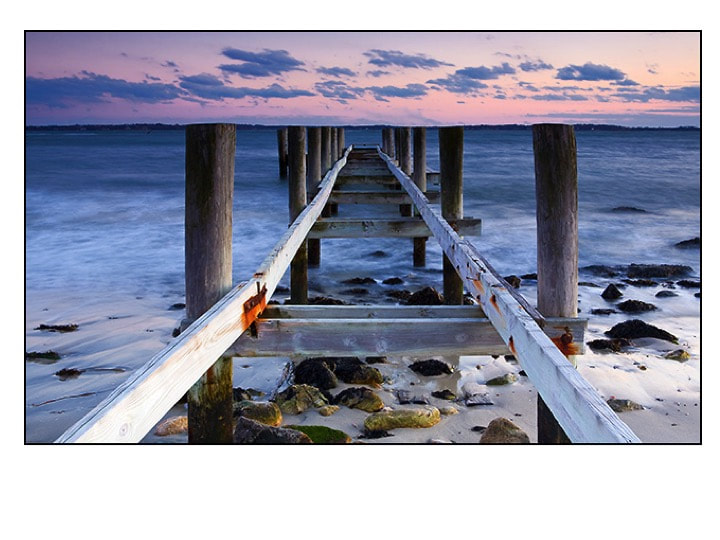
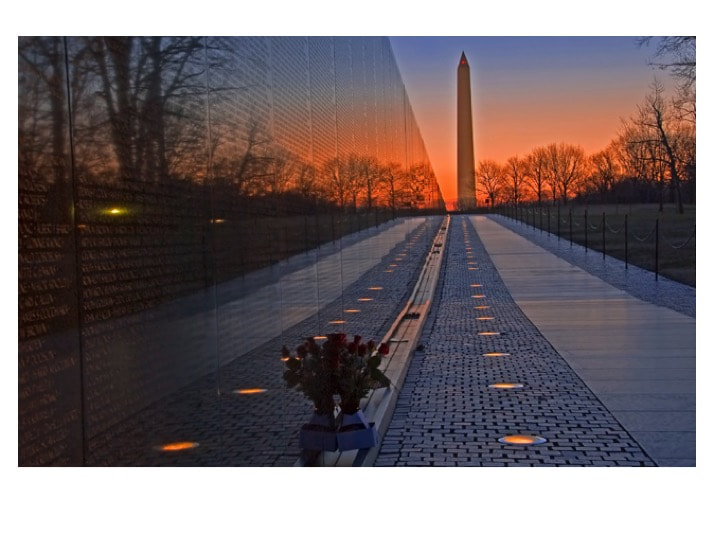
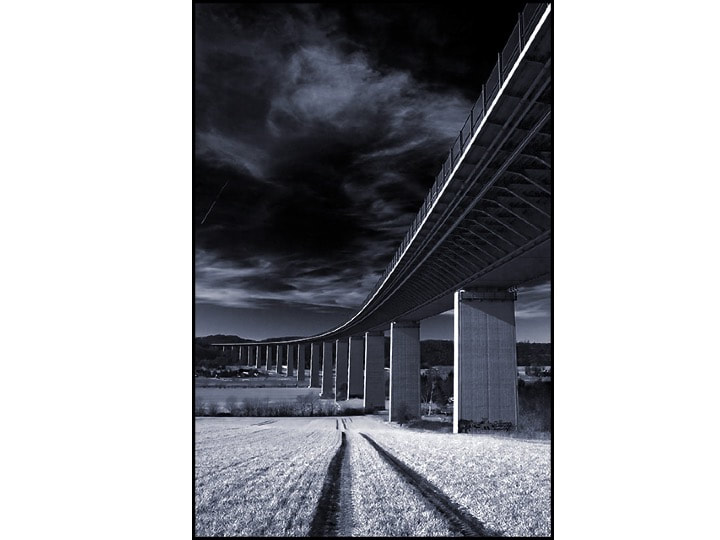
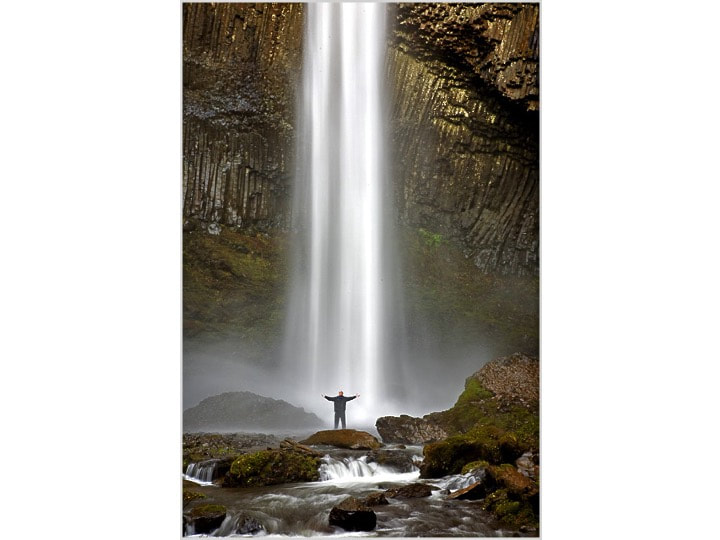
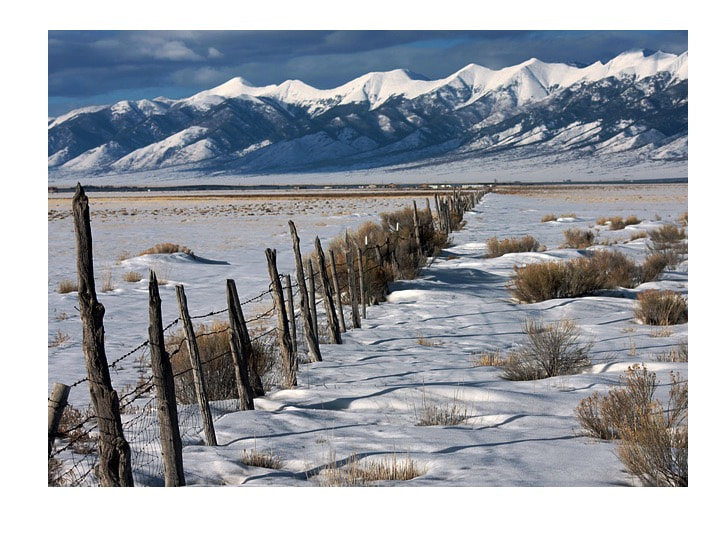
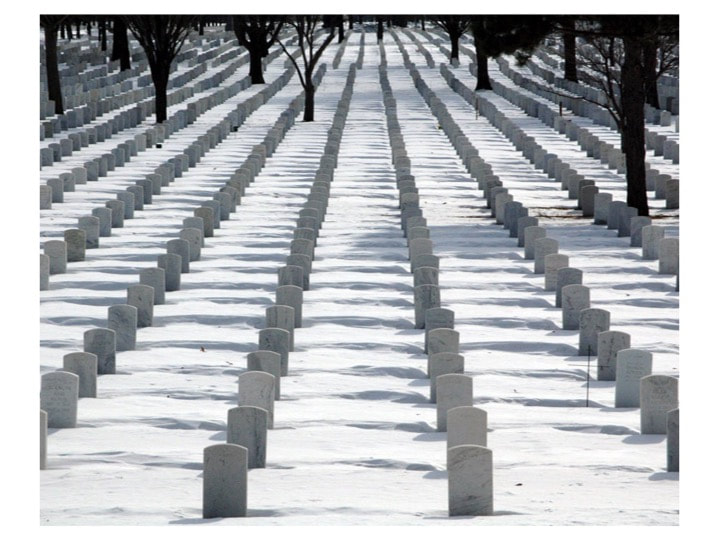
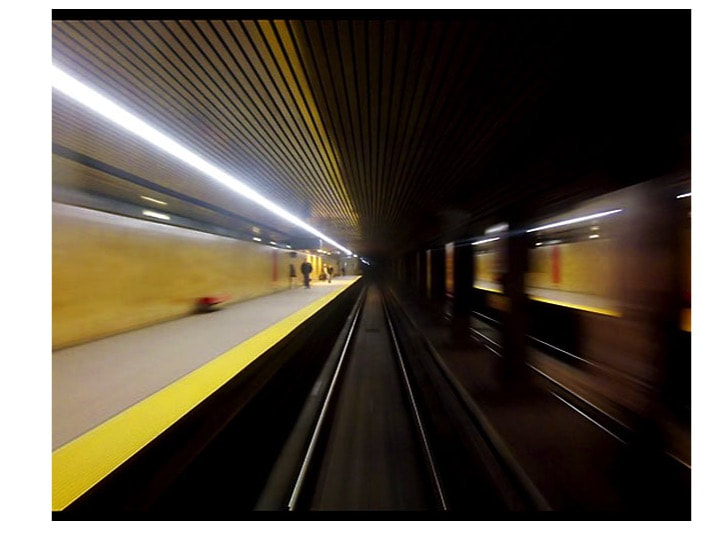
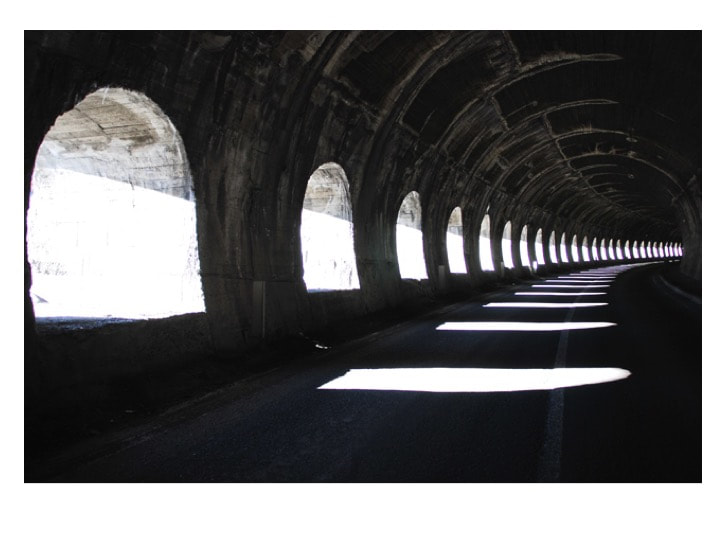
Rhythm/ Pattern Sample images!!Check out some sample images for the next digital assignment. Remember, no more than 5 of your 20 photos can be taken at school. The rest need to be done off campus! Think of the LIGHTING and the COMPOSITION when you are taking the images! For more interesting samples of Pattern photography, check out this link HERE! Or for more interesting samples of Rhythm photography, click on the link HERE! You are required to take at least 10 various photographs of leading line for homework this week. You will post the TWO best photographs to your blog for us to critique at the beginning of the class on Friday.
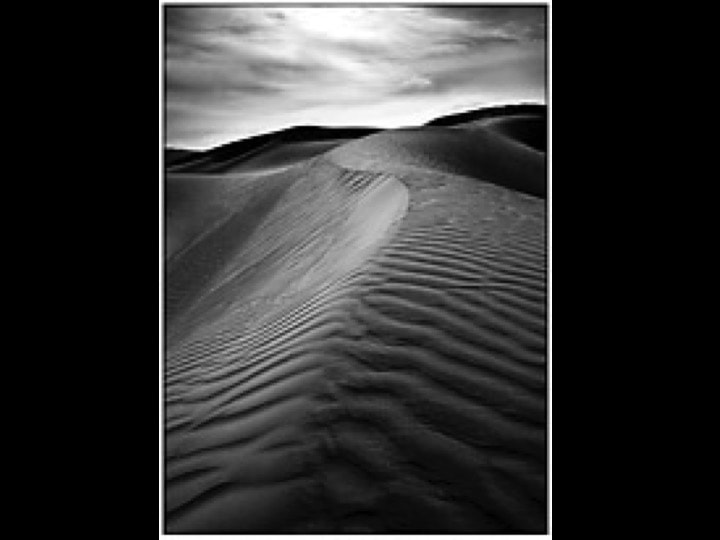
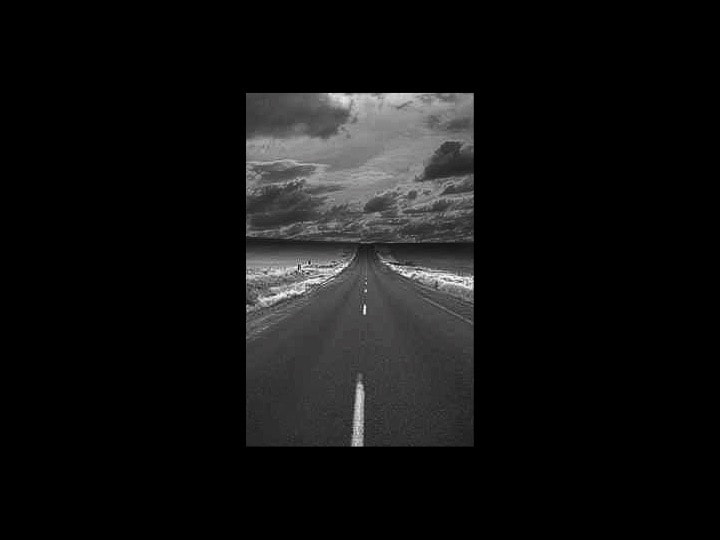
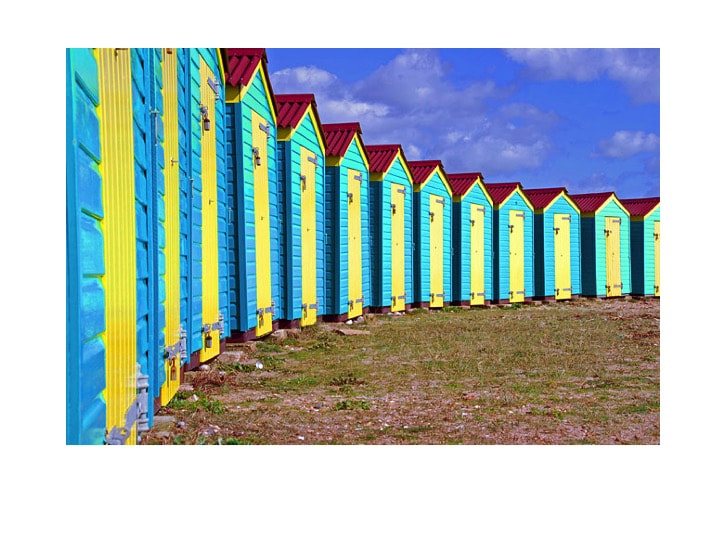
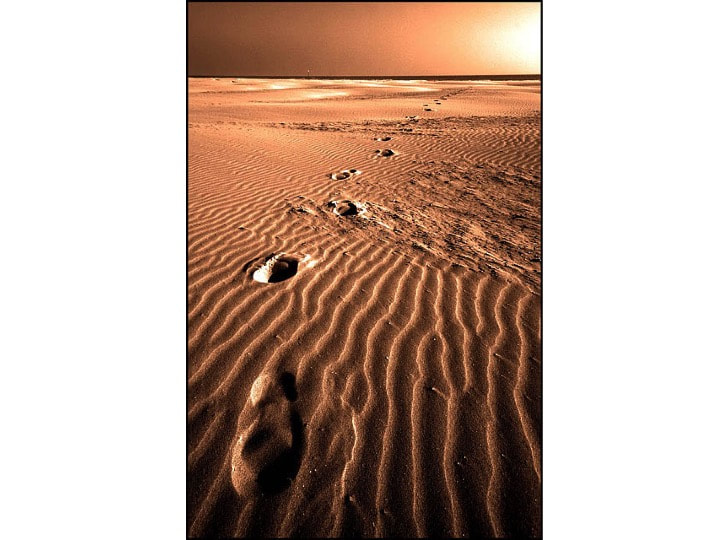
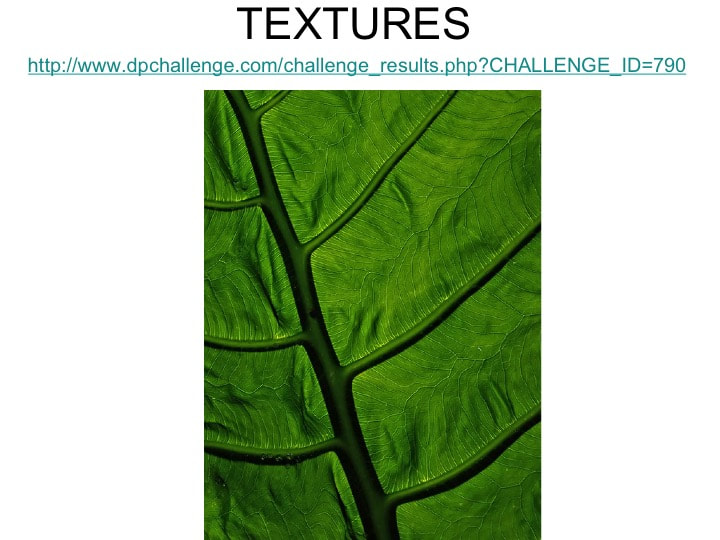
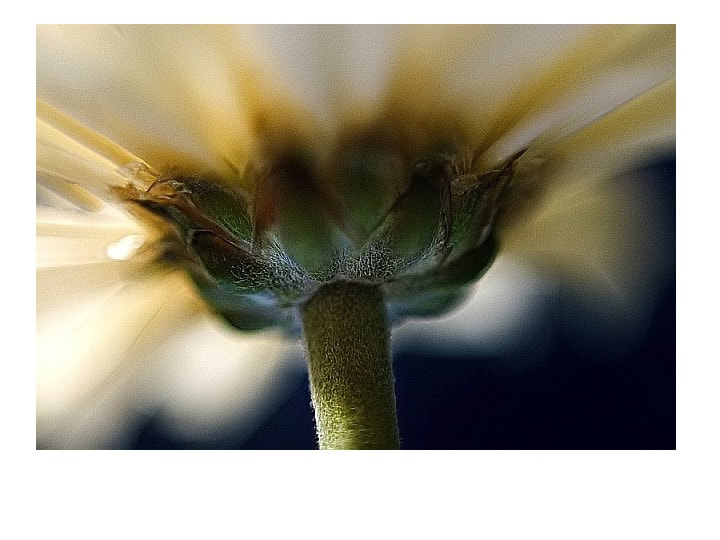
Leading Line examples: PHoto Friday #2: Texture Due January 19thYou are required to take at least 10 various photographs of leading line for homework this week. You will post the TWO best photographs to your blog for us to critique at the beginning of the class on Friday. Texture Examples
Please be sure to review the supply list and syllabus. There is a syllabus sign off form at the bottom of this post! Please be sure to email me if you ever have any questions [email protected] .
You can also follow me and Kell High School Art on twitter @denison_julie . SUPPLIES NEEDED FOR PRINTMAKING/ PHOTOGRAPHY: REQUIRED SUPPLIES
RECOMMENDED SUPPLIES Linoleum cutter is recommended. Due to the expense of consumable art supplies there is a recommended art lab fee of $20.00. The lab fee will provide each student with quality art supplies that will be used at school for the entire semester. This lab fee will help offset the cost of printing ink, photo paper, and darkroom supplies. ***IF YOU BRING IN THE $20 LAB FEE, YOU WILL BE PROVIDED WITH A SKETCHBOOK, LINOLEUM CUTTER, AND WEBLOG. 
Join NAHS
Step 1: Arrange your cut out cardboard elements in an interesting way. Be sure to have one larger object that acts as your focal point.
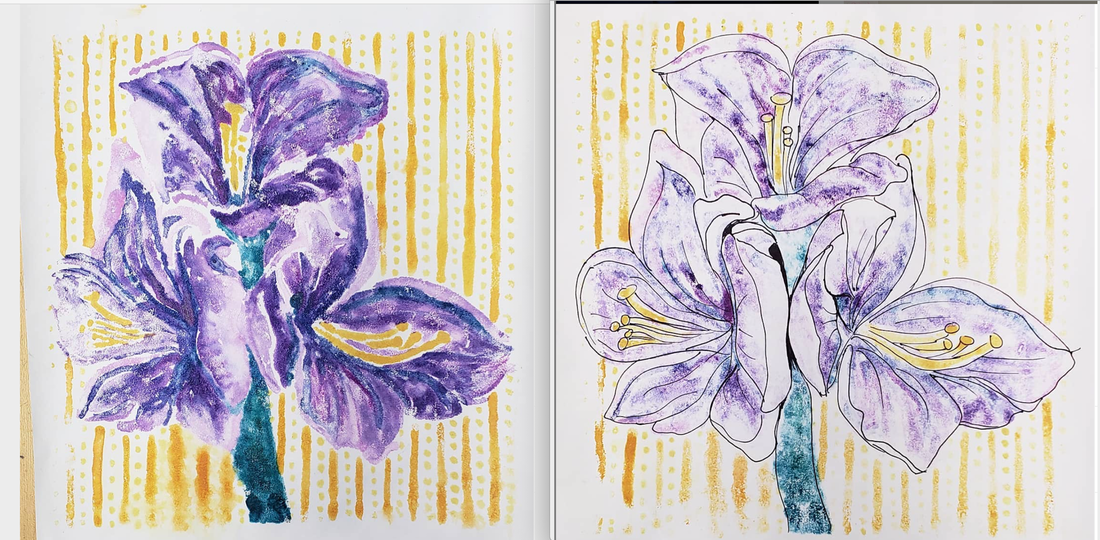
Step 2. glue all your layers down with Elmers glue. Step 3. cover over your collograph print with aluminum foil. Smooth out so that all ridges are embossed. Step 4. cover with markers (see demo) Step 5. Print.....(see demo!) Mirror Marker MonotypeOil Pastel Trace Monotype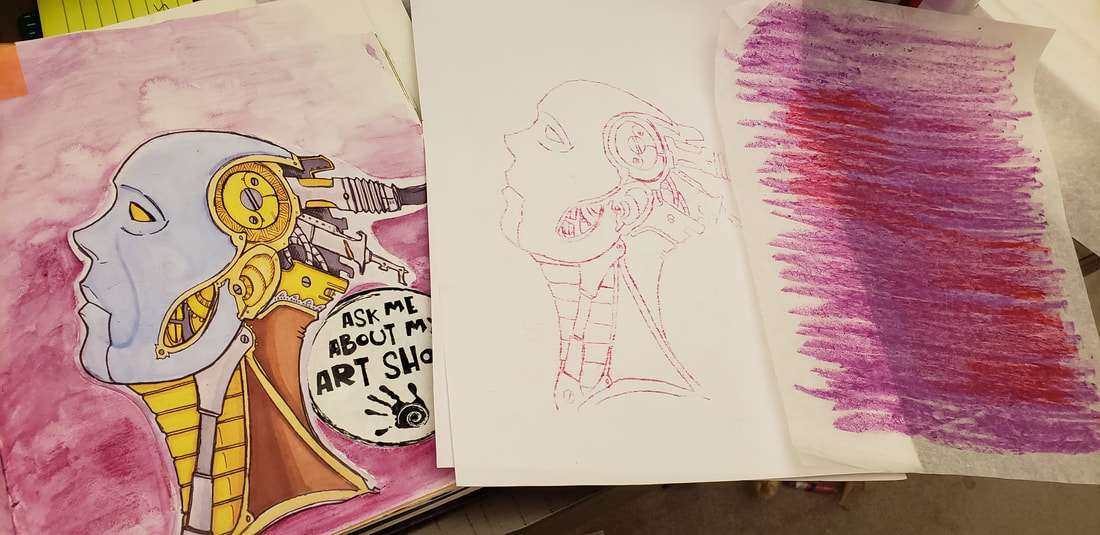
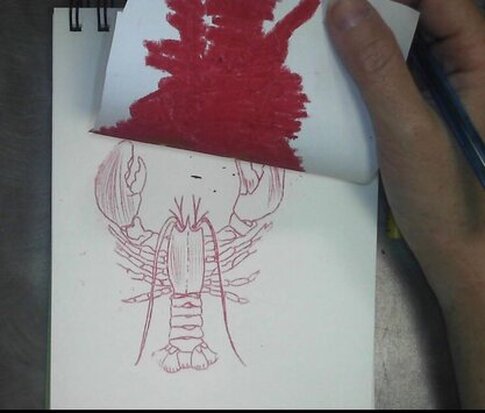
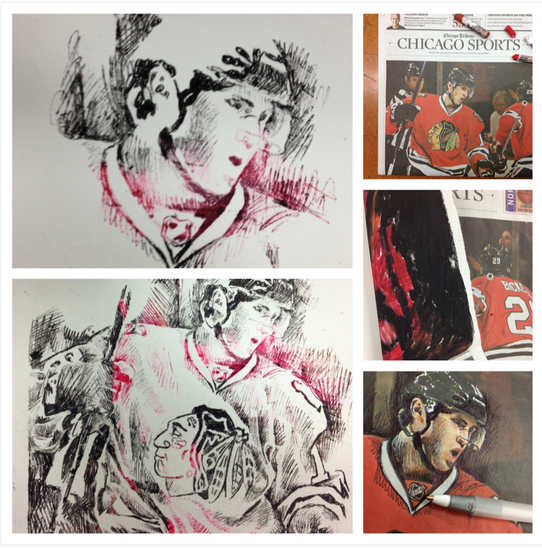
Trace Monotype with ink
You will use a photograph or a drawing to trace onto an inked up piece of plexiglass. You will be able to create an original monotype AND a ghost print image!
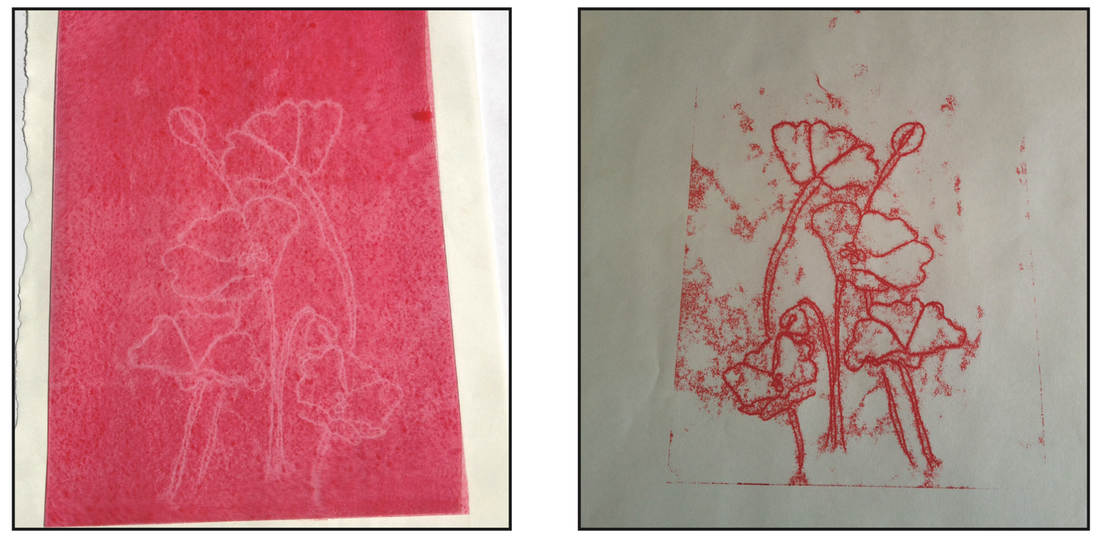
These are super-fun, so I hope you like them. The video below is from last year in my AP/Painting class, but the process is the same. the video mentions that you can use your own photographs behind the plexiglass. (This is a GREAT idea!!!). And YES, you CAN use my computer to print out that image.
water soluble oil pastel is the same process, but with the oil pastel instead. We will do both to pick out the best!!
For this project you will turn in one final image AND one ghost print: (at least, but you can do more if you really get into it)
|
Google Drive:Fun SitesMarilyn Maker Archives
April 2024
Categories
All
|
||||||||||||


 RSS Feed
